
In a world full of Hellcats and Demons, the 5.7-liter Hemi Dodge Challenger can get lost with its meek 370 horsepower from the factory. As there is no replacement for displacement, forced induction can help level the playing field. With that in mind, ProCharger decided to turn its attention to the smallest modern Hemi.
In 2015 ProCharger revamped its existing system for the 5.7-liter R/T Dodge Challengers with a robust bracket system and new modification to the intercooler system with revised tubing for simpler installation. How simple? ProCharger specifically designed it to be easy enough to install at home.
The system has an OEM finish and doesn’t require you to make any permanent changes to your Challenger, which allows the car to retain resale value if you choose to remove the ProCharger before sale.
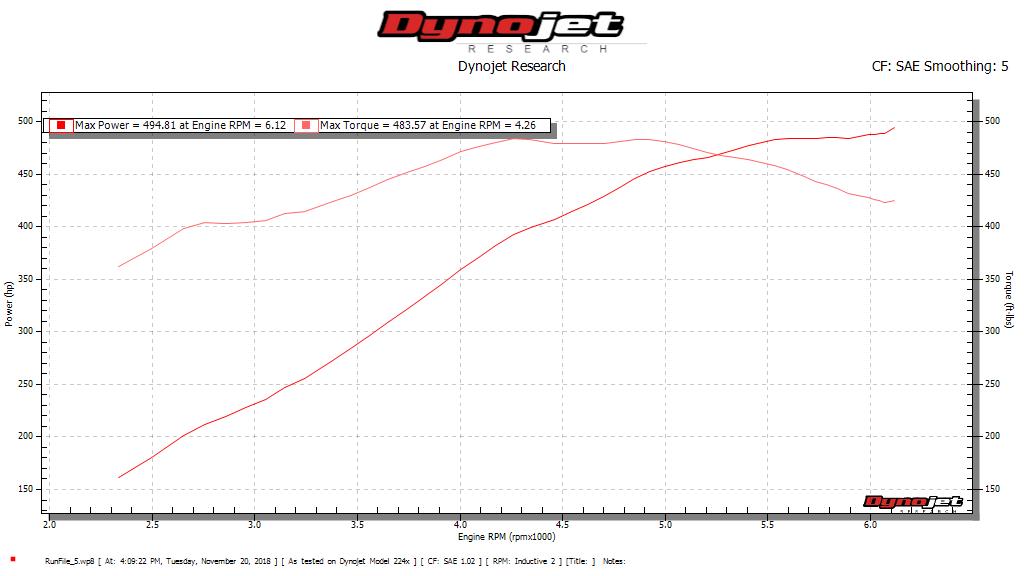
The Intercooled ProCharger system for the 5.7-liter Hemi adds 160 more horsepower with 7 psi on an otherwise stock engine running on premium pump gas. According to ProCharger, this is possible with the P-1SC-1 ProCharger – standard with each kit – and its self-contained oiling that eliminates the need for external oil lines or the need to tap into the engine’s oil supply.
Each system for the 5.7-liter Hemi Challenger and Charger comes with a highly effective and reliable air-to-air intercooler and optional supercharger and bracket finishes such as satin, polished, or black.
A supplemental powertrain warranty is available from Charter Warranty for those seeking additional protection.
Editor’s Note: The ProCharger System and Tuner Kits for the 2015-2018 Dodge Challenger R/T (5.7) are not legal for street use in California. These products are intended for racing or off-road applications only.
The following tools are required to install the Intercooled ProCharger System on a 2015+ Dodge Challenger R/T (5.7-liter Hemi):
- ⅜-in. & ½-in. Socket Sets (standard & metric)
- Open End Wrench Set (standard & metric)
- ⅜-in. Hex Bit Set (Allen head)
- Flat Screwdrivers
- Phillips Screwdrivers
- Plier Set
- Right Angle Drill
- Coolant
- Pipe Thread Sealant
- Vacuum Pump
You should also have the following gauges available to check the finished installation:
- Manifold Boost Pressure Gauge
- Fuel Pressure Gauge
- Wideband Oxygen Sensor and Gauge
Gauges should be of a type that can be read from the cockpit while performing a wide-open throttle road test. Cockpit or hood-mounted gauges are preferable.
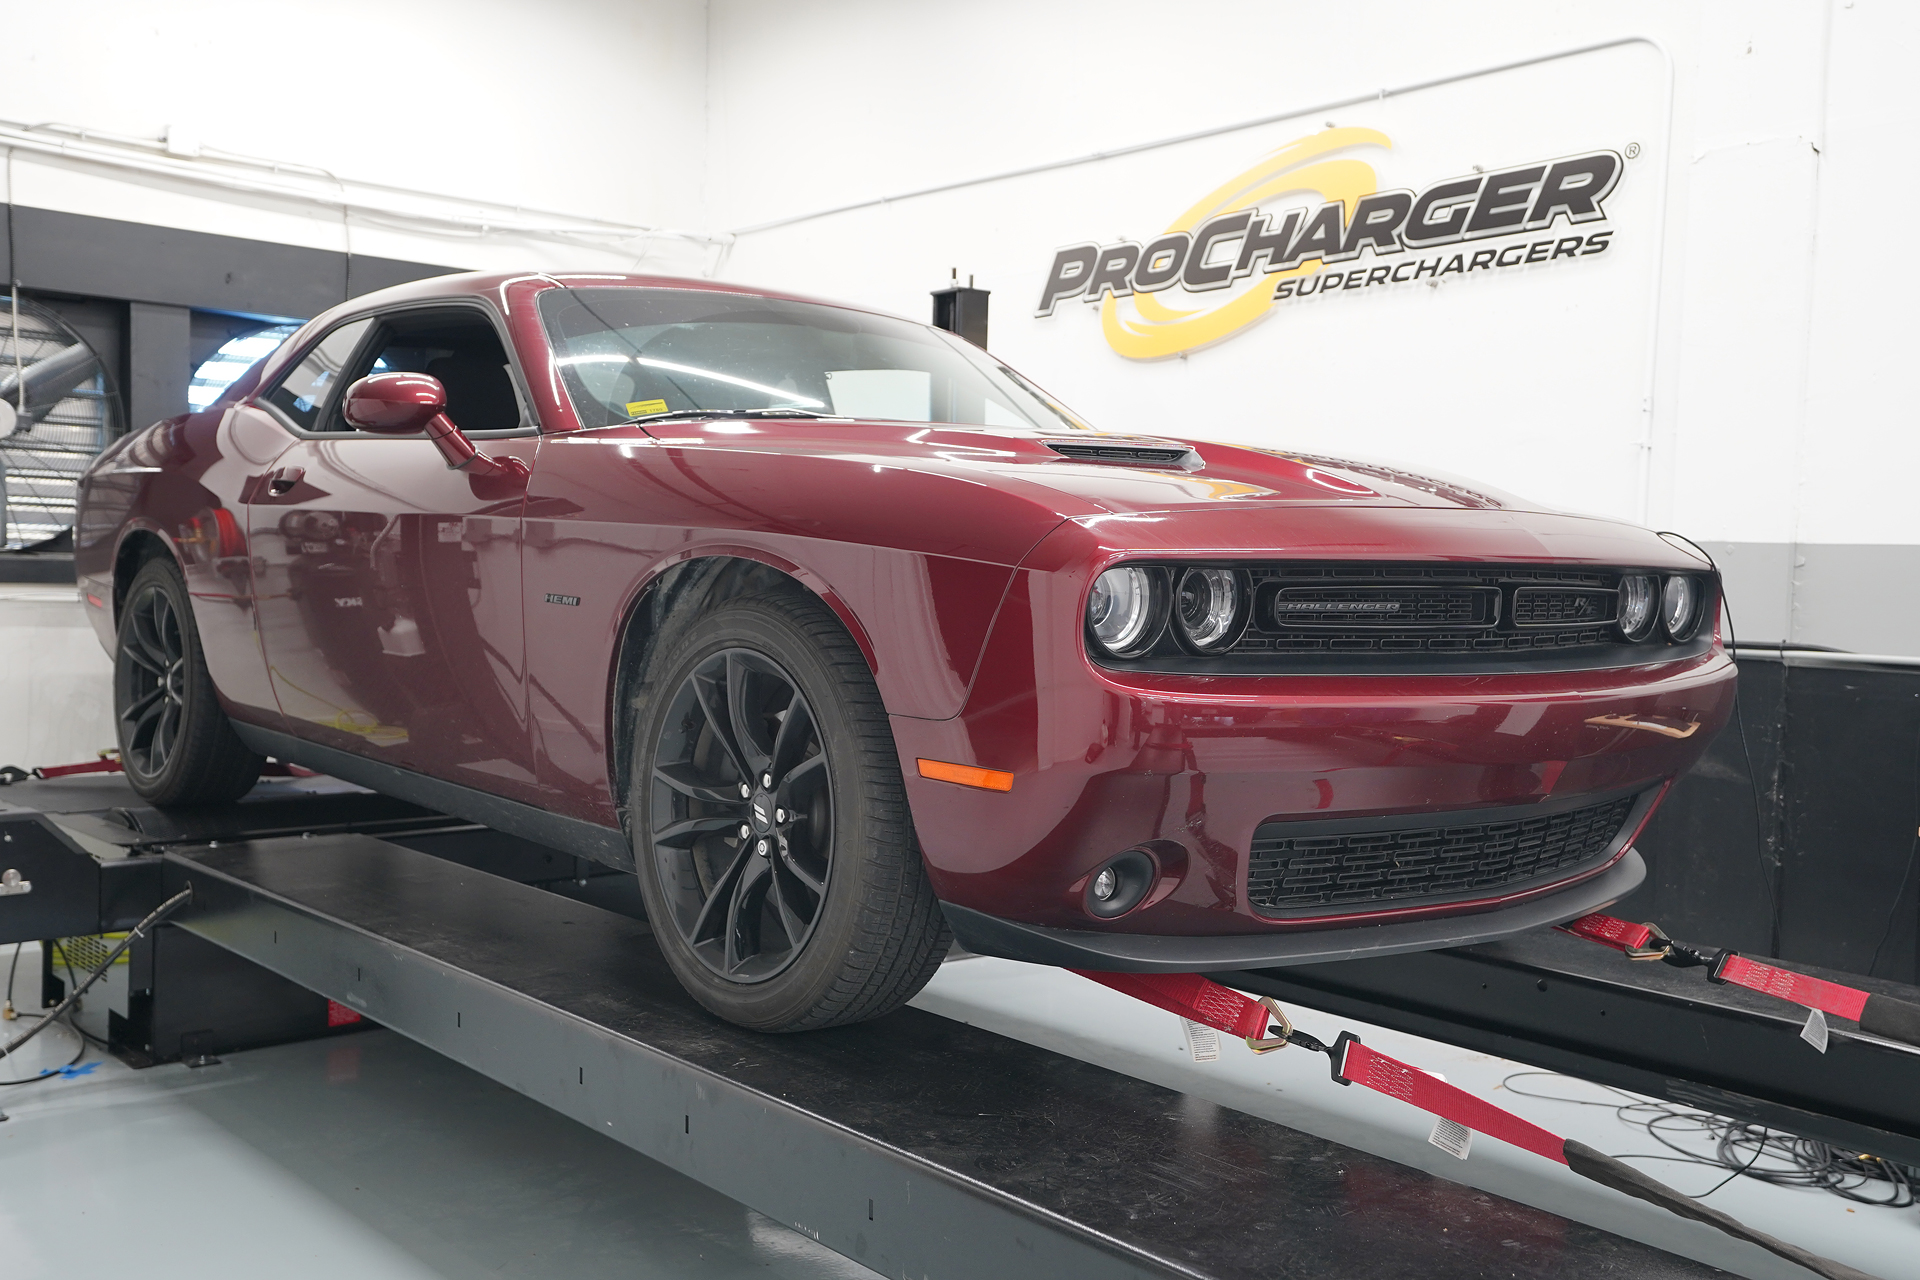
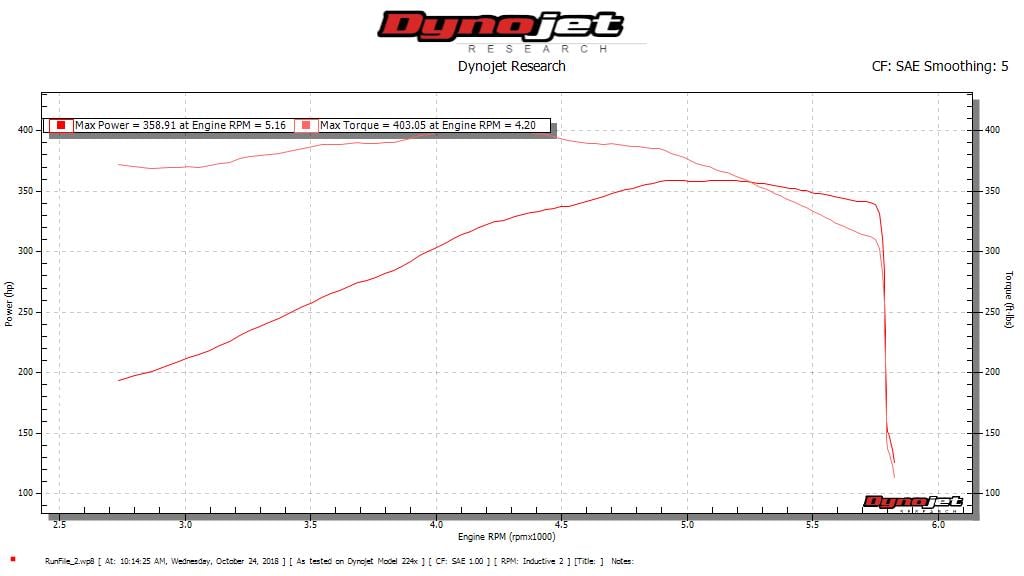
Before installation, the Challenger was put on the dyno to establish a baseline of its performance. The stock 5.7-liter is a perfect candidate for the ProCharger High Output (HO) Intercooled system, which works well with the Challenger’s stock compression ratio and operates on 91-octane gasoline.
How to Install ProCharger’s High Output Intercooled System on a 2015+ 5.7-liter Dodge Challenger:
Step One: Remove Stock Components
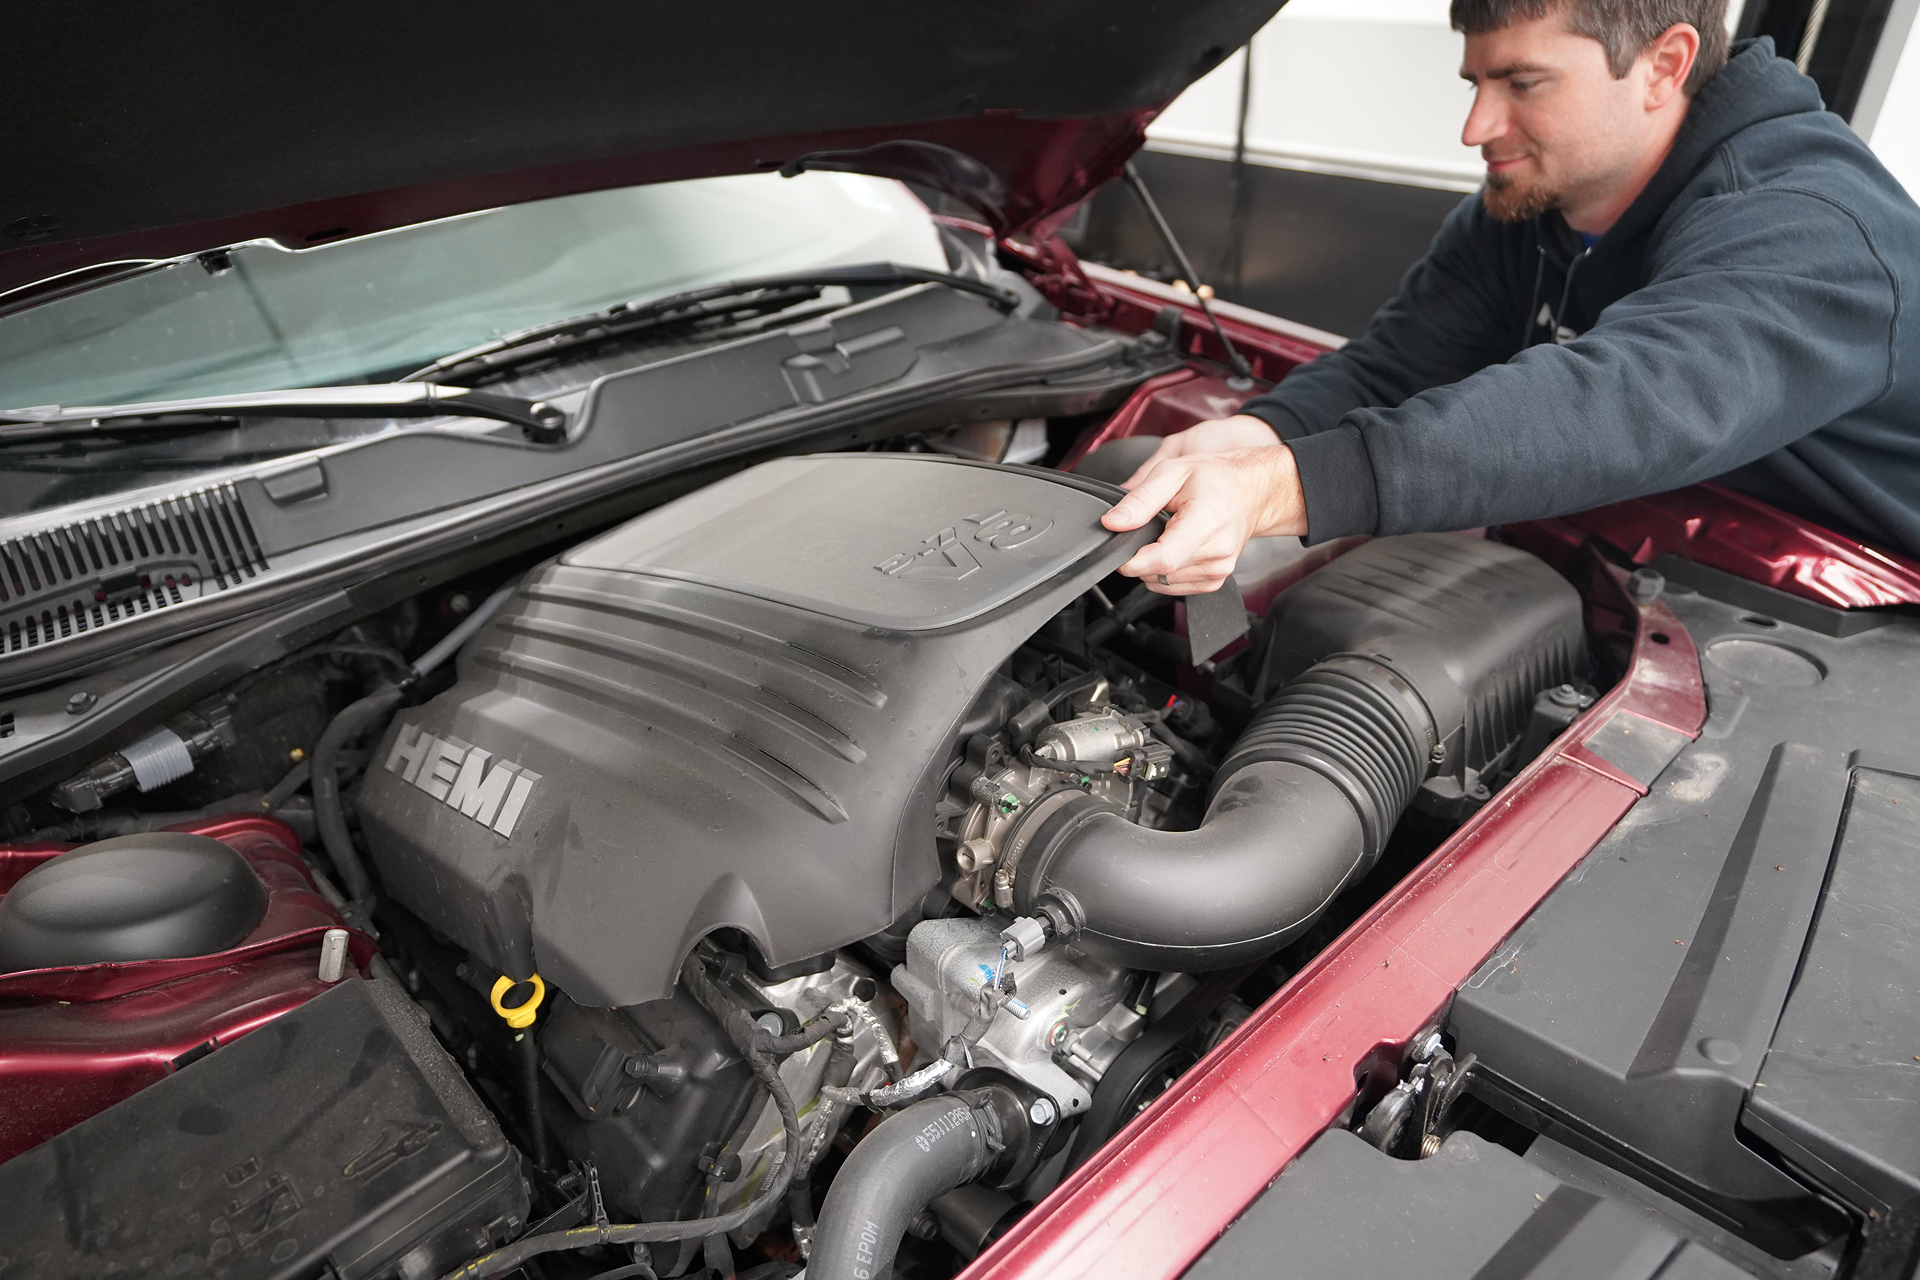
Disconnect your battery ground and remove the engine cover. Then you may remove the intake air temperature sensor, the PCV hose from the intake assembly, and remove the air filter assembly bolt with a 10mm socket.
Loosen the band clamp from the air filter assembly to throttle body connection with an 8mm nut driver.

Then remove the entire air filter assembly from your Challenger as well as the radiator cavity covers by pulling up and towards the center of the vehicle.
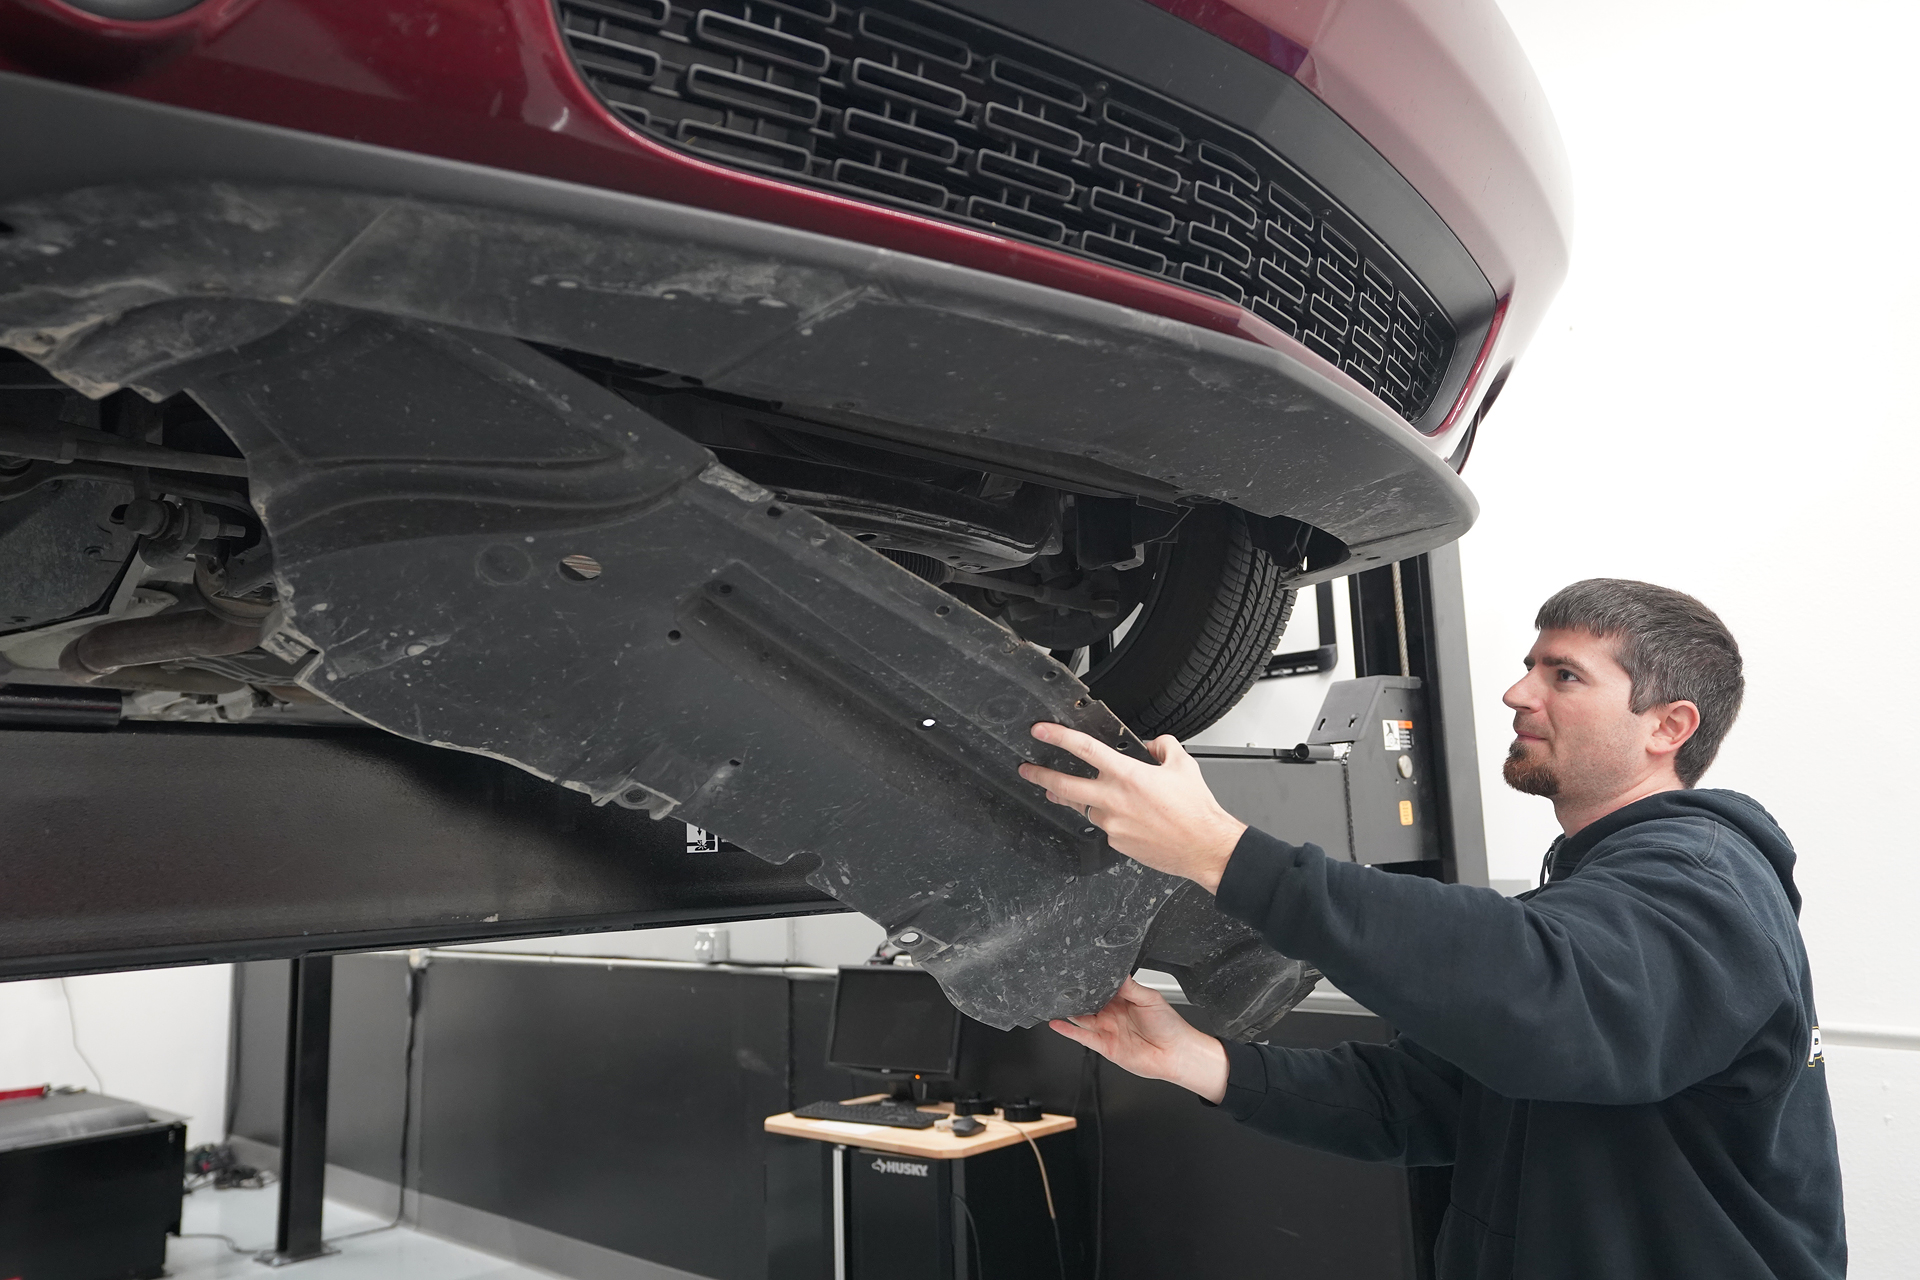
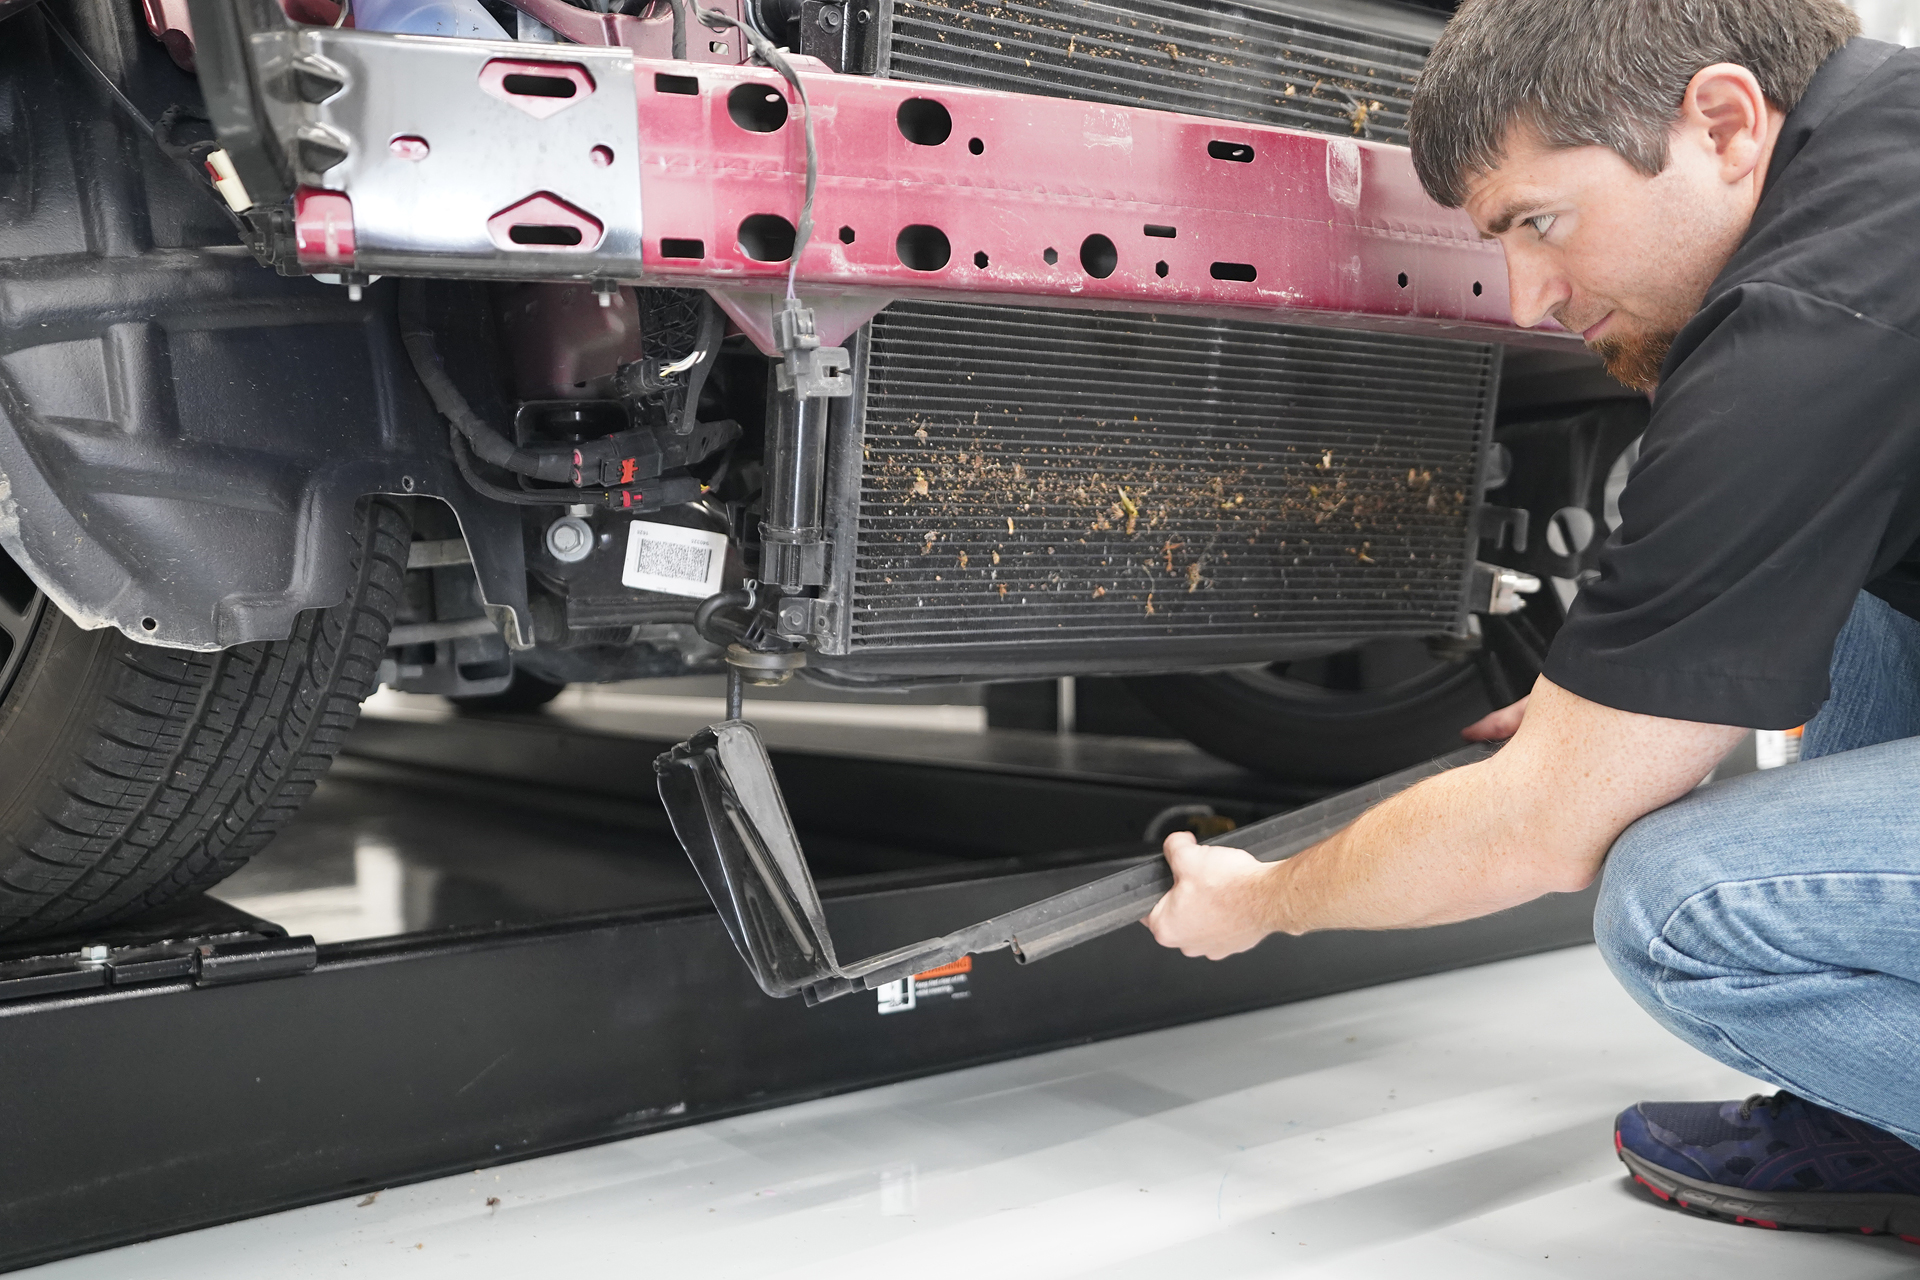
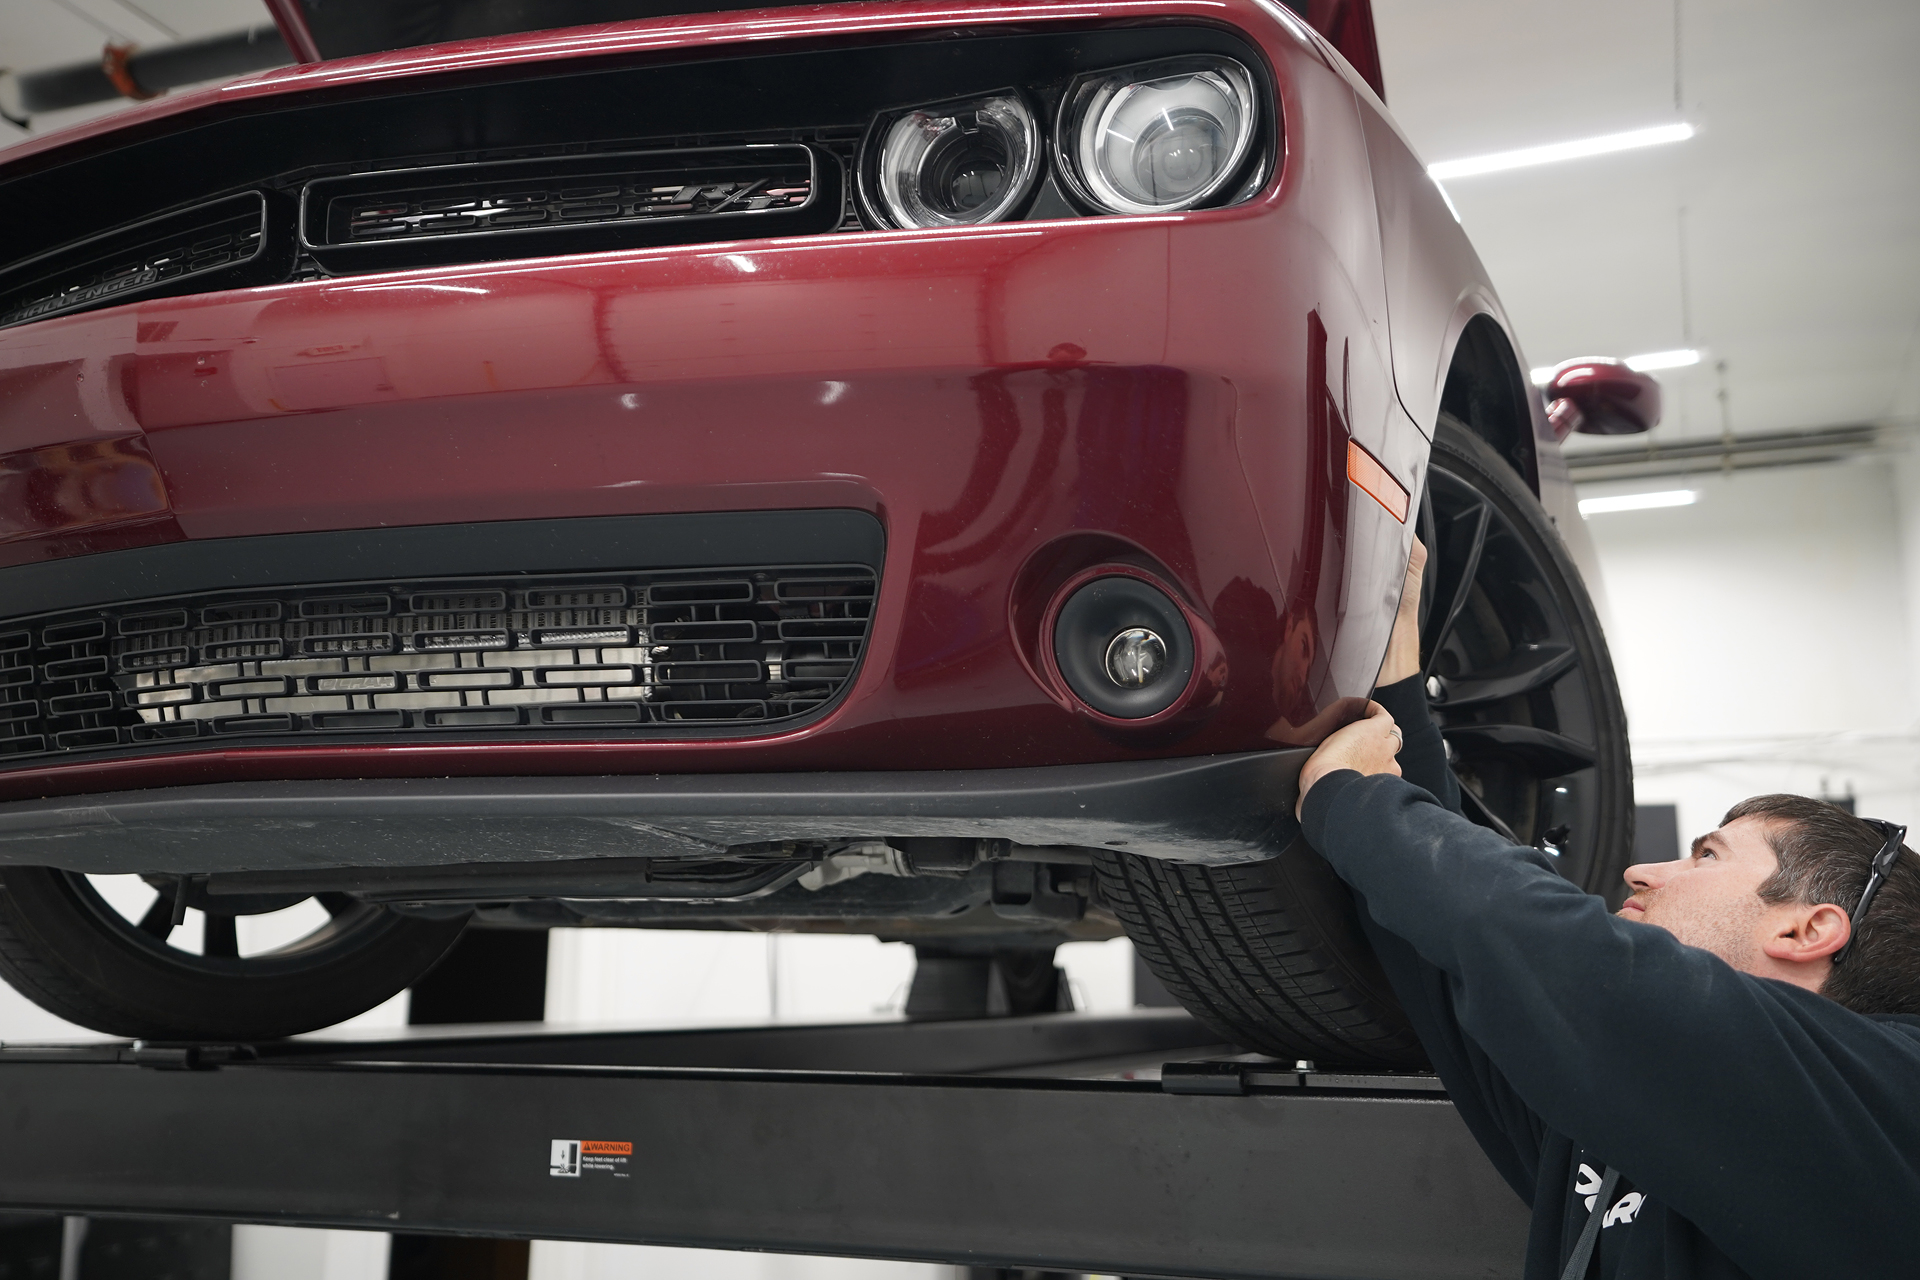
From underneath your Challenger, remove the seven 7mm bolts and four-panel fasteners from the front cladding and remove it from the front of the car.
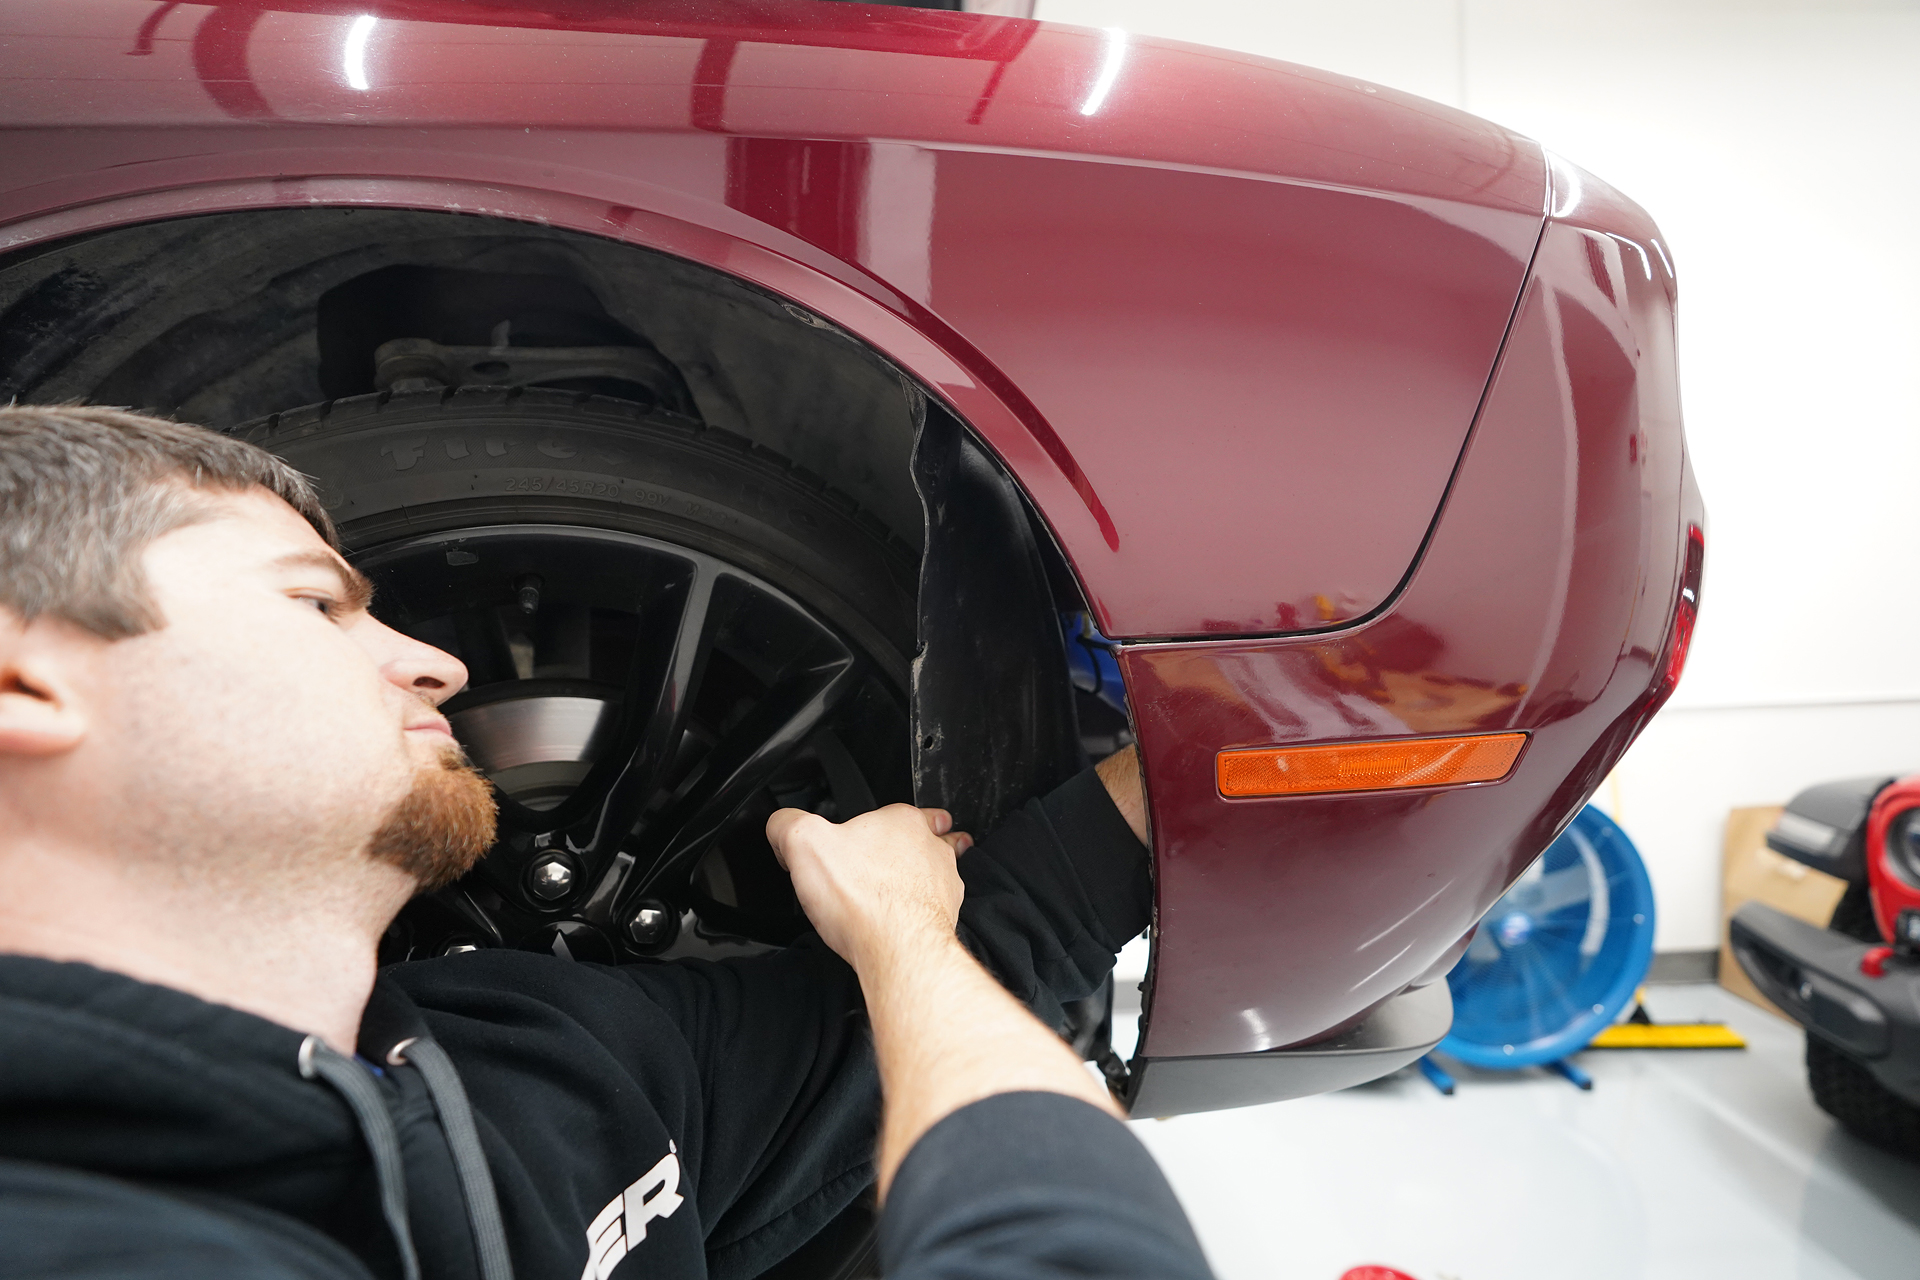
Next, you may remove the panel fasteners from the top side of the front fascia, the lower six-panel fasteners connecting the front fender wells to the front fascia, and remove the bolts from the lower fascia.
Tech Tip: On the passenger’s side, disconnect the wiring harness running to the front fascia as this eliminates the need to unplug the fog lamps and turn signals separately.

Remove the front fascia from the vehicle by pulling out on each side, unsnapping the fascia, then pulling the fascia straight off the front of the Challenger.
Next, you may remove the plastic radiator shroud located behind the front bumper and the serpentine belt.
Using a 10mm socket, remove the factory horns and horn brackets. Unplug the wiring harnesses from the horns and remove the horns from the brackets using a 10mm wrench. The brackets will no longer be used, however, retain the factory hardware for later use.
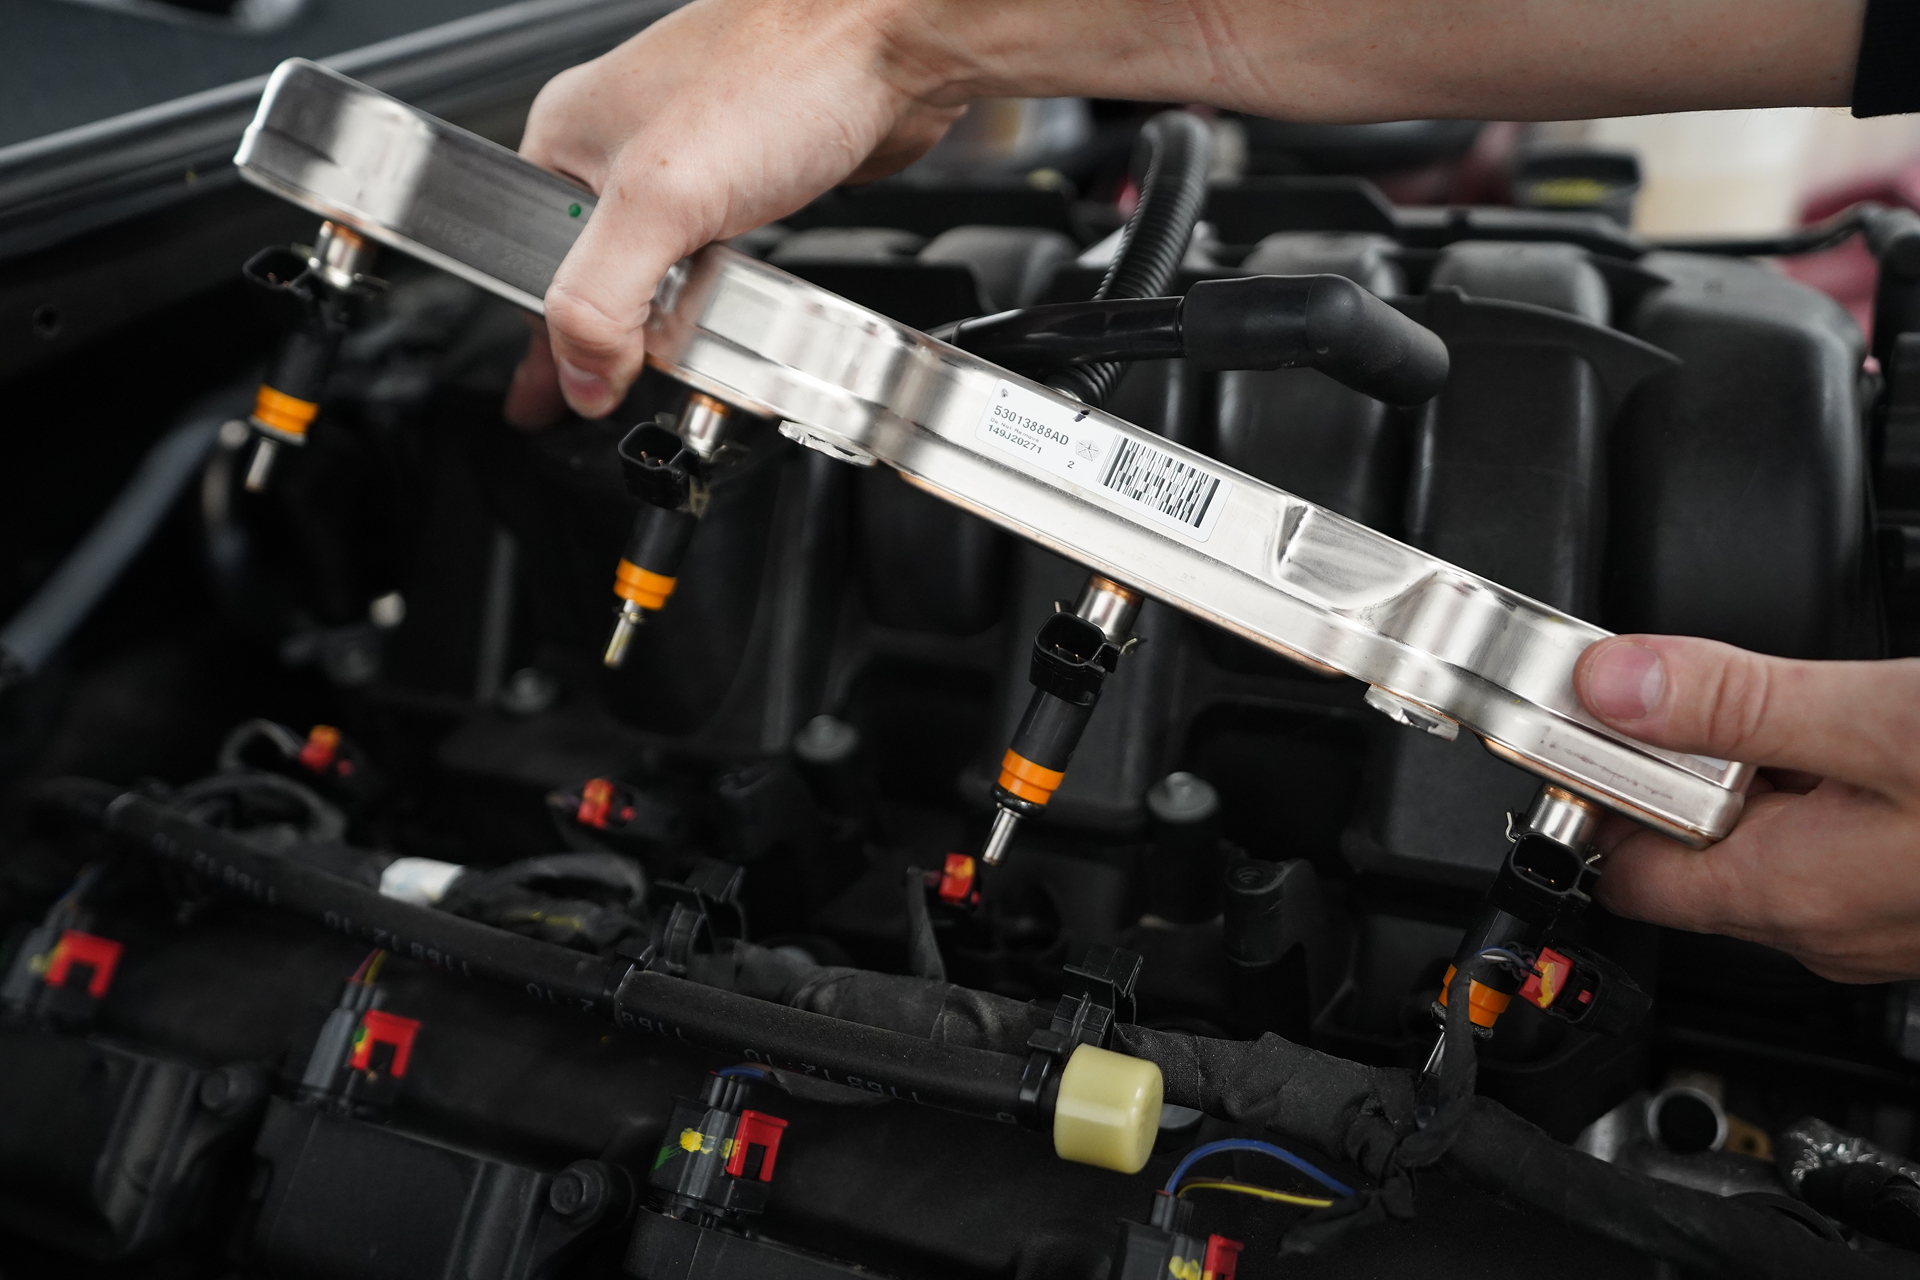
Next, release the fuel pressure and remove the rails and fuel injectors from the intake manifold.

Remove the factory fuel injectors and install the higher flow injectors into the fuel rails that come supplied in the kit.
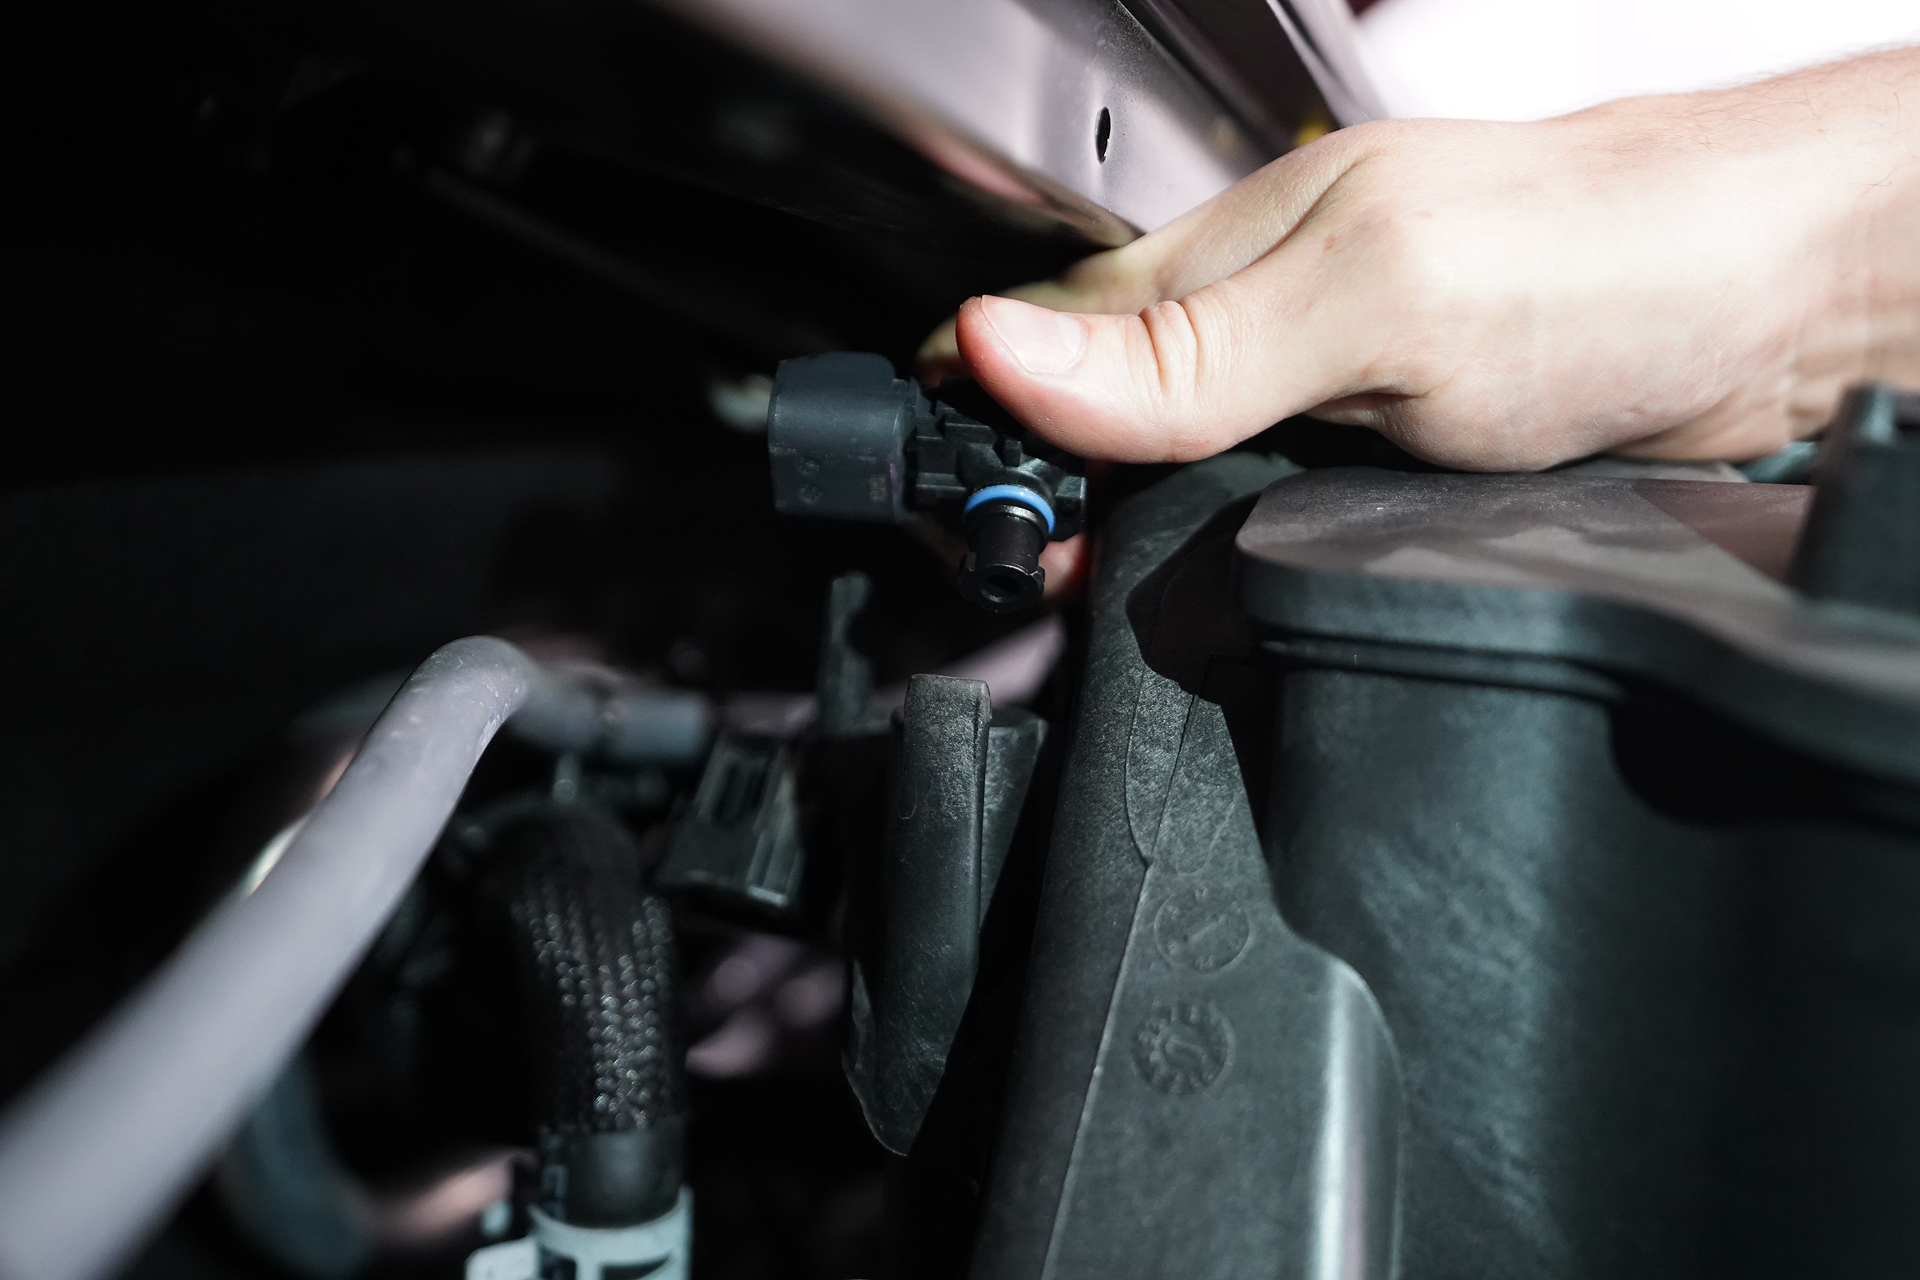
Remove and discard the factory manifold absolute pressure sensor (MAP).

Install the new supplied MAP sensor into the MAP adapter fitting with the supplied screws into the factory location on the intake manifold. Connect the electrical harness to the new MAP sensor, this new MAP can read engine vacuum and engine boost.
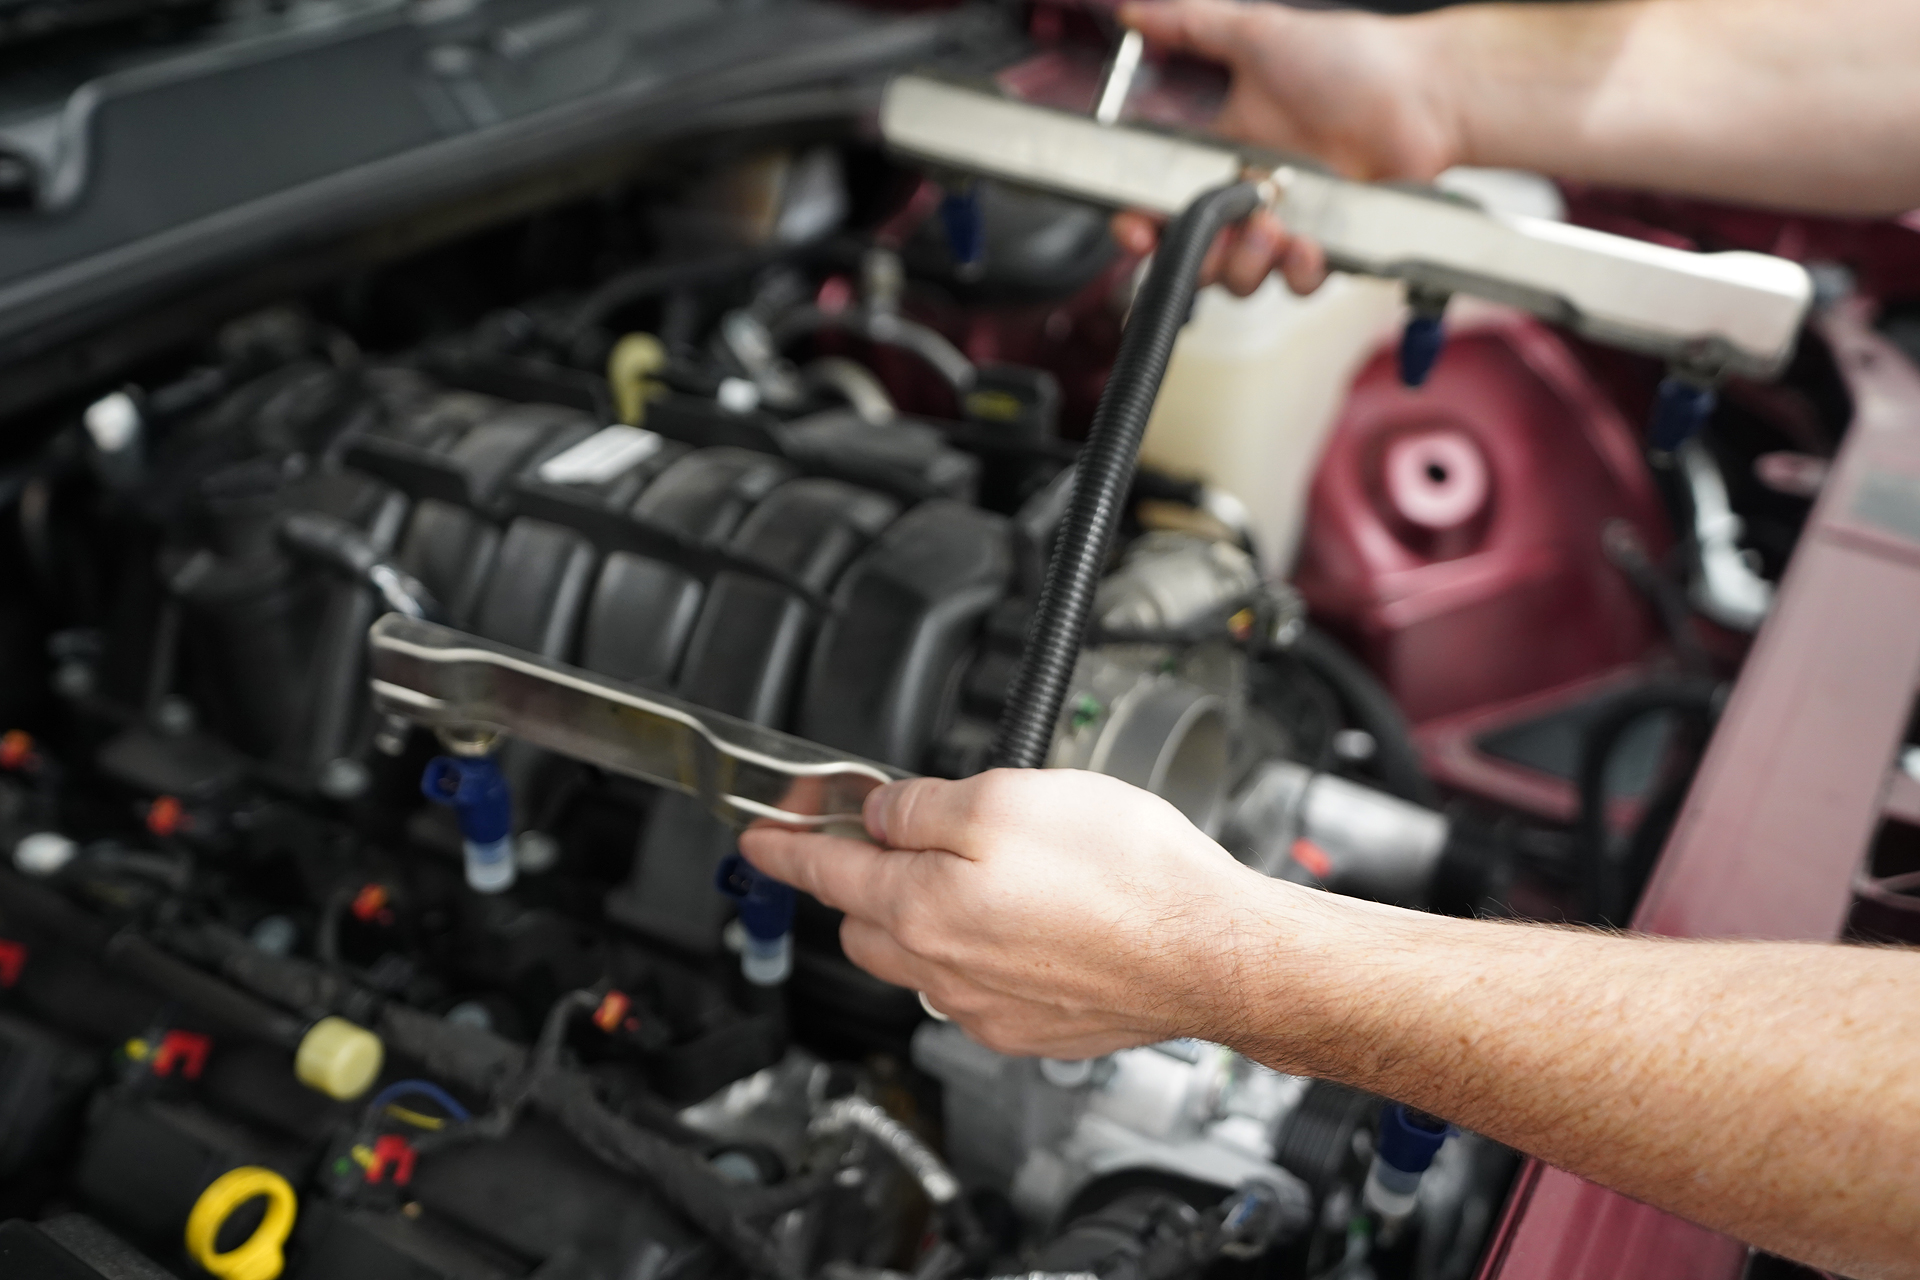
The new injectors and rails get reinstalled onto the intake manifold.

Remove the coolant reservoir cap. Place a container under the cooling system drain cock located on the passenger’s side of the bottom of the radiator. Turn the drain cock and allow all of the coolant to drain before proceeding. Once all the coolant has drained, close the drain cock and remove the reservoir from the vehicle.
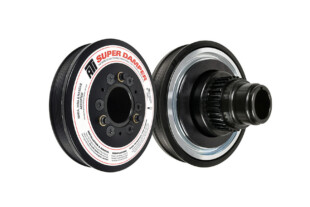
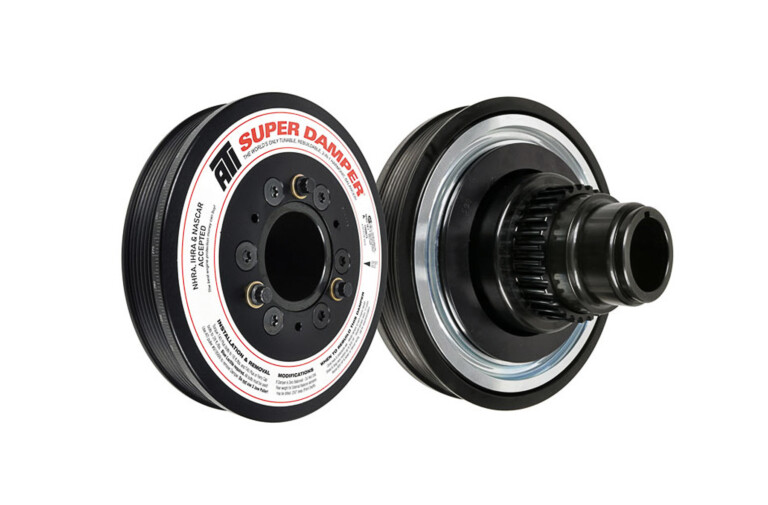
Step Two: Crank Pulley Pinning
Remove the radiator cradle and pull the cradle straight down and out of the vehicle. Then remove the upper radiator mounts from the vehicle for later use and remove the upper radiator plastic trim by pulling the trim away from the sheet metal tabs securing it to the radiator.
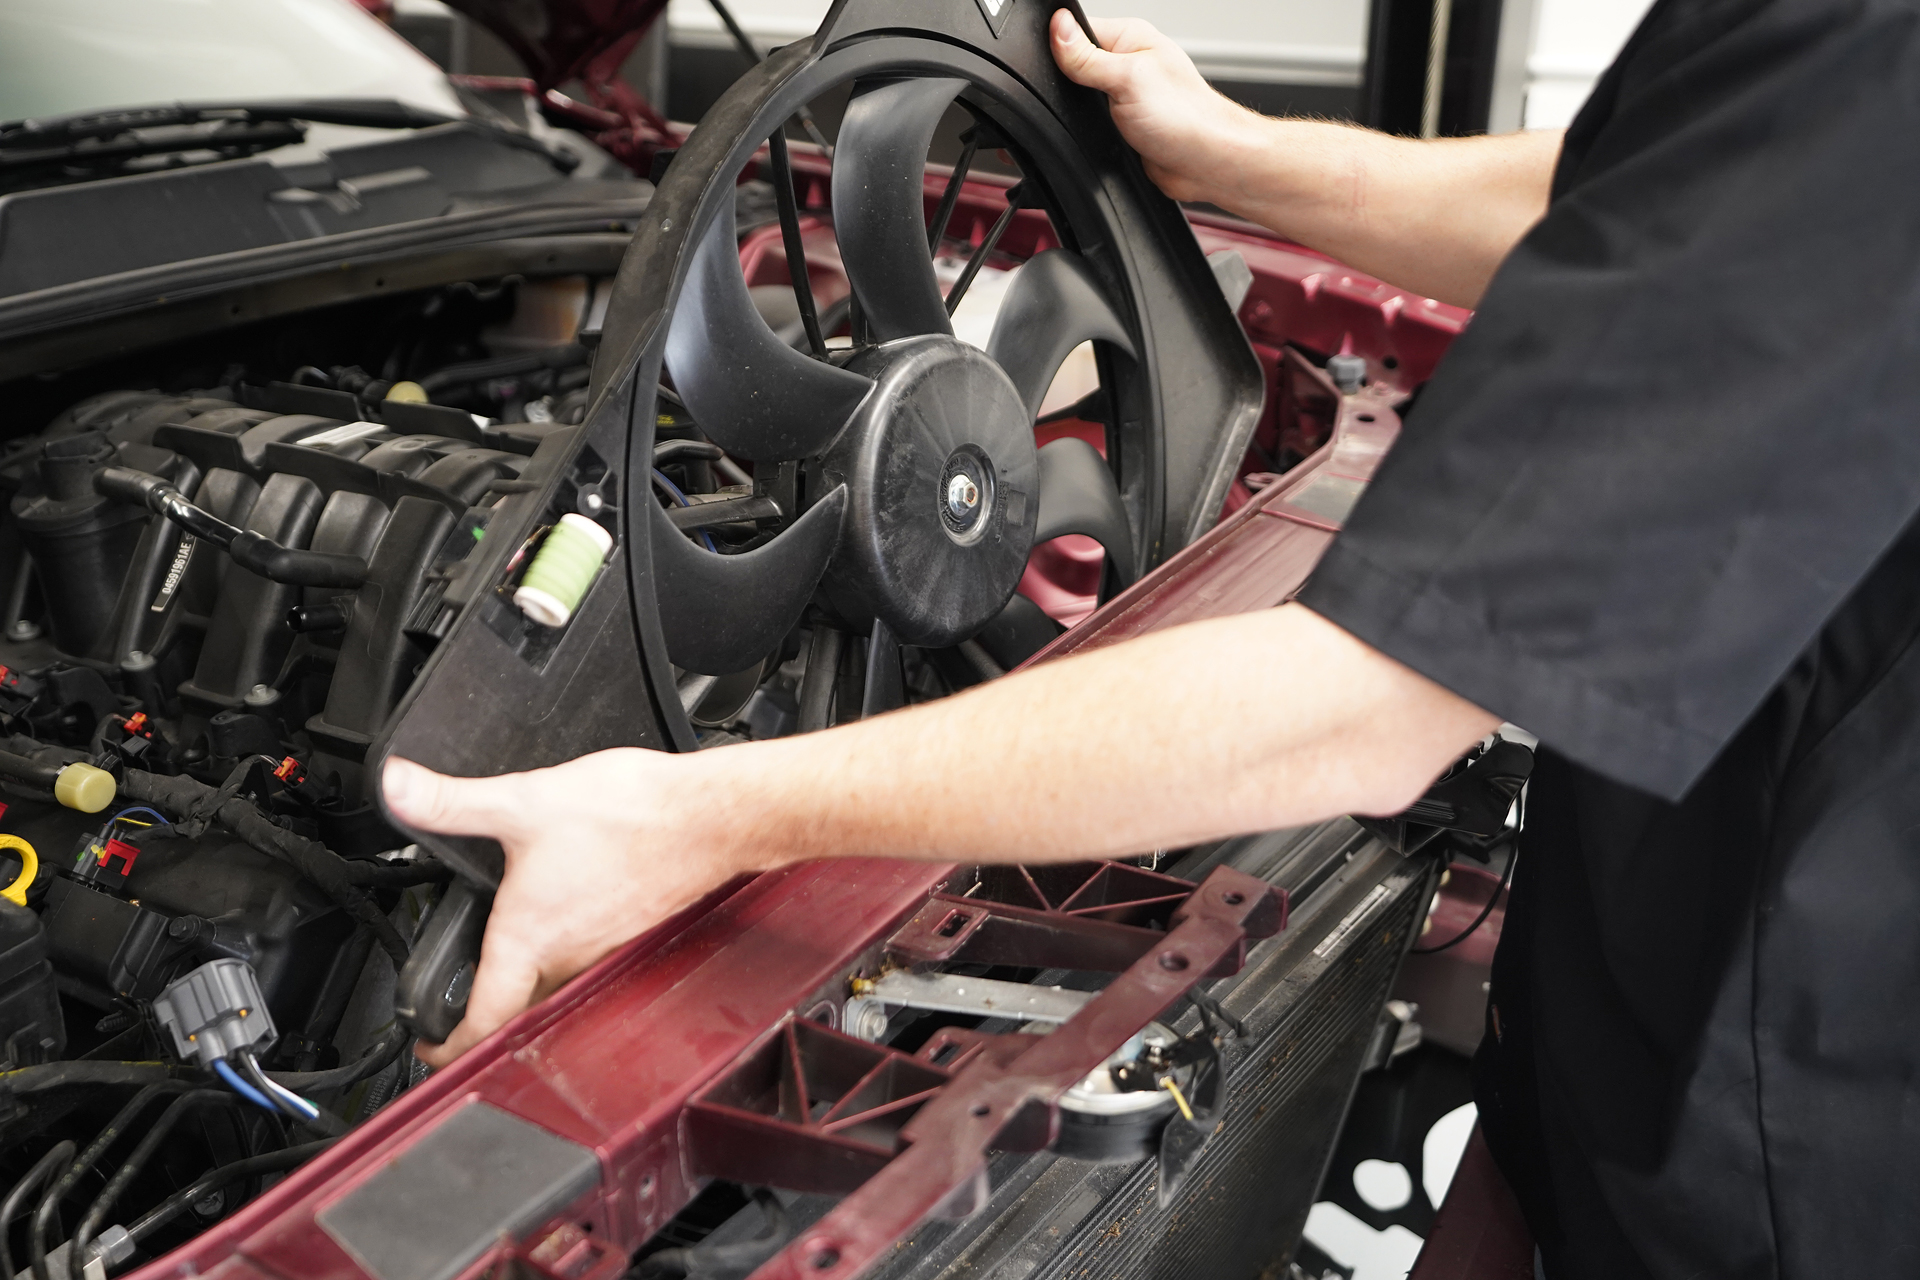
Remove the factory fan assembly by removing the bolts located on each side of the fan assembly, disconnect the electrical connection to the fan and lift the fan up off of the lower supports, then out the bottom of the vehicle for removal.
Tech Tip: Tape a piece of cardboard to the radiator on the engine side to prevent damage to radiator fins while pinning the crank.
Next, remove the 21mm crank pulley bolt.
Tech Tip: Use an impact for ease of removal. If not available, remove the access cover to the transmission and use a sufficient tool to lock the transmission in place for bolt removal.
Place the drill jig onto the crank pulley, and used a ⅞-in. socket to tighten it into place using the supplied M14-1.50 x 120mm hex head bolt and washer.

Tape the supplied ¼-in. HSS drill bit 1-⅝-in. from the tip. Using this taped bit, drill a hole in the crankshaft and harmonic balancer, stopping at the tape edge. The hole is center on the OD of the crankshaft. Do not drill deeper than .800-in. into the face of the crankshaft.
Be sure to use compressed air to clean the chips from inside the drilled hole thoroughly and the surrounding area before you install the supplied ¼-on. OD x .75-in. long stainless steel dowel pin in the hole. Then reinstall the crank pulley bolt and tighten to 129 ft-lbs.
Step Three: Install the ProCharger Head Unit
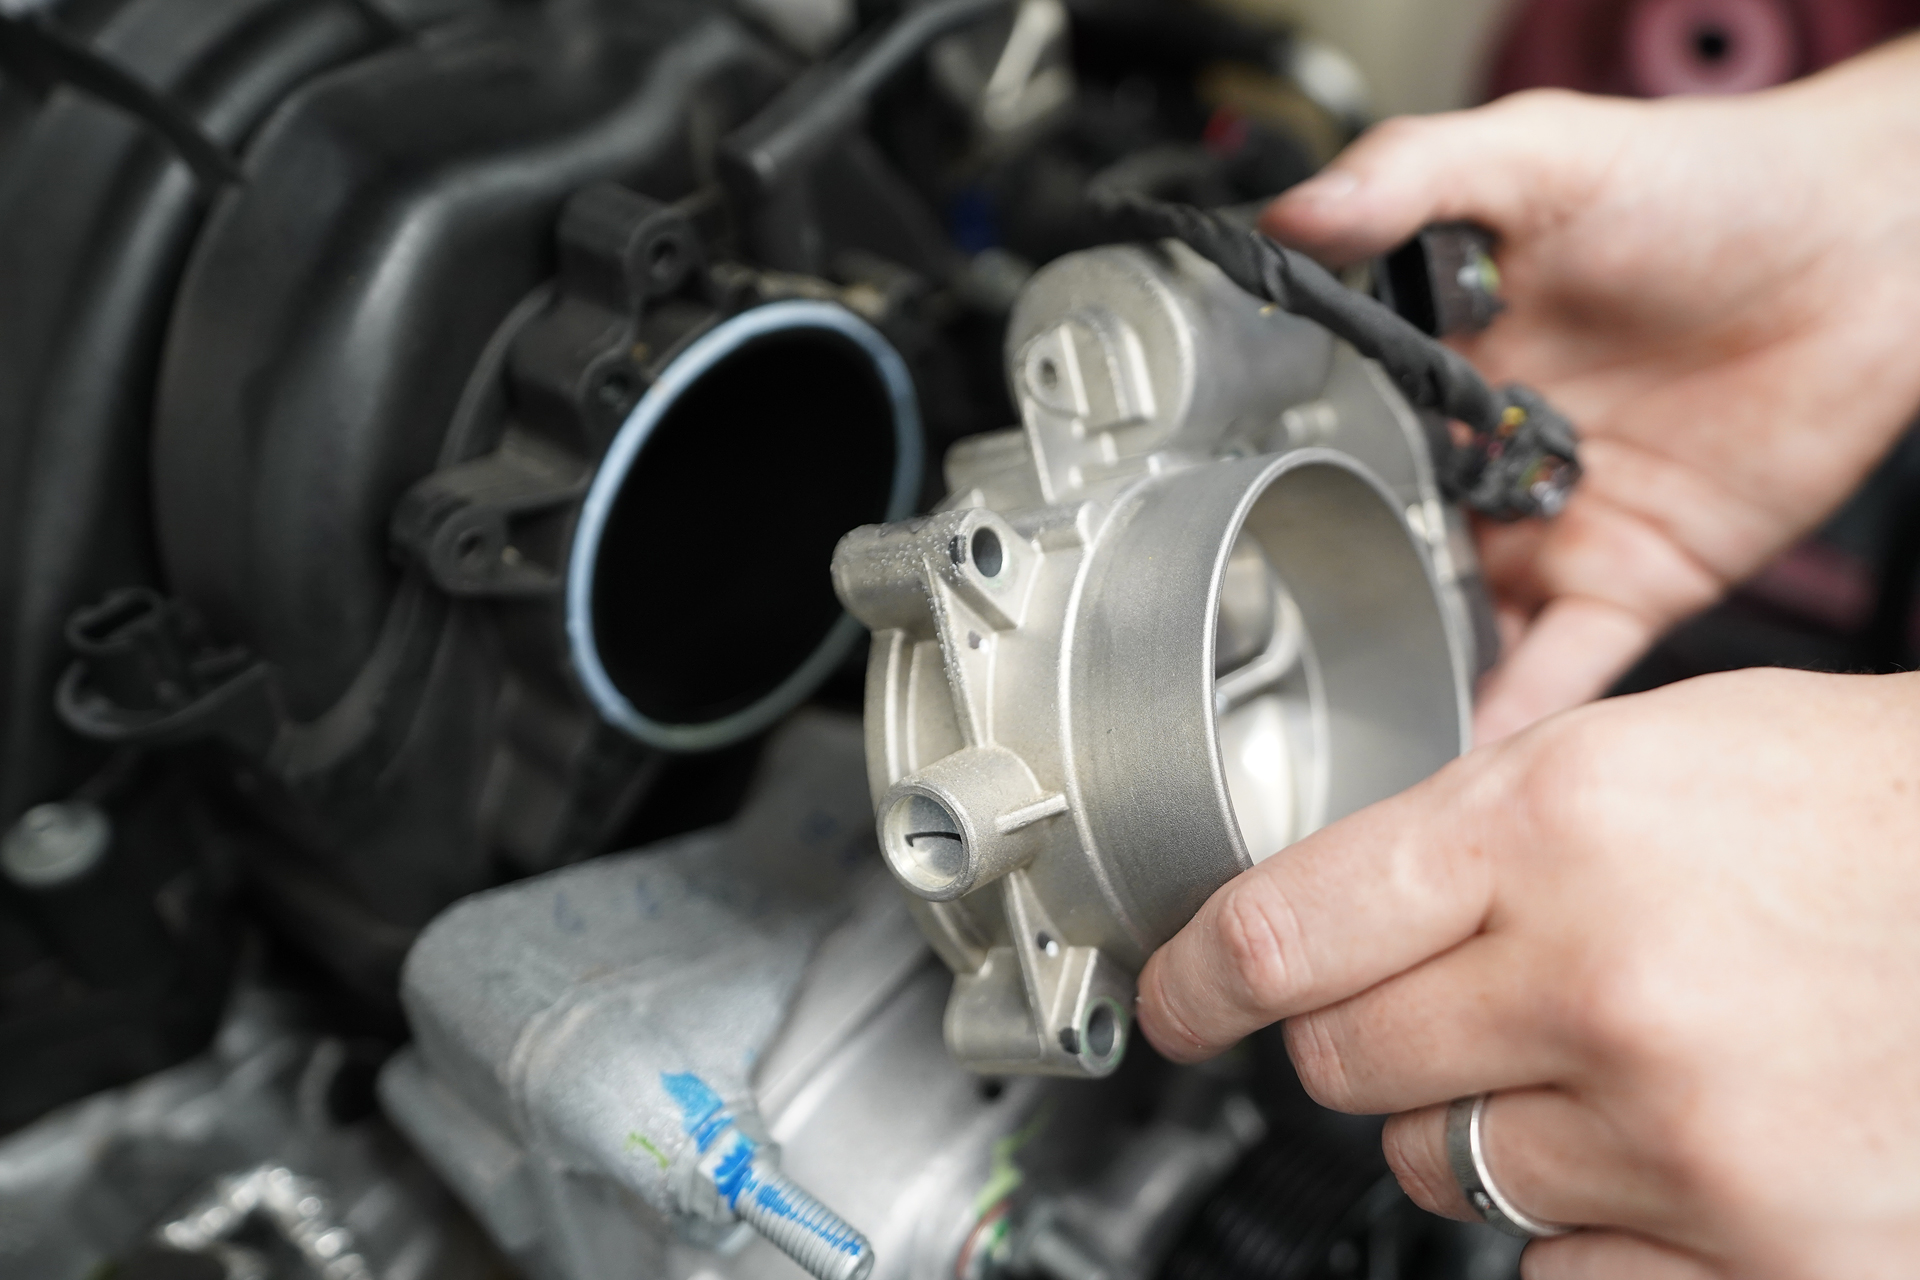
Disconnect the throttle body electrical connector and remove the throttle body.
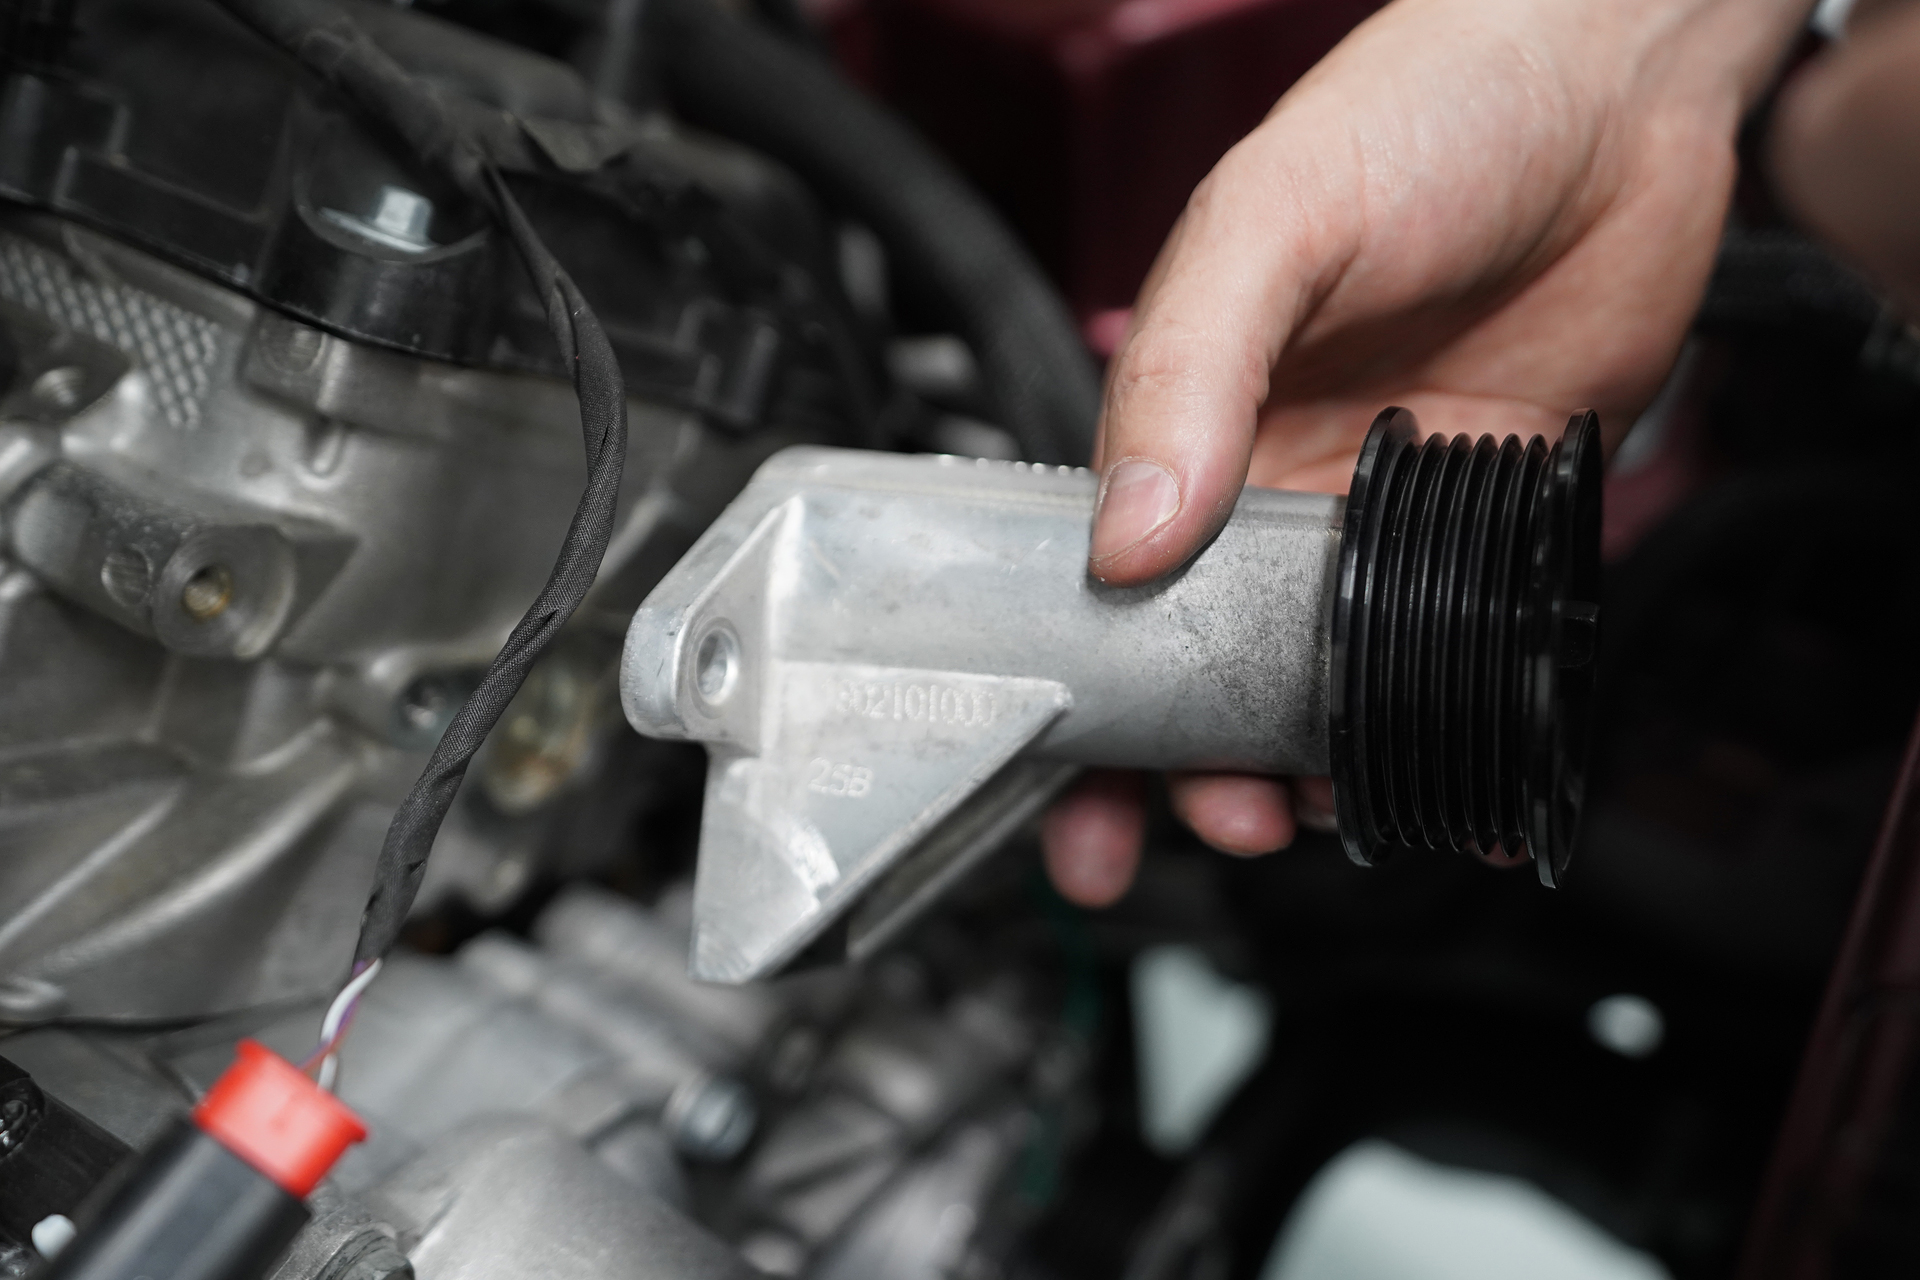
Remove the bolts that hold the idler bracket assembly to the cylinder head and use a 13mm to remove the timing cover bolts below the idler bracket mounting location. Remove the ribbed idler from the main bracket but keep the bolt, washer, pulley, and pulley shaft together.
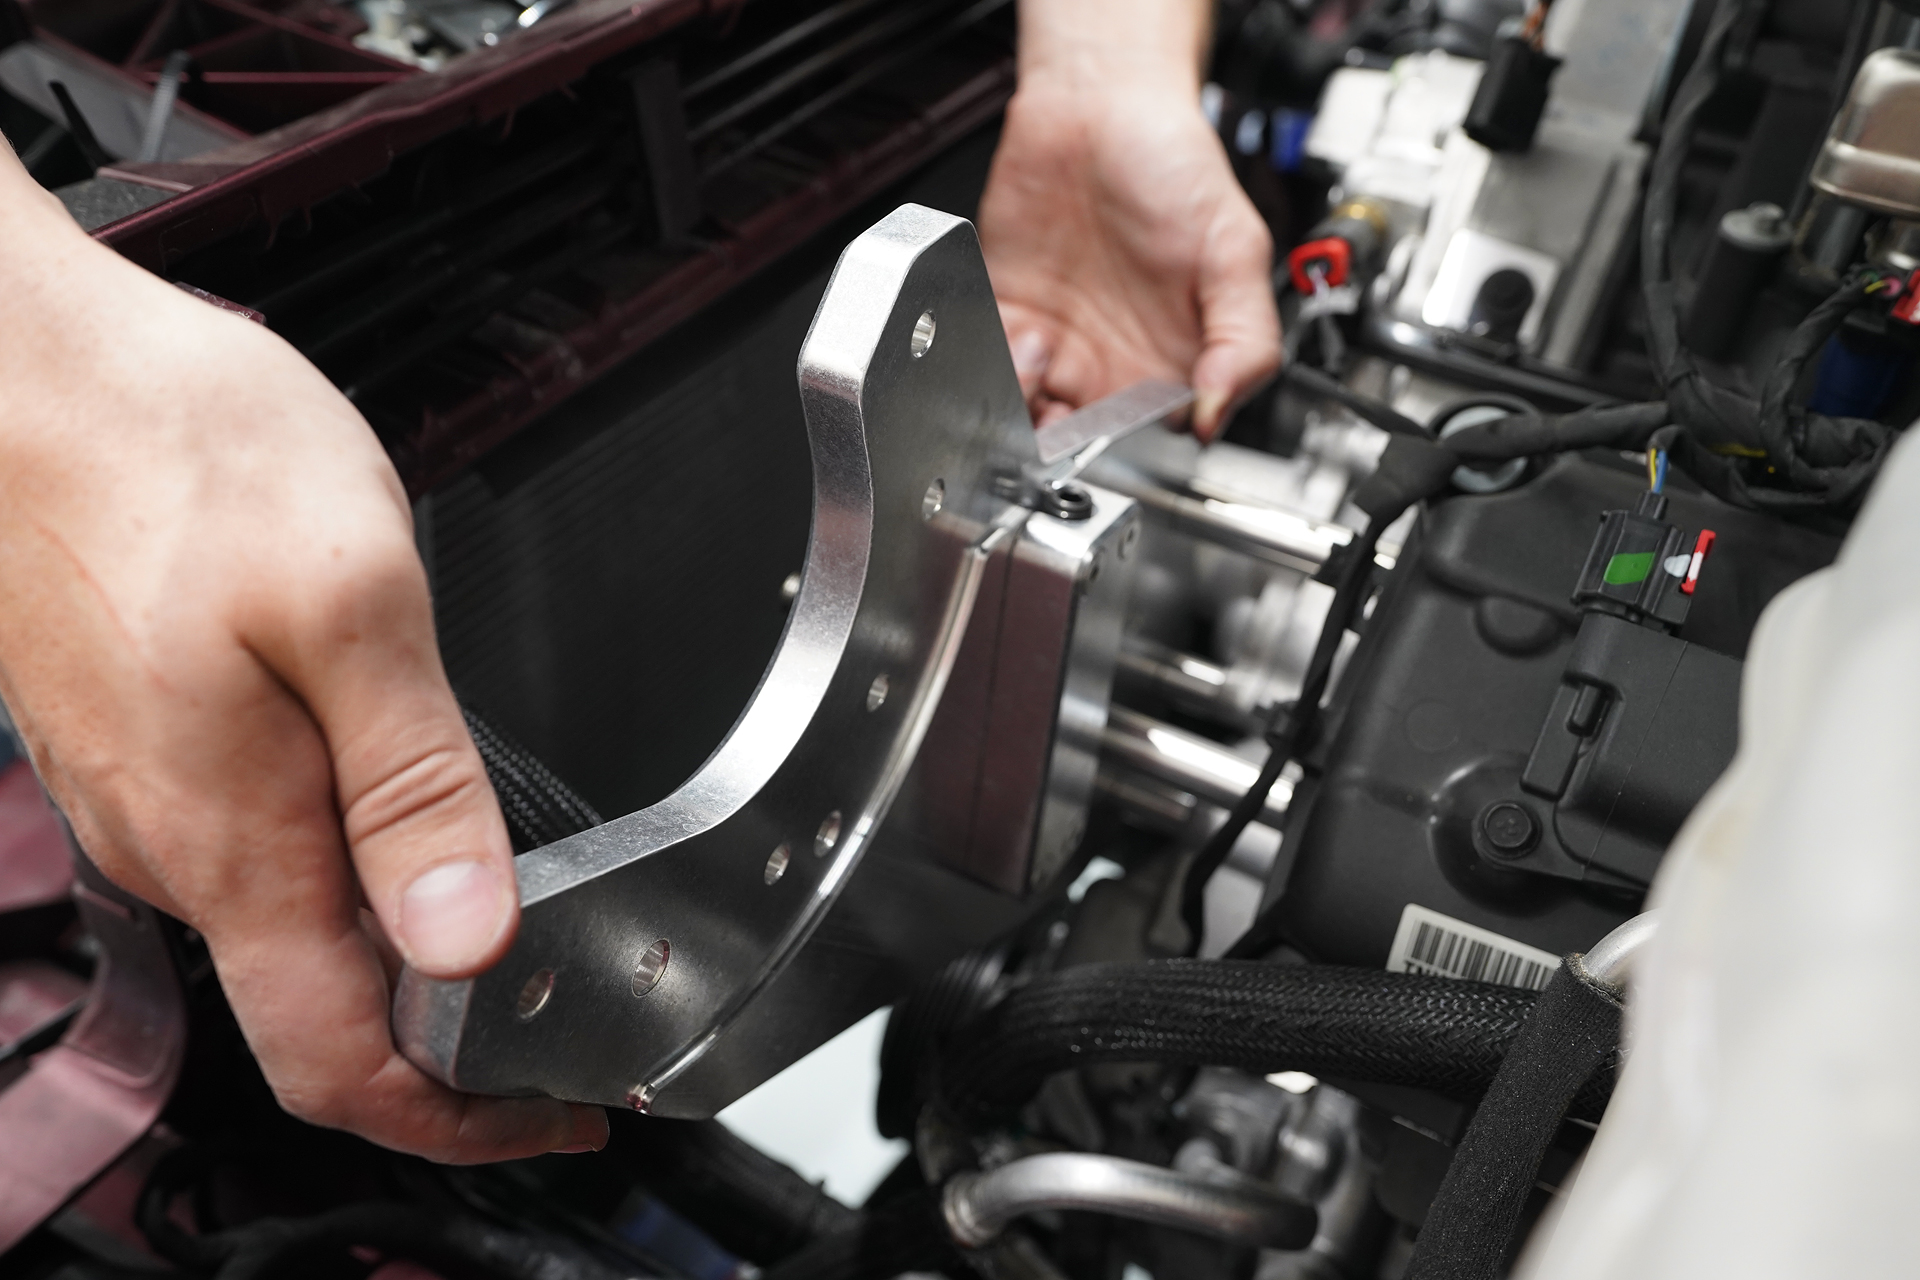
Next, install the main bracket onto the engine with the supplied bolts, washers, and spacers.
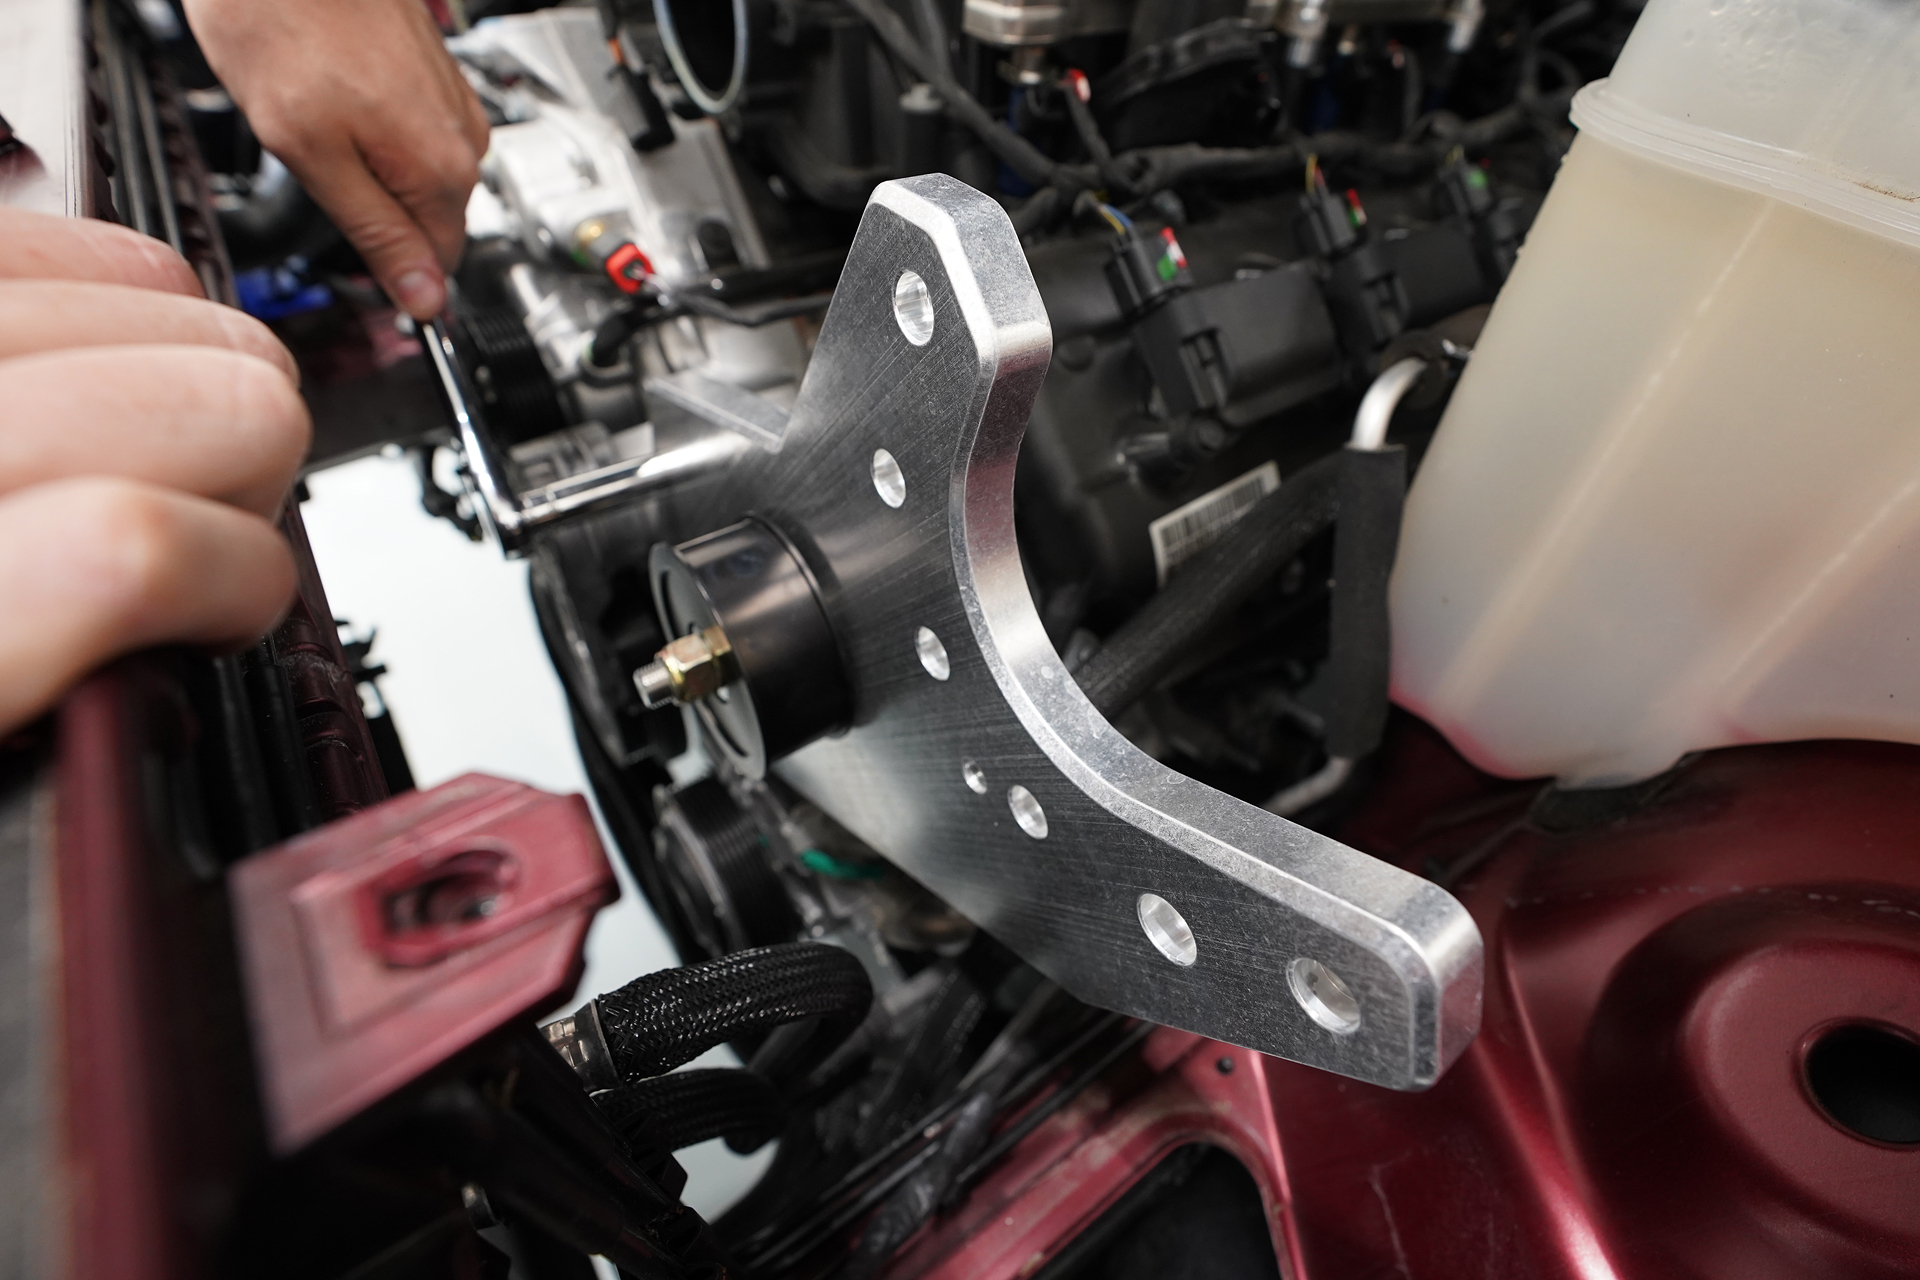
The layout of the main bracket holes and spacers provides a flush fit to the engine. The chrome finish on the main bracket provides a little flash with its function.
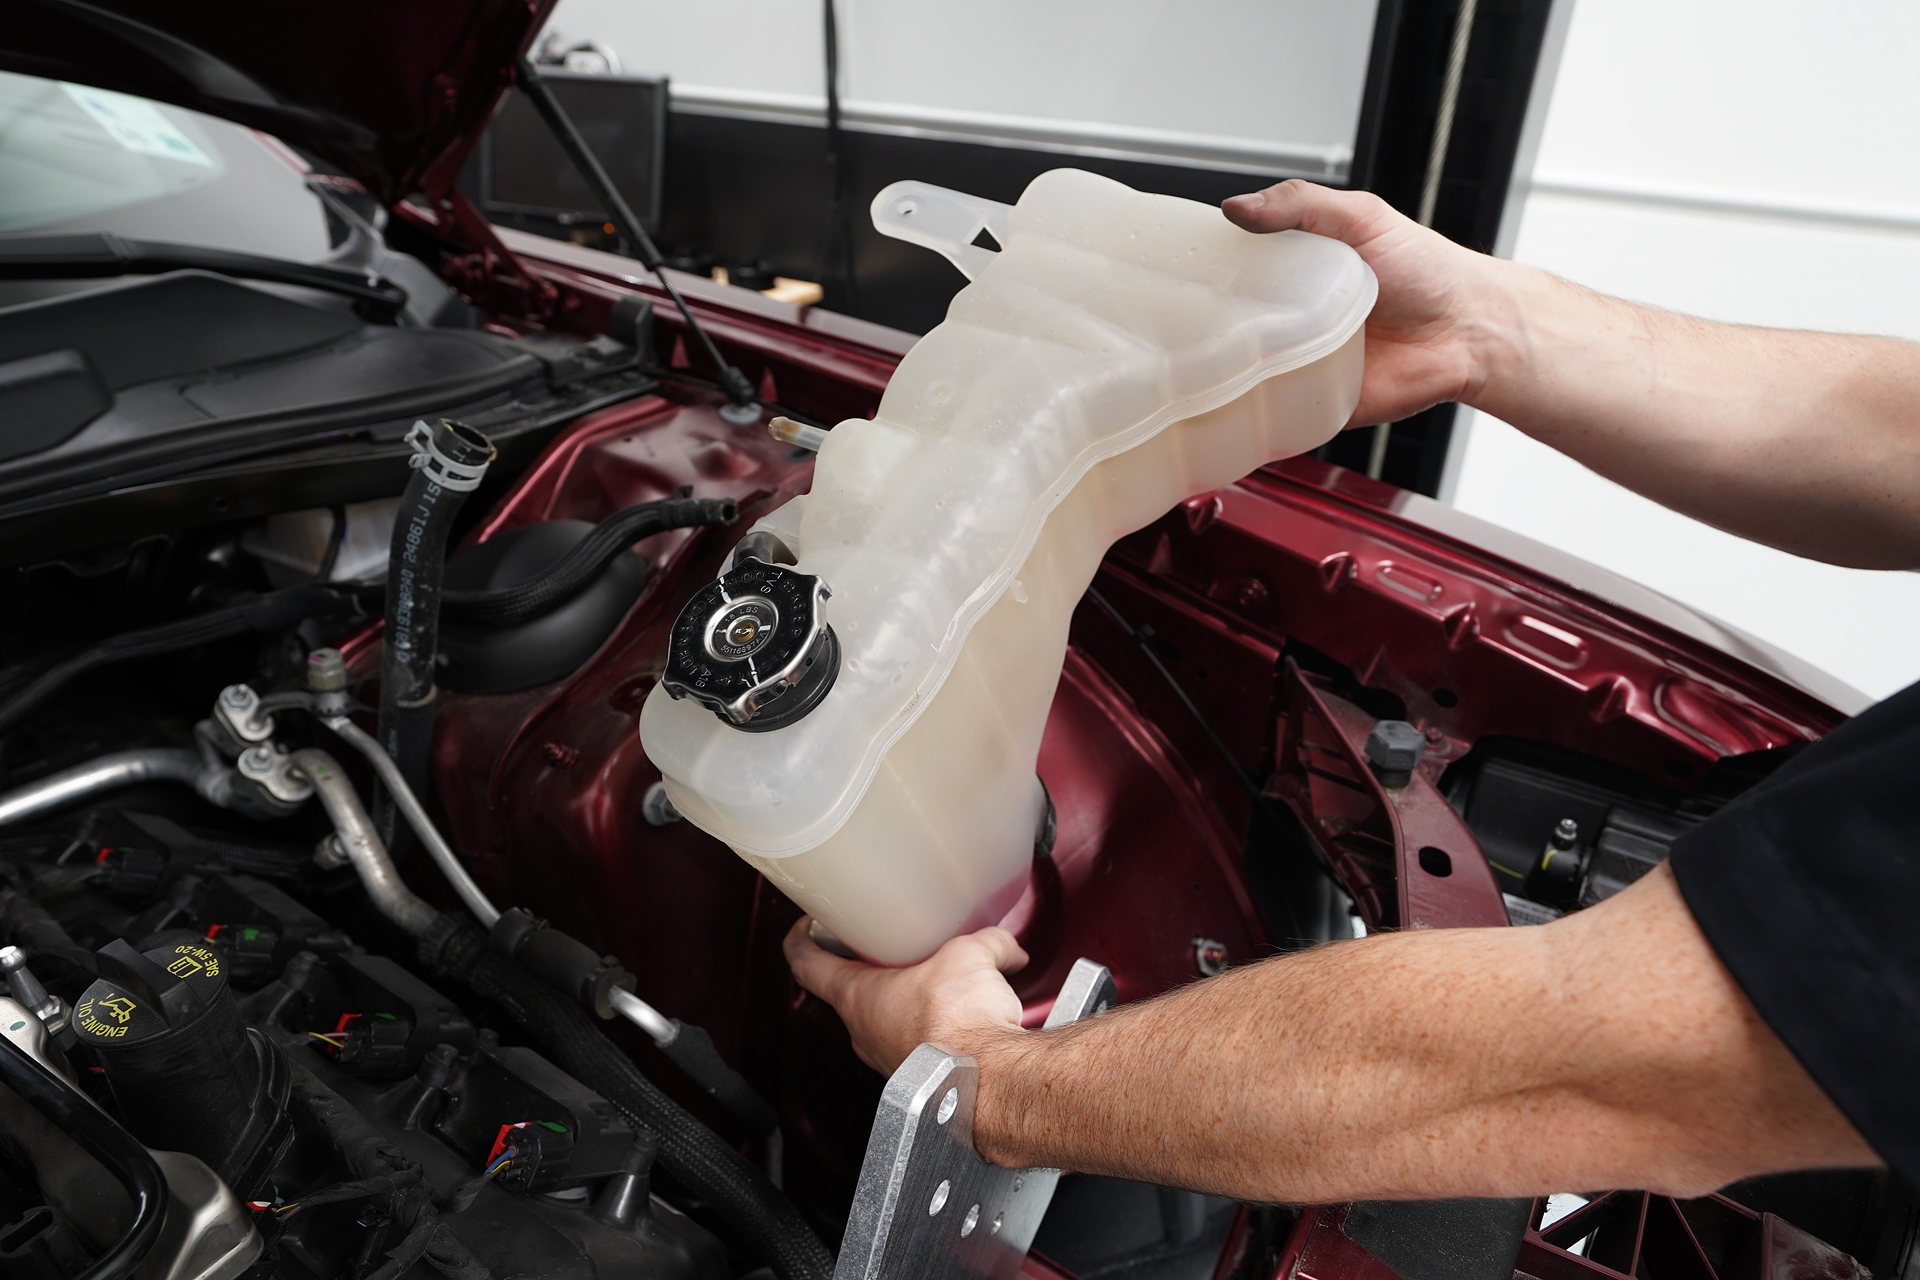
If you haven’t already removed the reservoir, remove it at this time. The reservoir is not reused, and the reservoir hose and the heater hose needs to be rerouted to reach the new location of the reservoir.

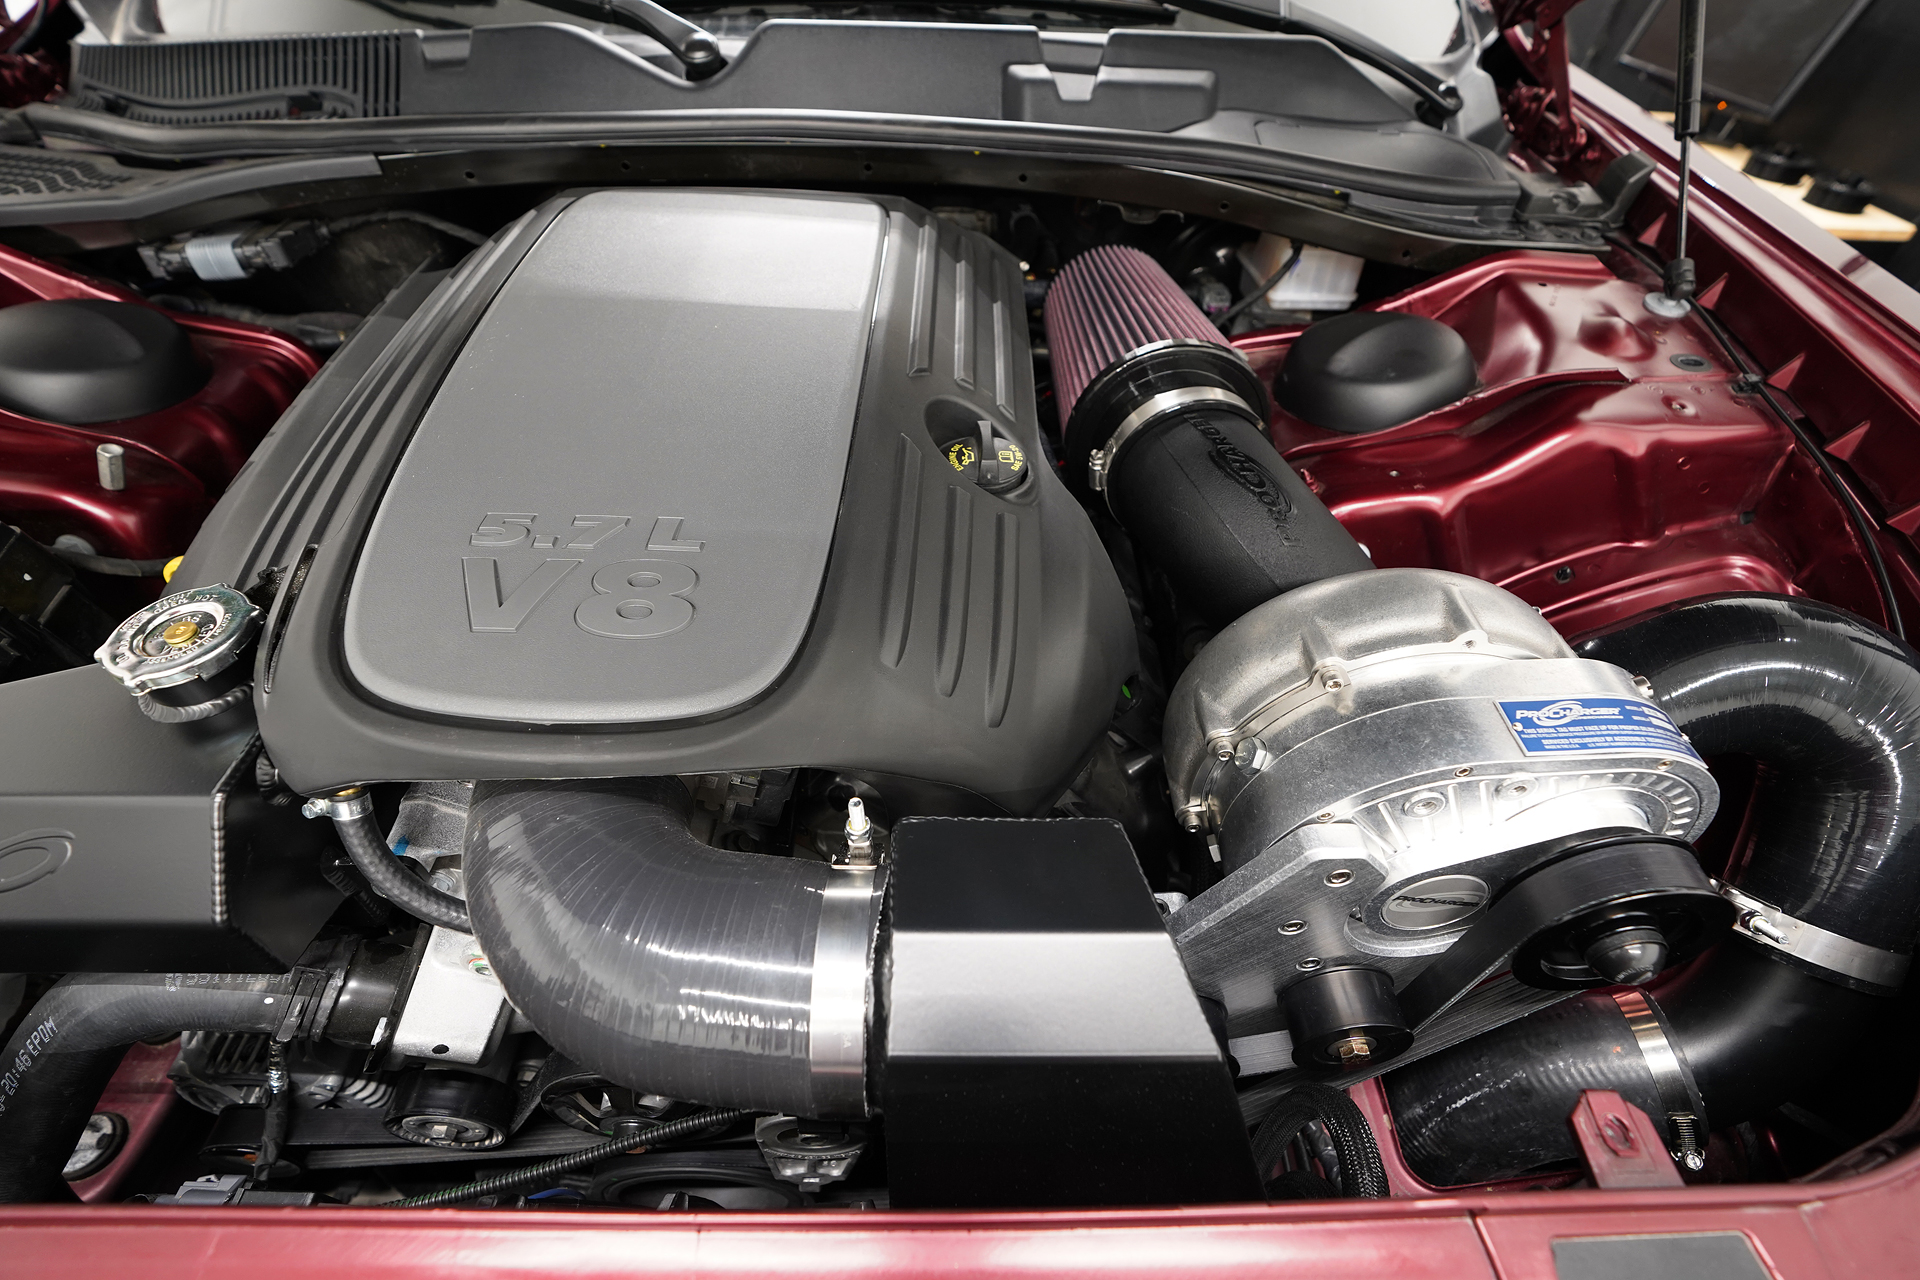
Next, install the ProCharger head unit onto the main bracket.

Remove the ProCharger oil fill tag from the head unit and fill the head unit with one of the supplied bottles of ProCharger supercharger oil. You need to remove the fill plug/dipstick using a flat headed screwdriver. After filling the head unit with oil, replace the fill plug/dipstick. If pre-installed on the bracket, remove the small smooth idler pulley.
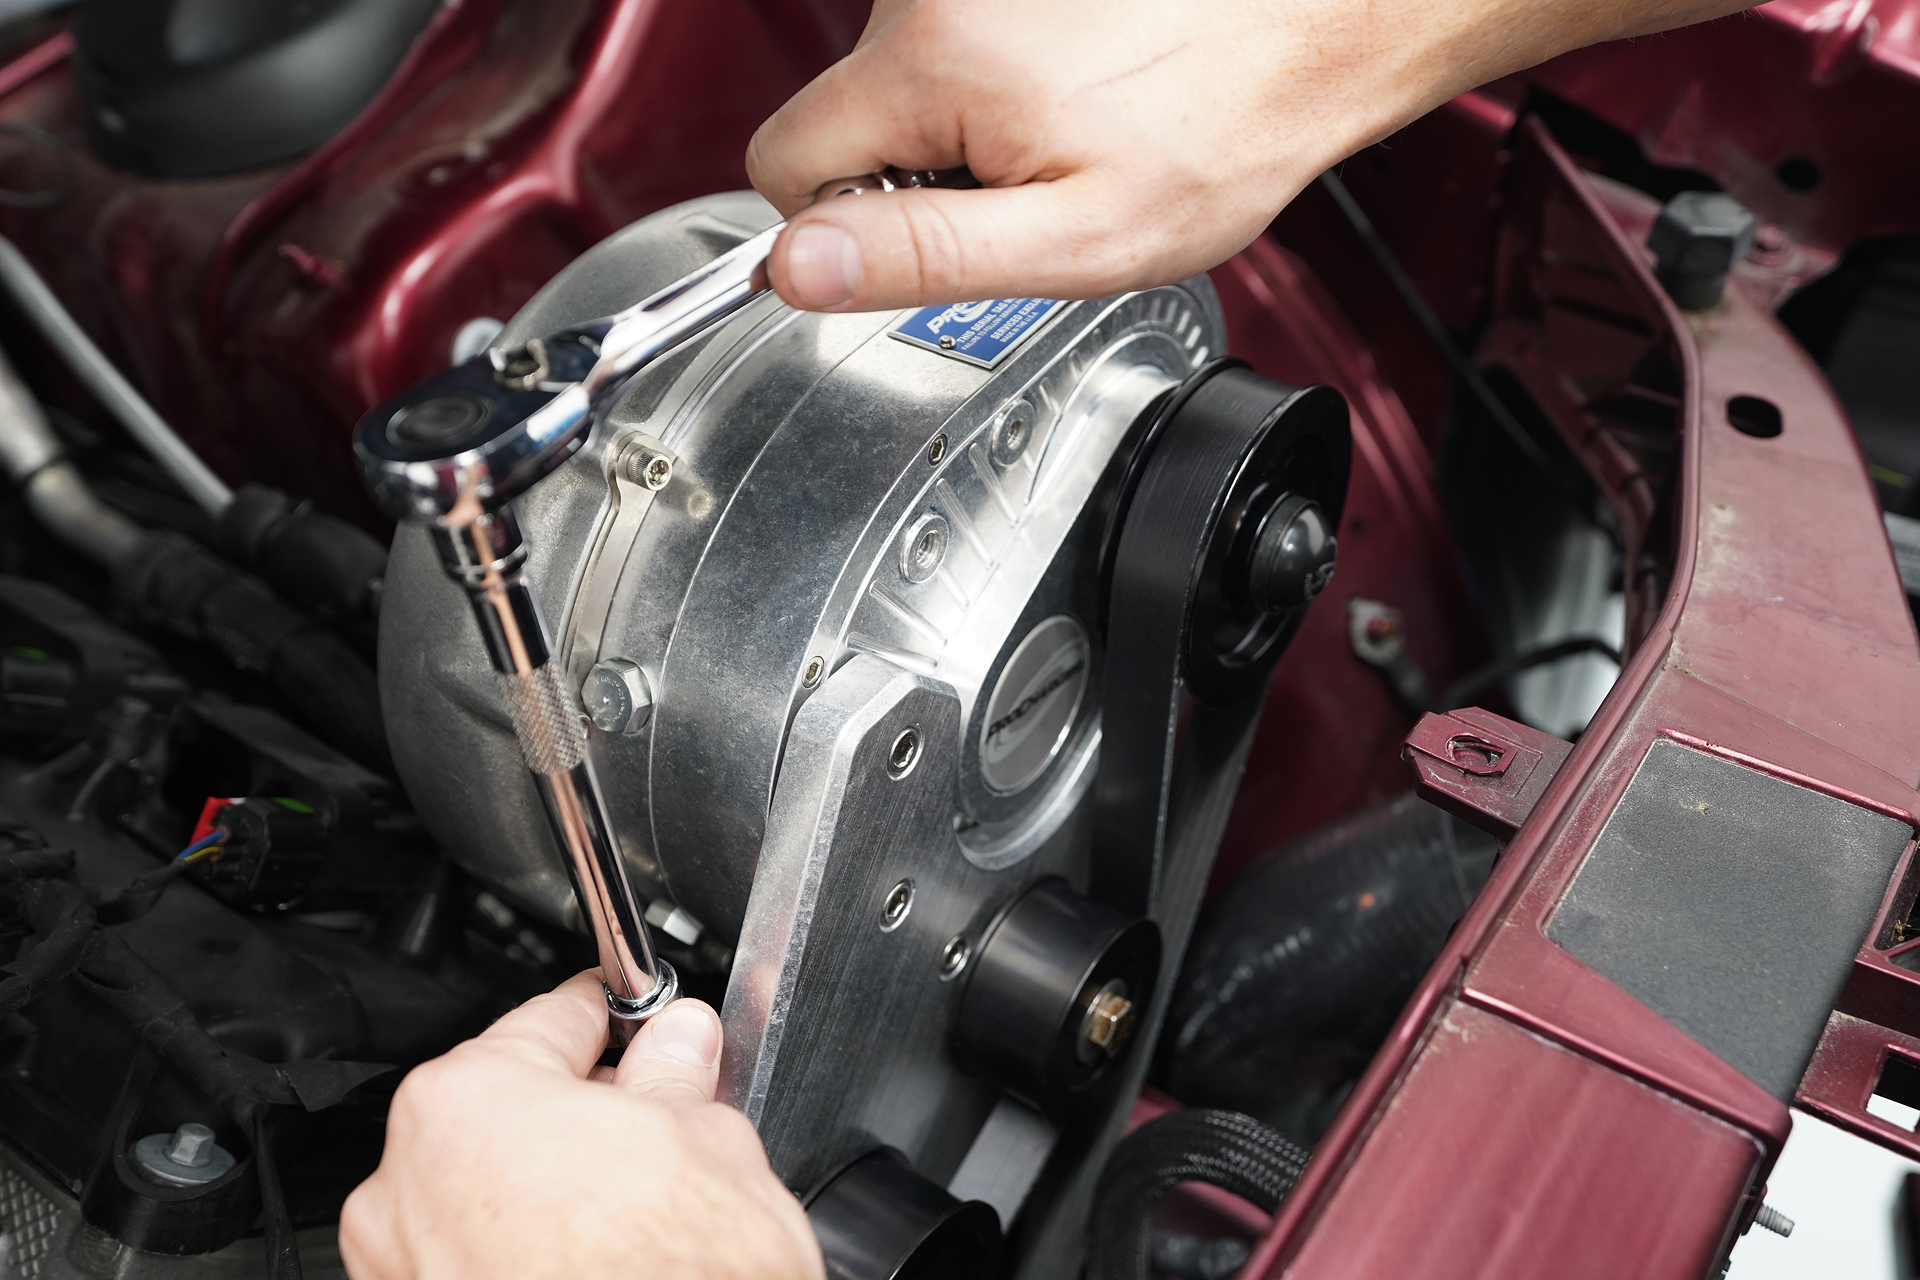
Route the supercharger belt through the various pulleys and tighten the tensioner bolt to achieve the proper tension of the belt. Occasional checking of the belt tension ensures proper supercharger performance and maintain a proper belt life.
Step Four: Install the Intercooler
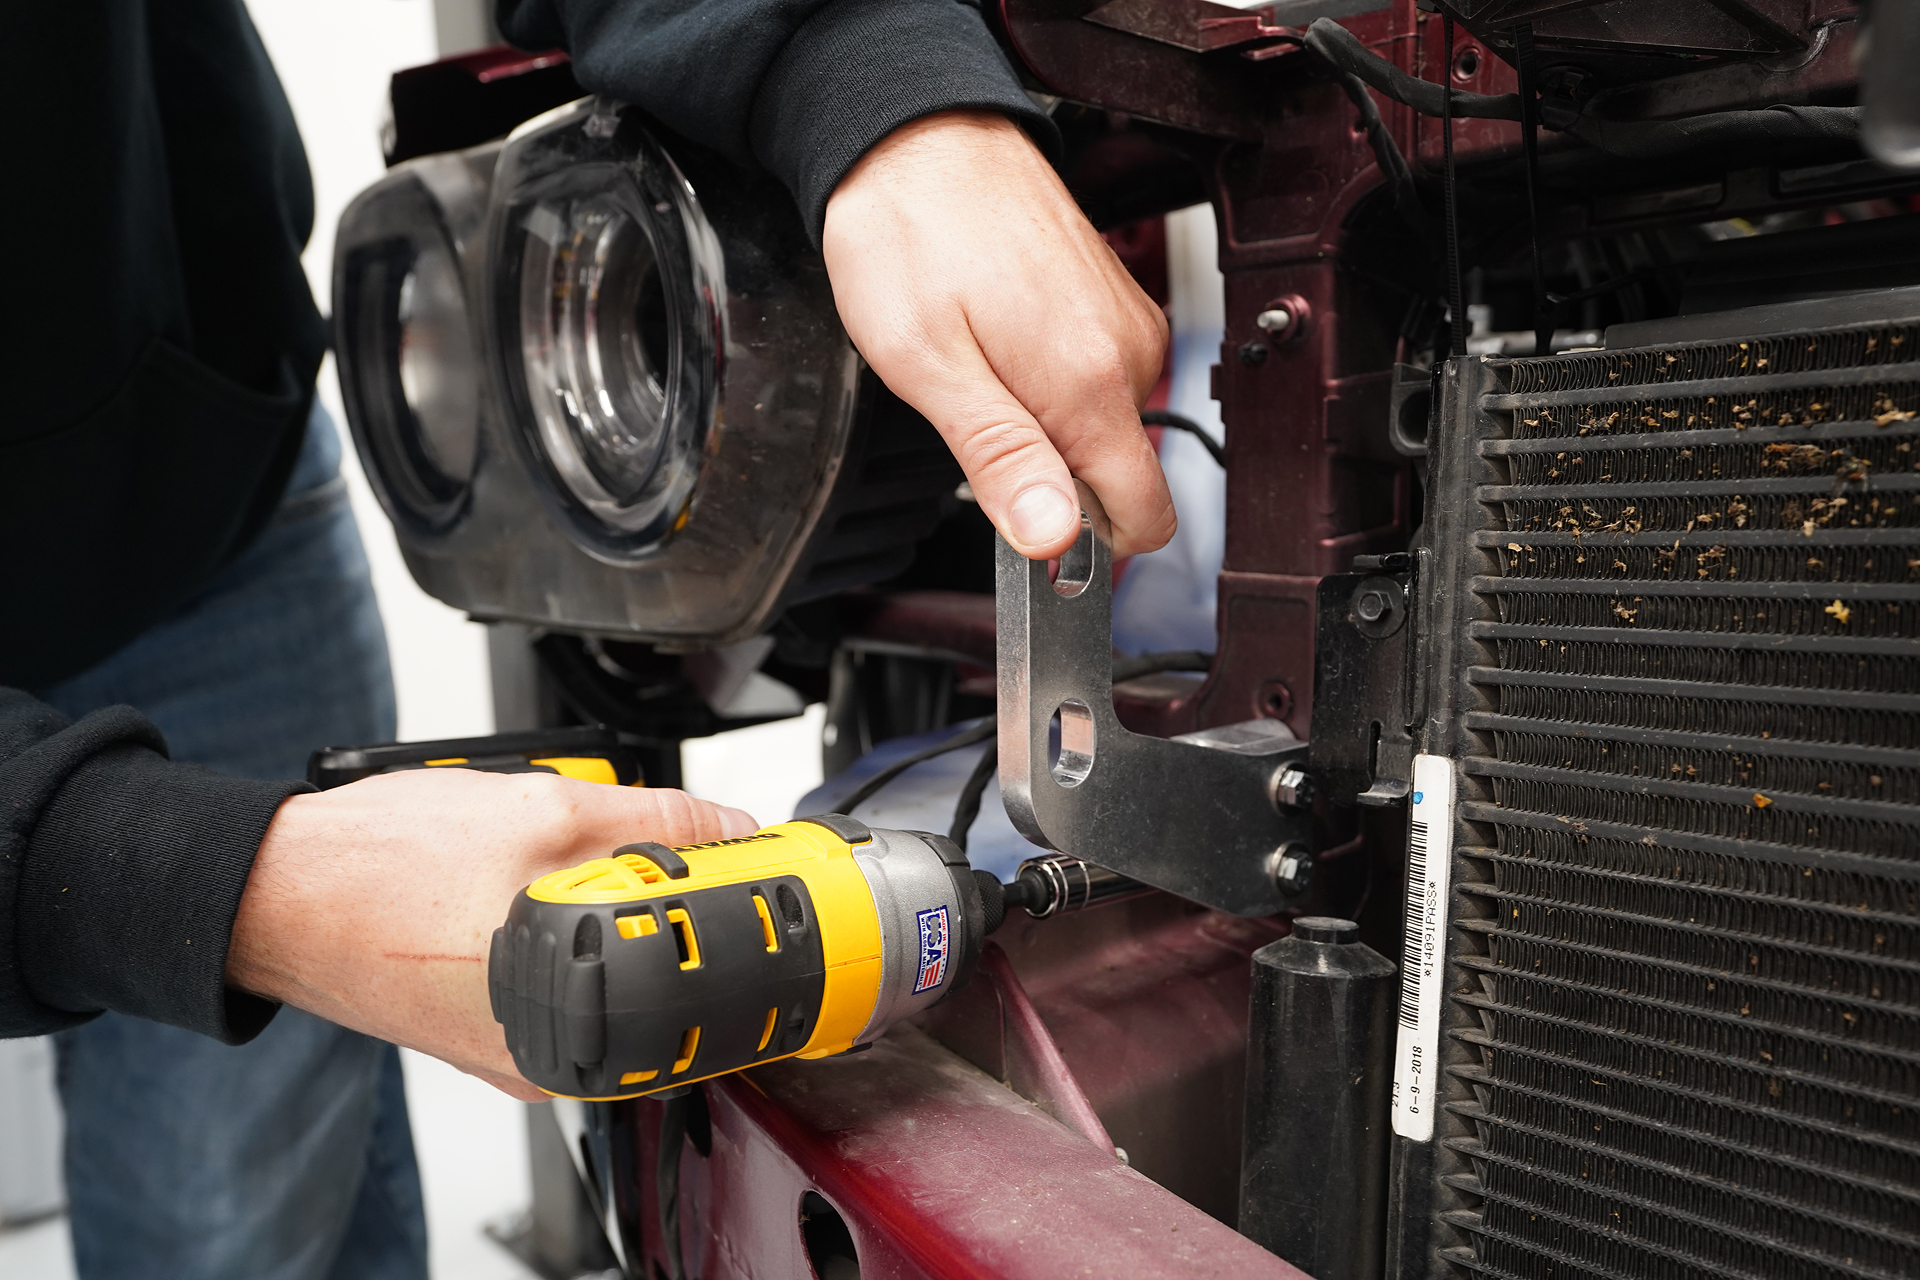
Install the intercooler brackets to the factory bolt holes on the radiator support.
Tech Tip: If the body holes do not allow for proper bracket mounting, drill out the top hole to a larger size.
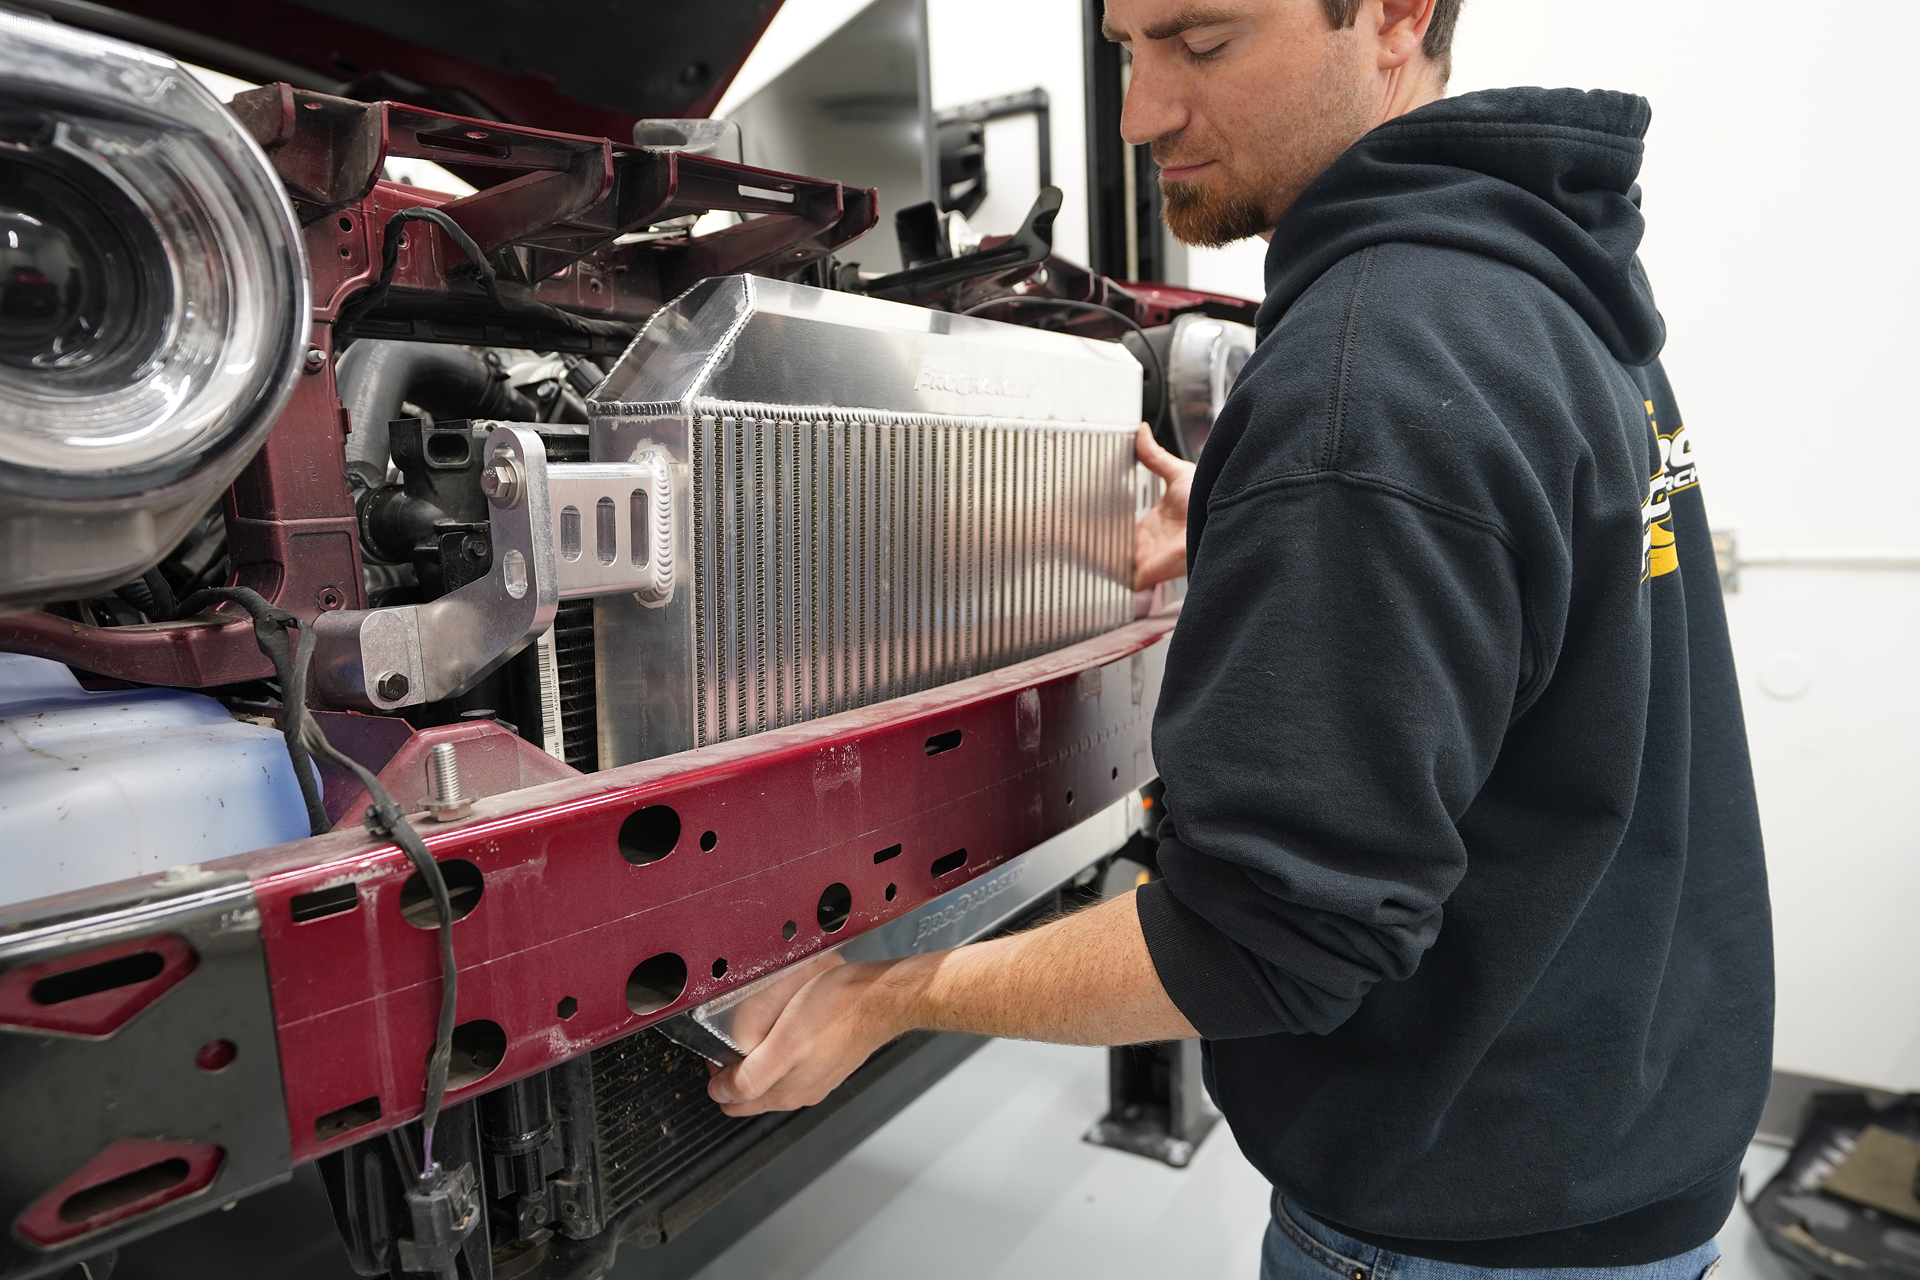
Slide the intercooler up from underneath, between the steel bumper and the air conditioning condenser, then mount it to the brackets.
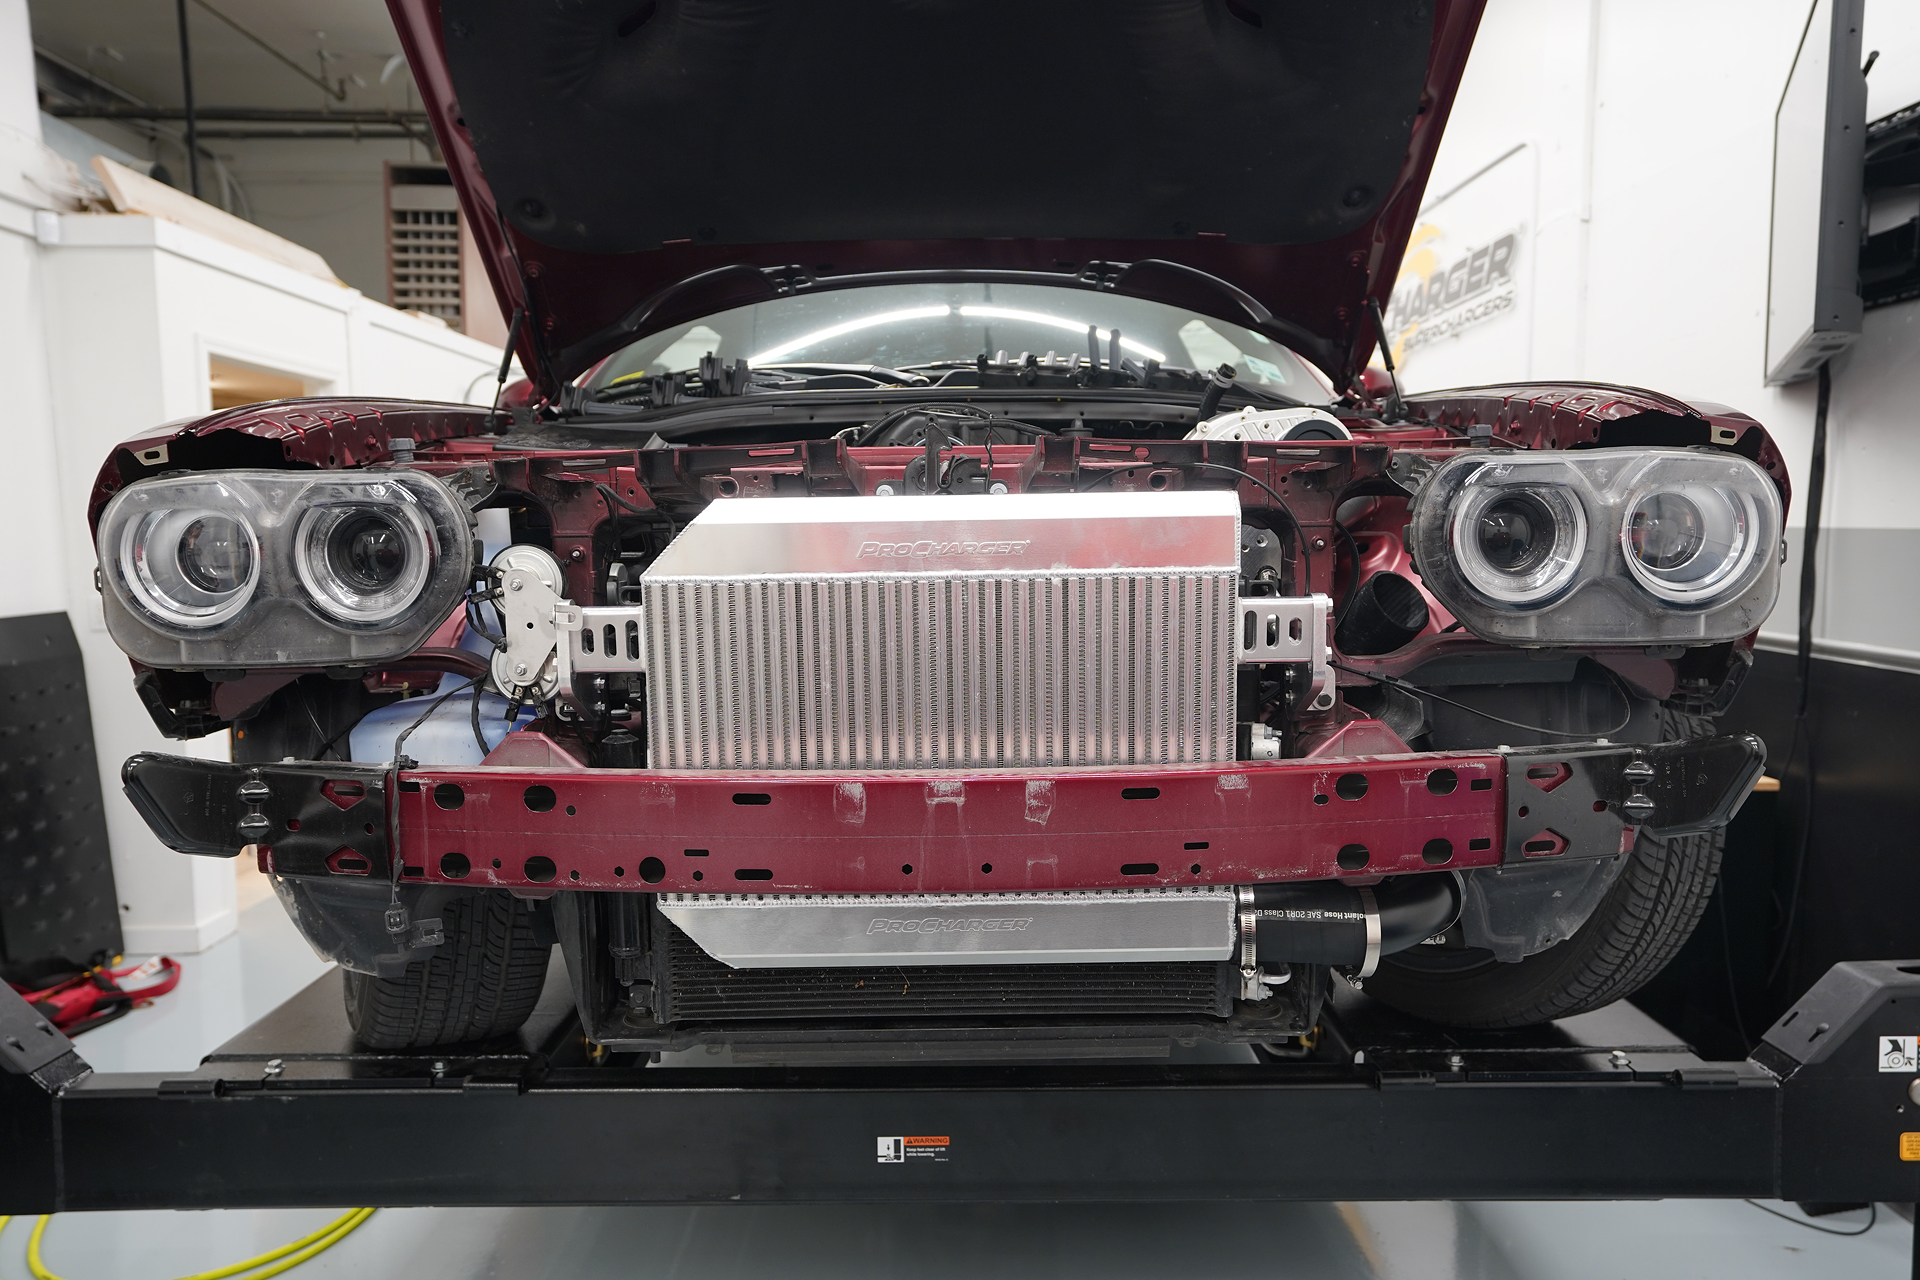
The ProCharger brackets have some adjustability which allows for some fine-tuning of the installation. You want to position the intercooler as high up as possible before you tighten the assembly.

Place a small amount of lube on the IAT sensor and insert it into the bung on the air plenum. Connect the sensor to the factory wiring harness using the IAT extension harness.
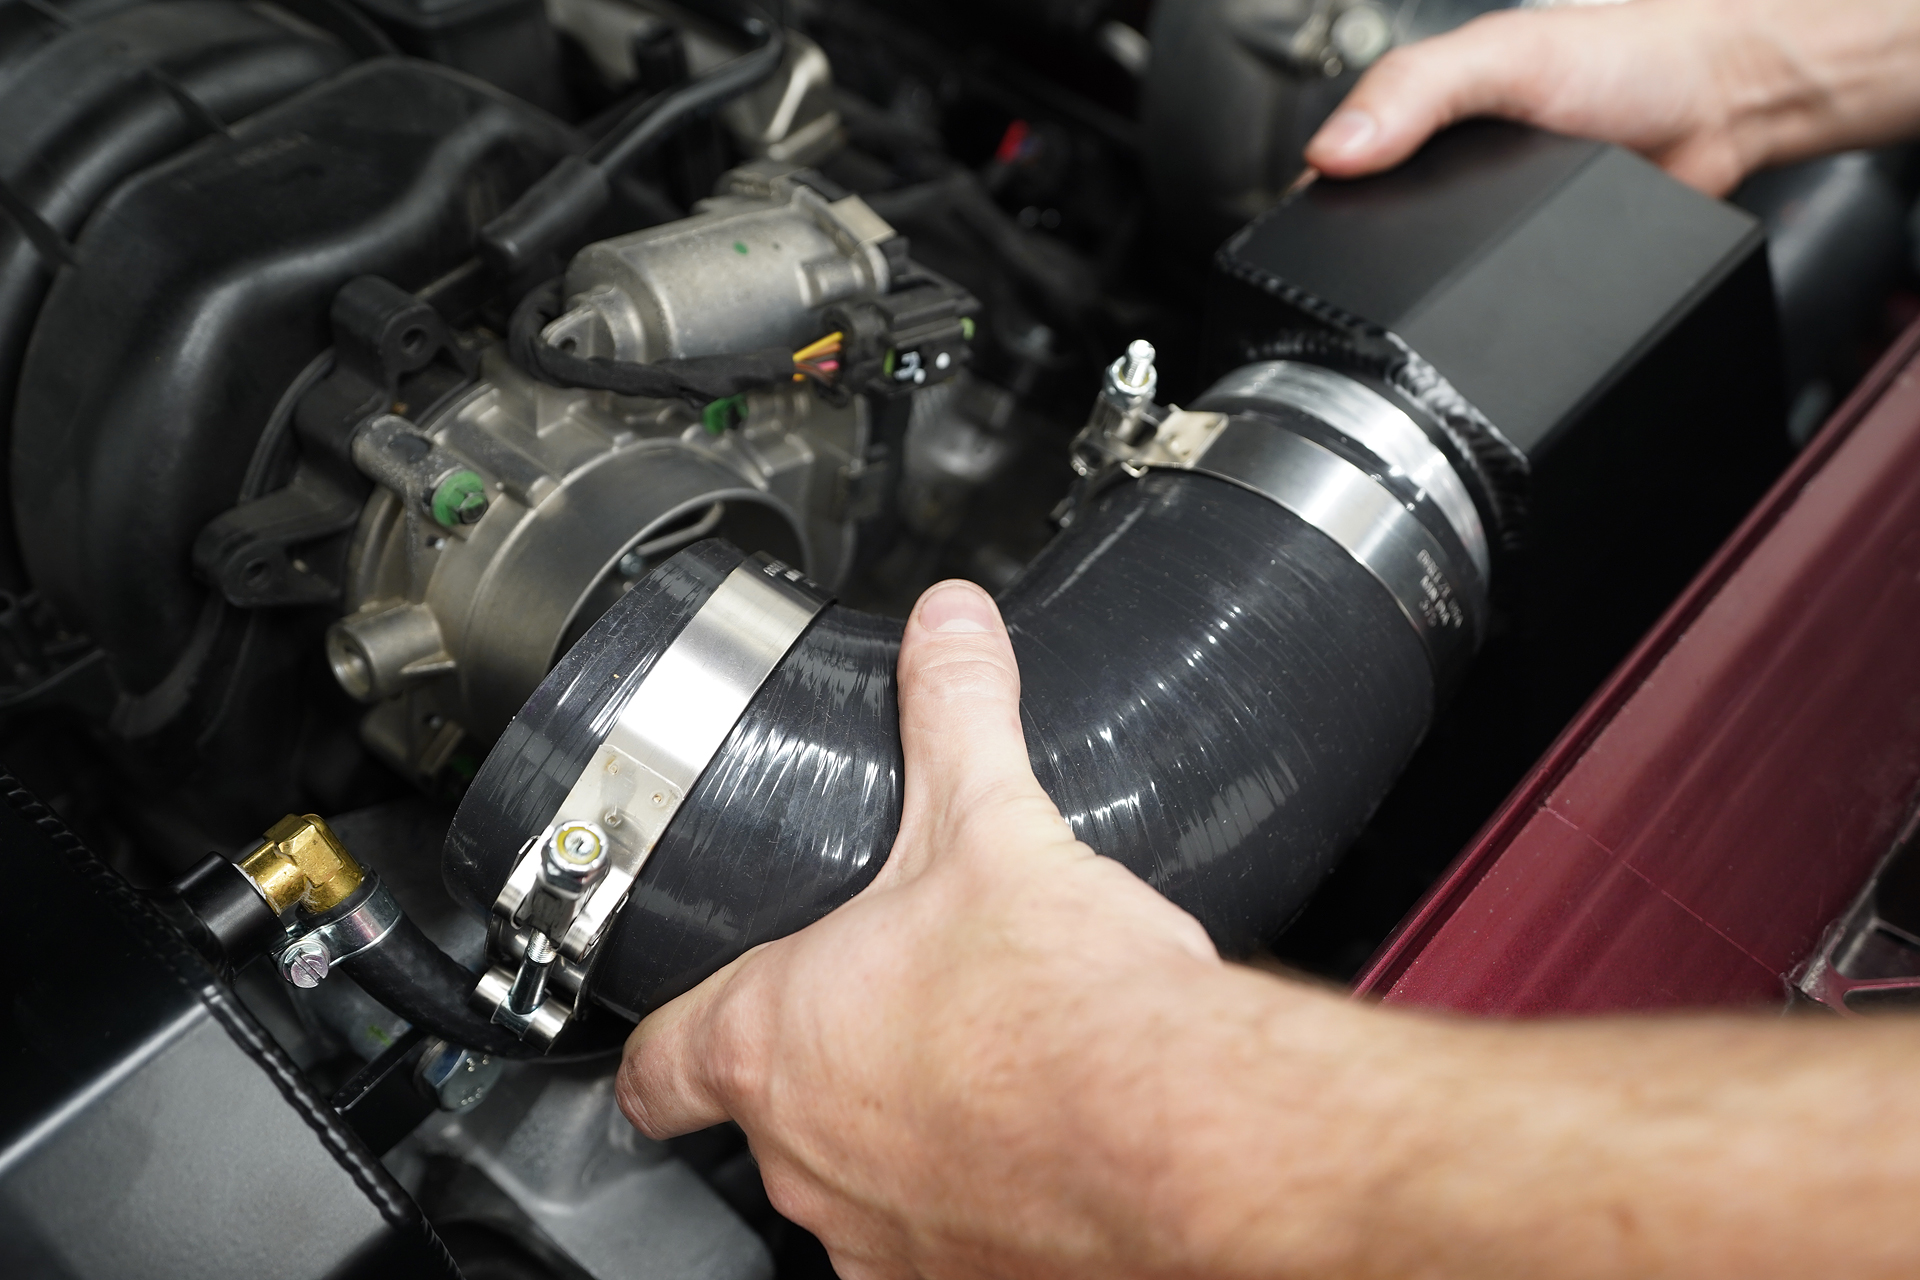
With the throttle body reinstalled, connect the air plenum to the throttle body using the silicone 3.5-inch 90-degree elbow. All the ductwork has been designed to fit correctly through and around the radiator support.
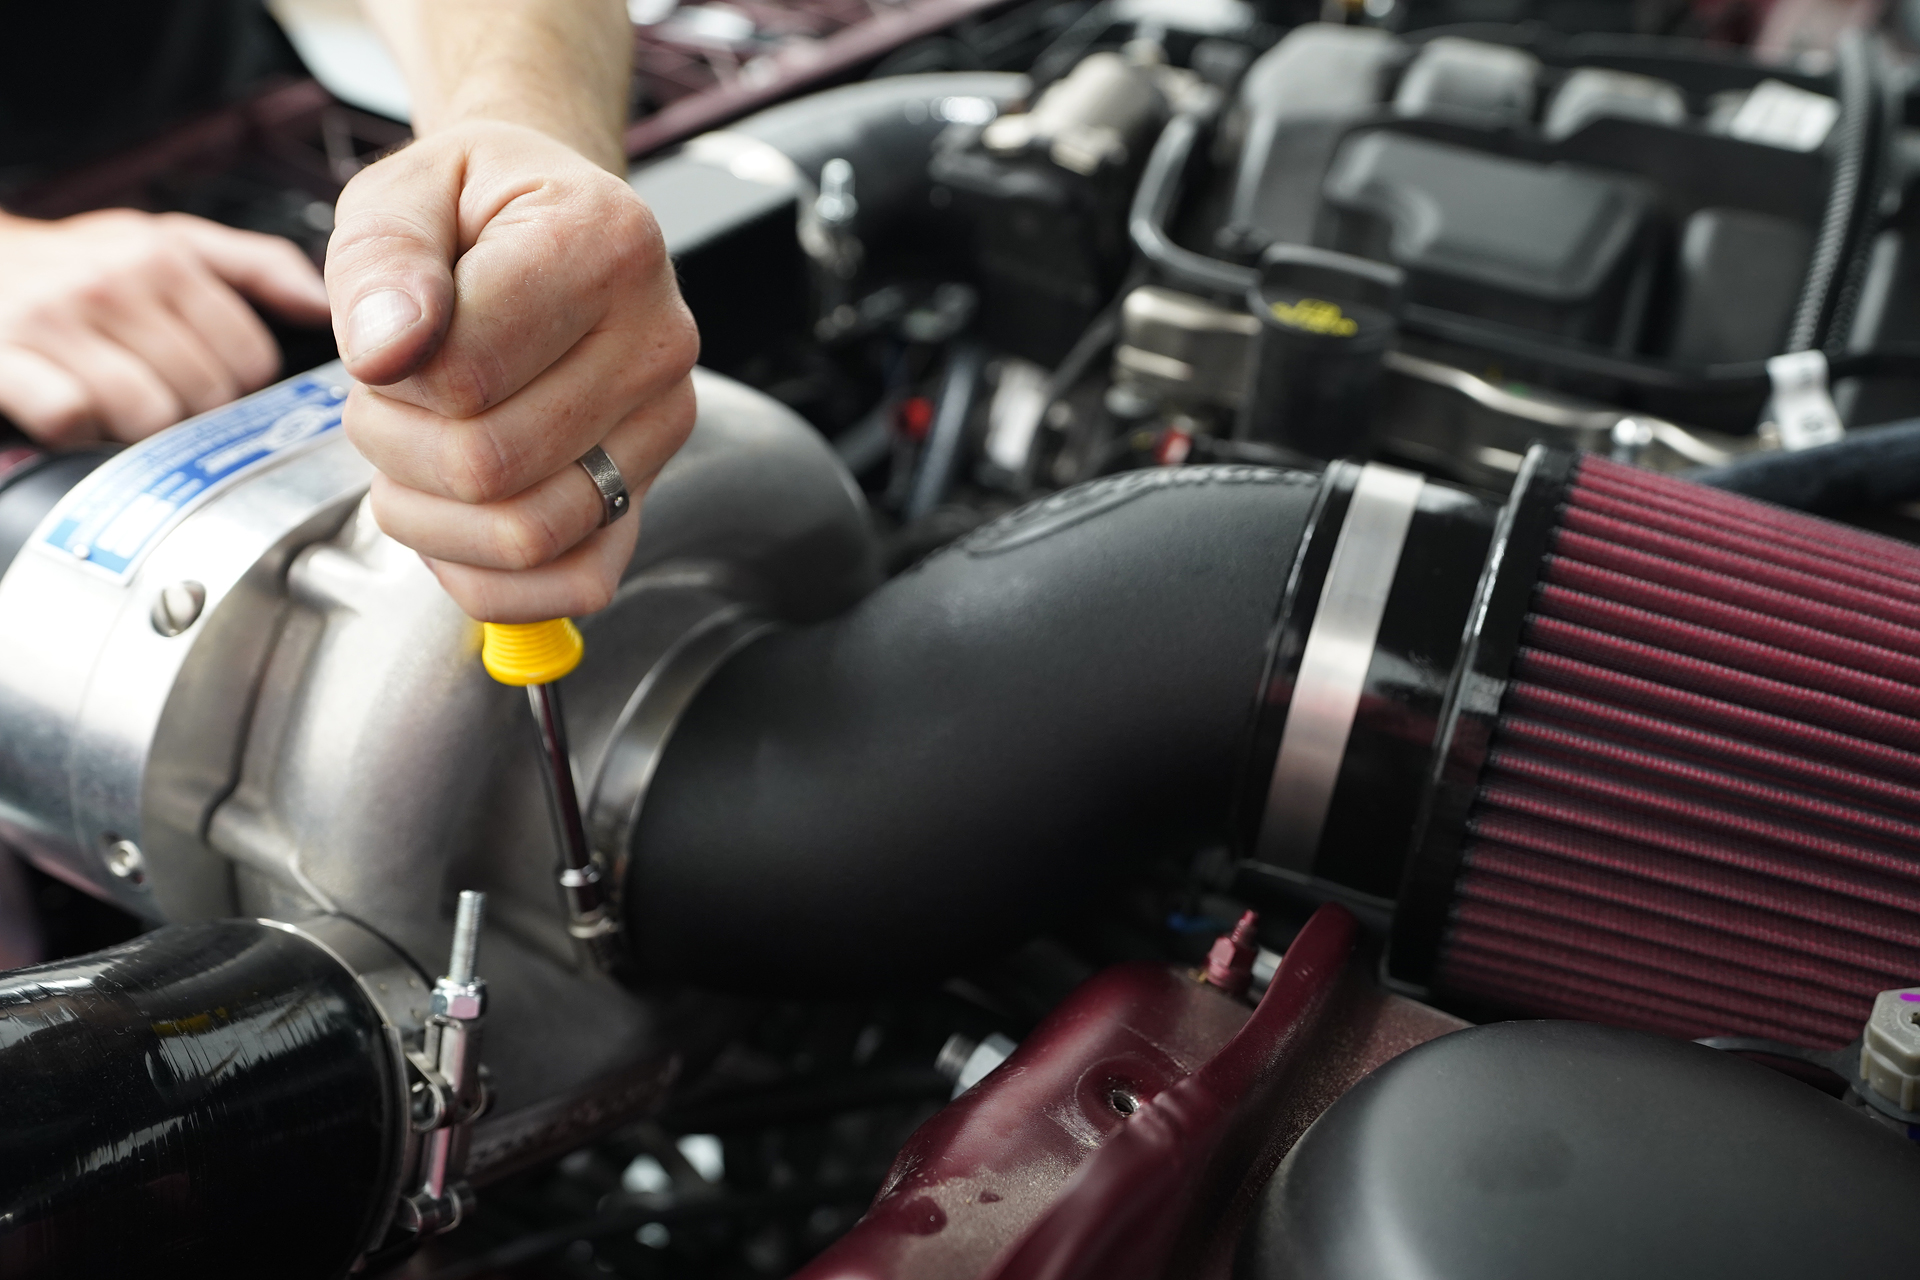
A conical filter and plastic ductwork was attached to the supercharger to keep the air entering it, clean. The factory PCV hose was shortened to length and slipped onto a barbed fitting attached to the plastic ductwork.
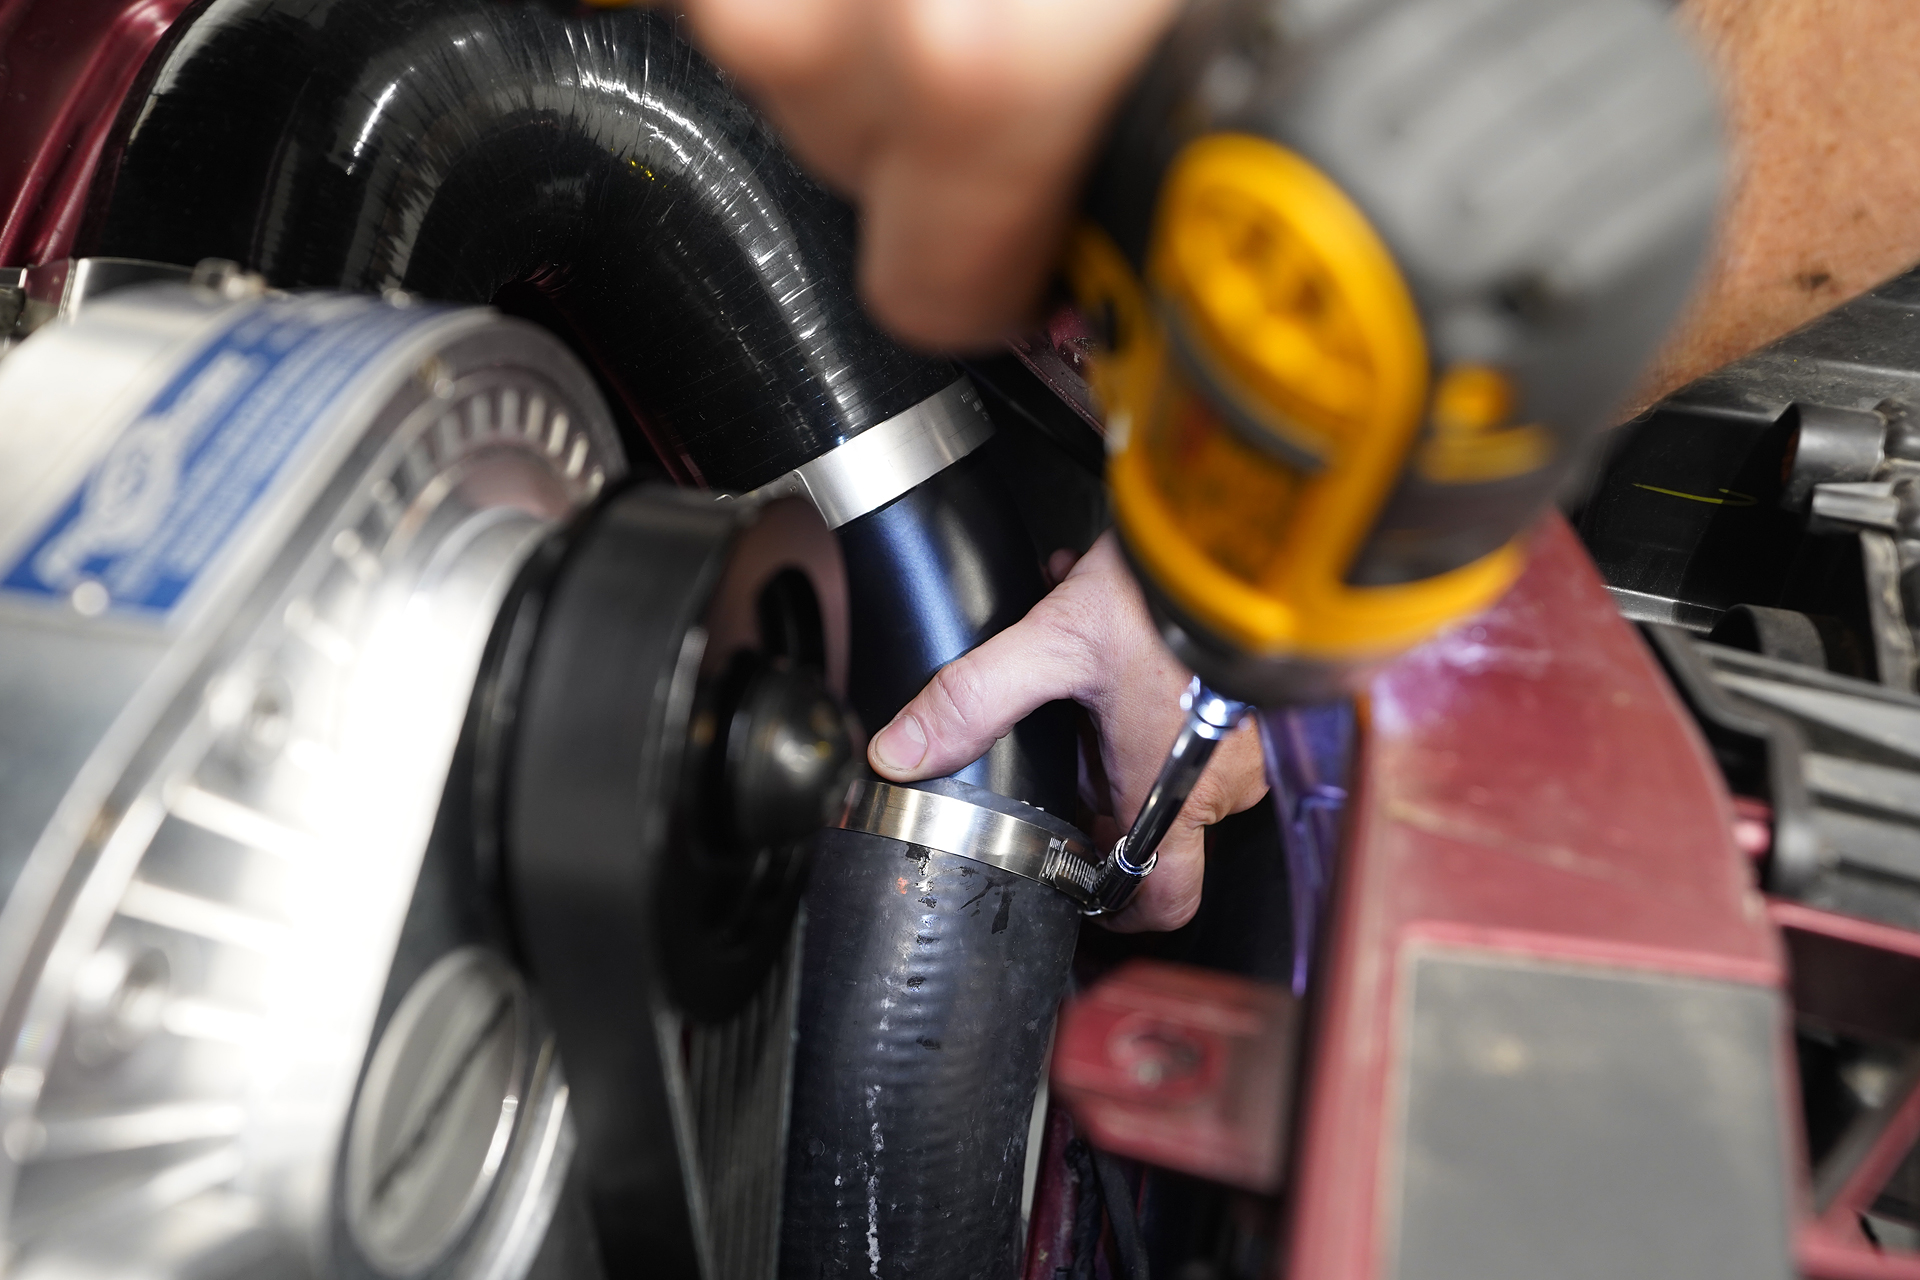
Slide one of the 90-degree rubber elbows onto the open end of the tube. The other end should point through the triangular opening in the fender.
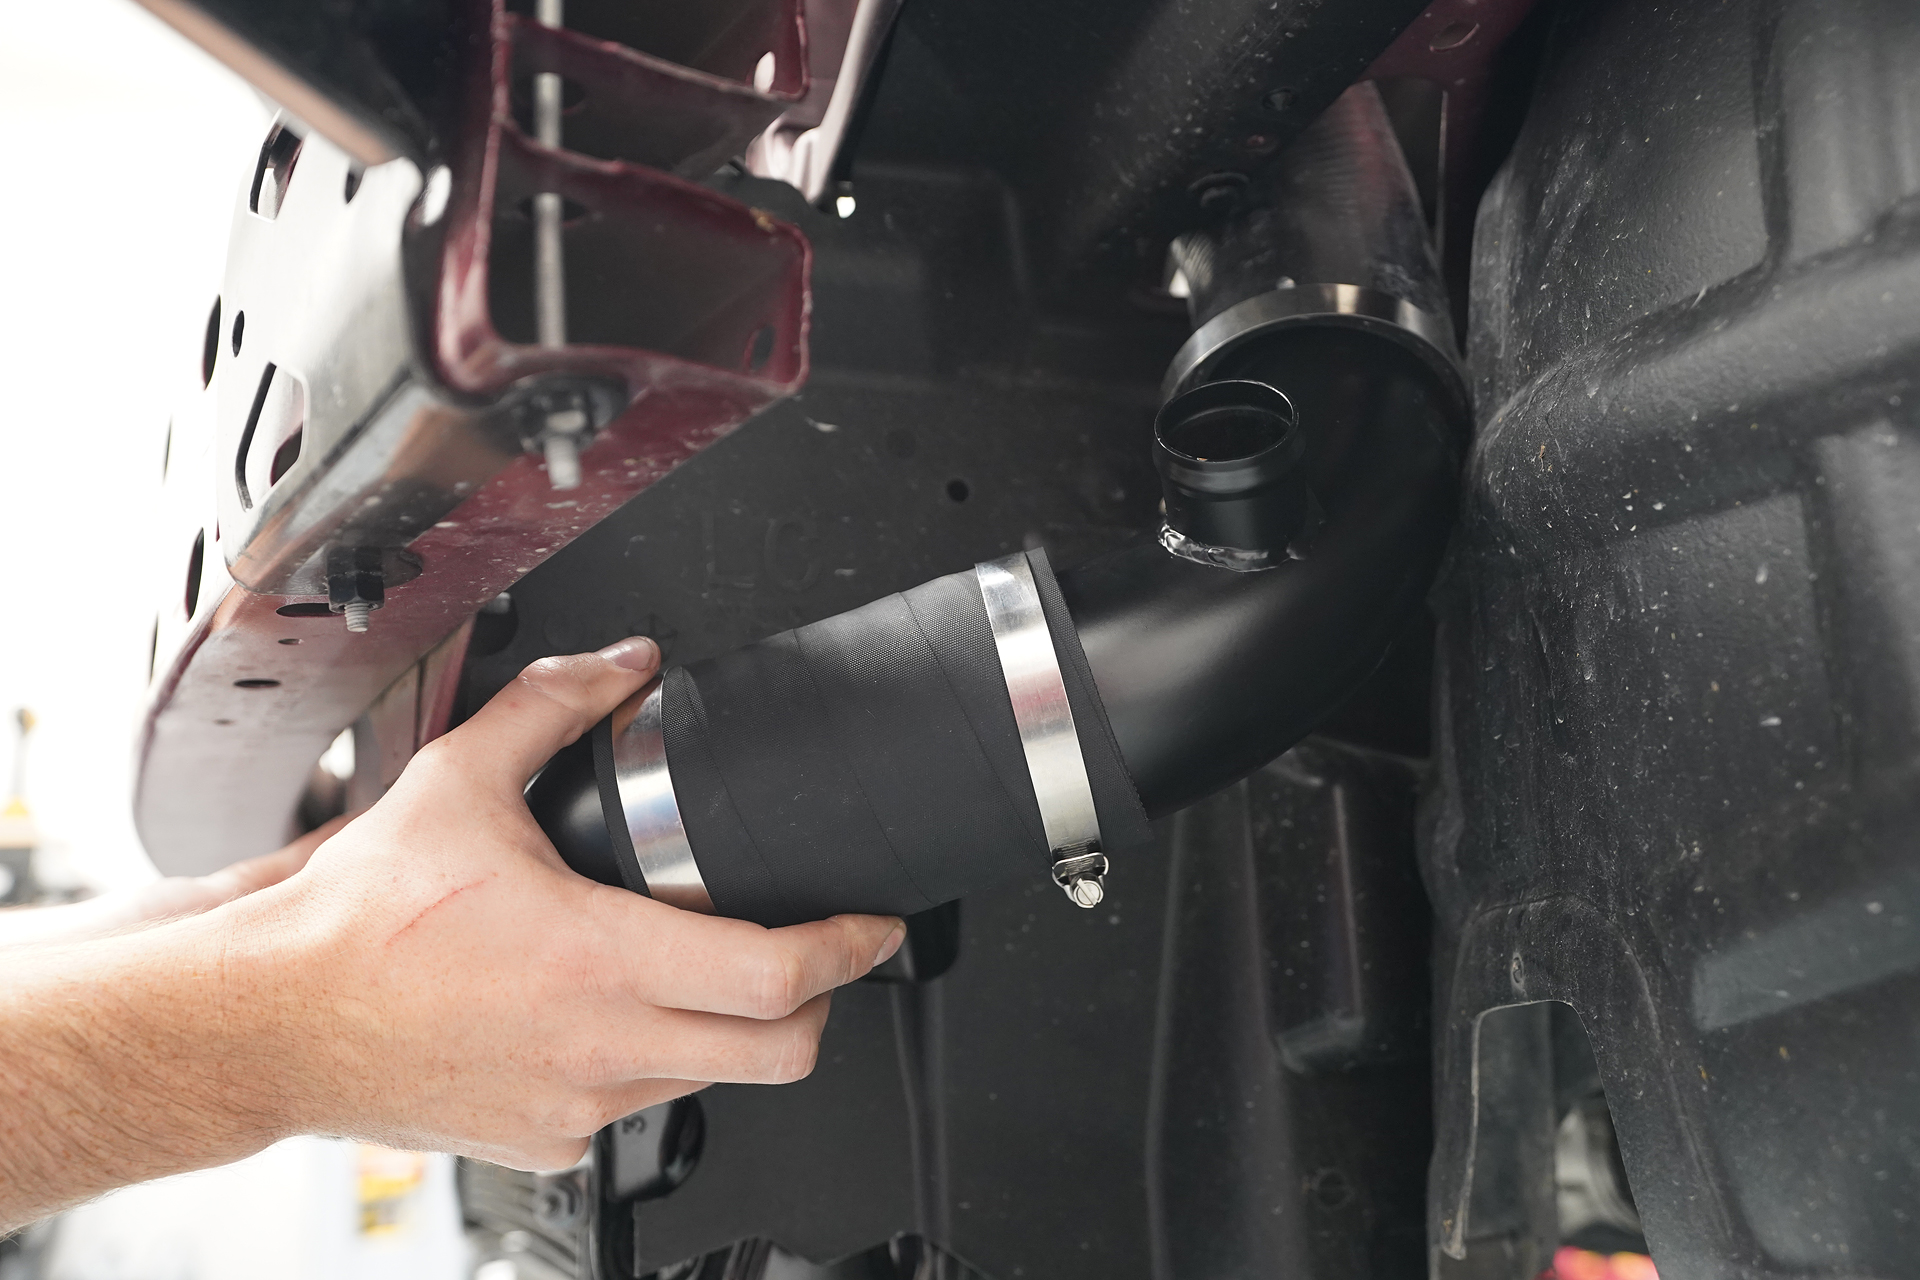
From under the vehicle, slide the straight rubber coupler onto the bottom bung of the intercooler. Then, connect the 45-degree rubber coupler to the 90-degree tube coming through the fender. Secure with hose clamps.
Step Five: Surge System
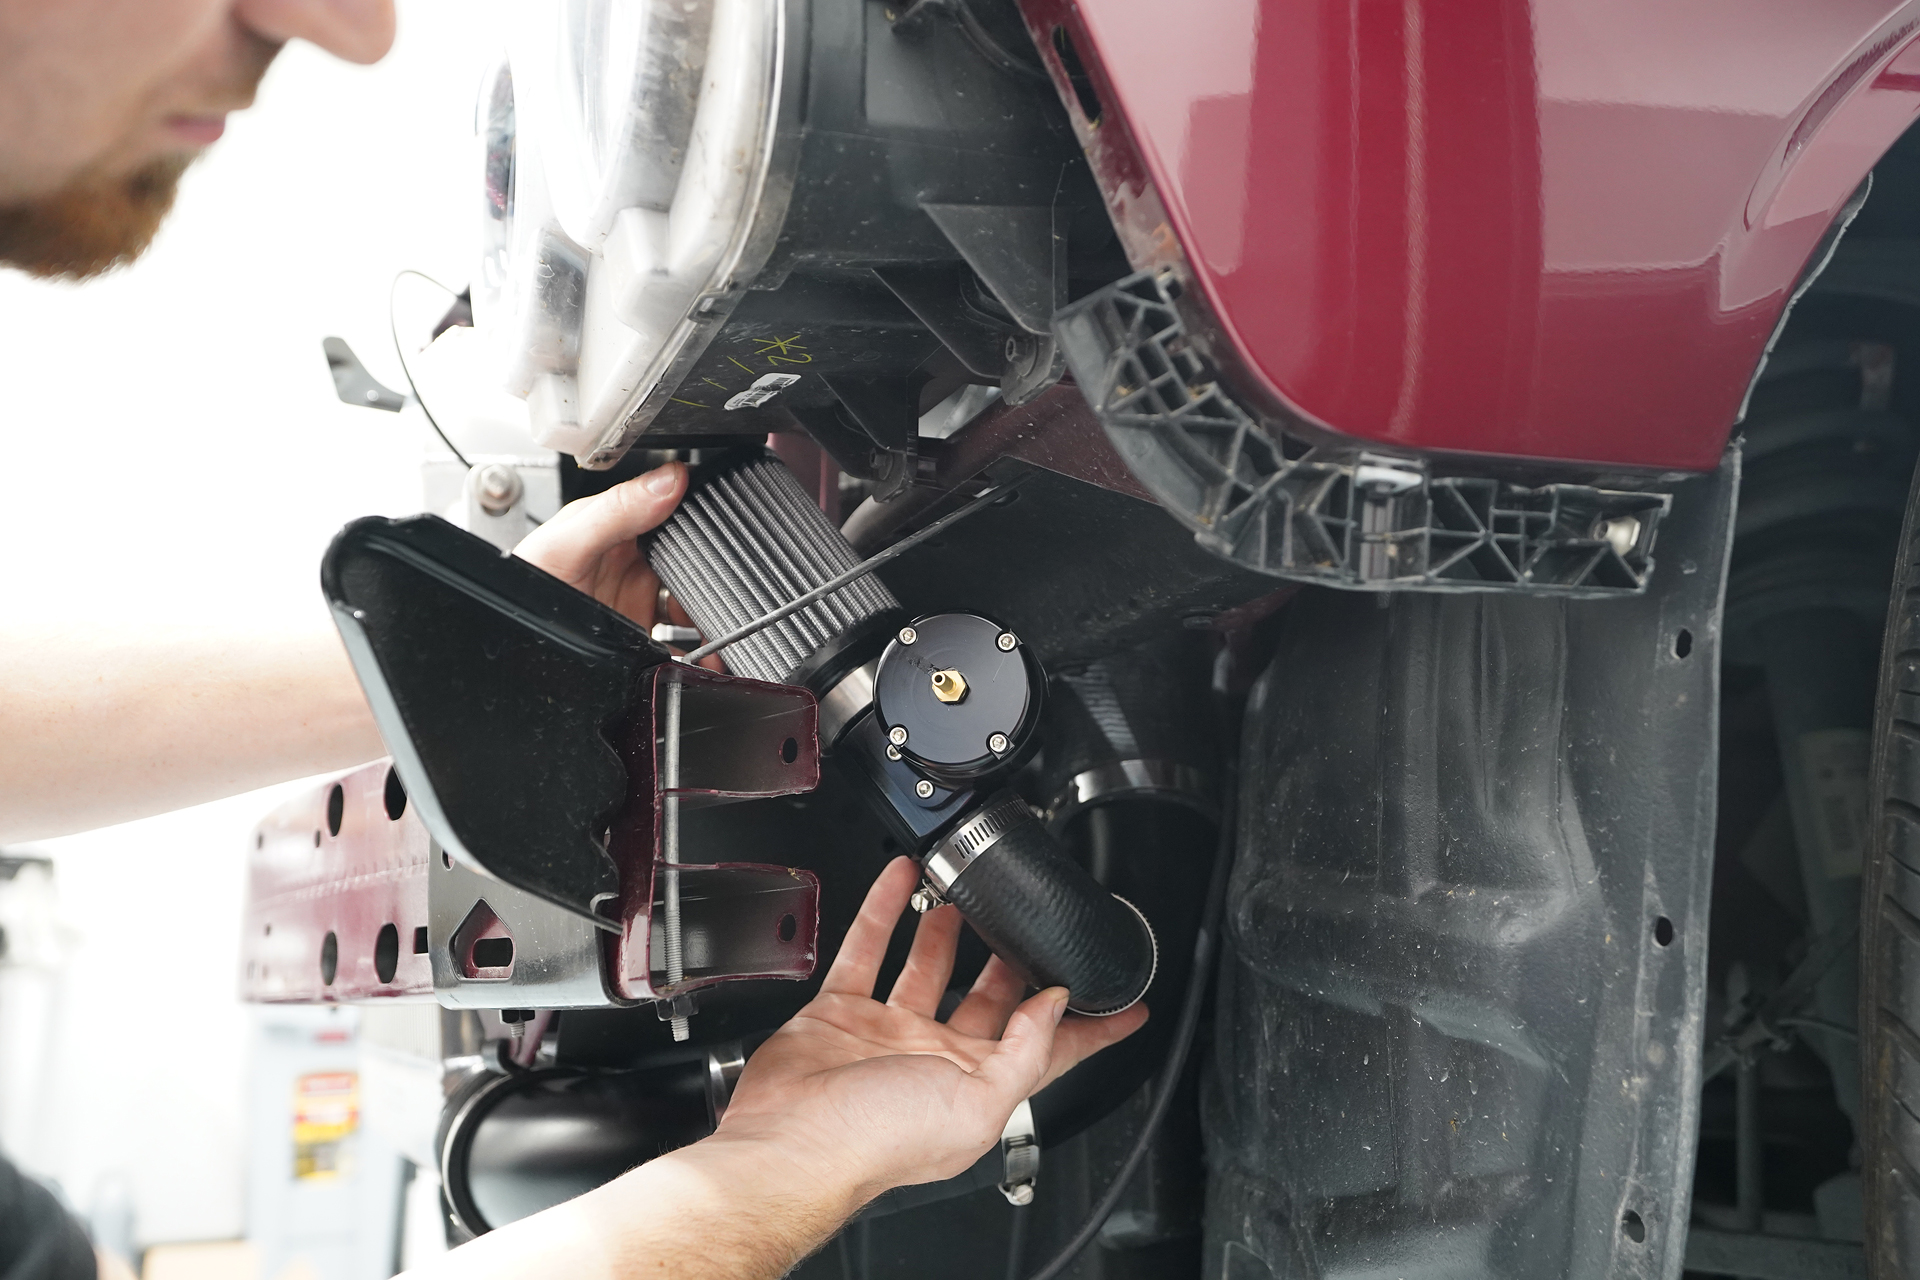
Install the compressor surge valve between the supercharger and the intercooler. Slide the surge valve onto the open end of the rubber elbow. Place the filter onto the end of the valve and ensure the surge valve linkage is unobstructed.
Compressor surge is a problem with all superchargers and develops when the supercharger is creating boost when the throttle blade is closed. The air must be released into the atmosphere via blow-off valve or recirculated back through the supercharger system via a bypass valve.
Step Six: Relocate the Coolant Reservoir
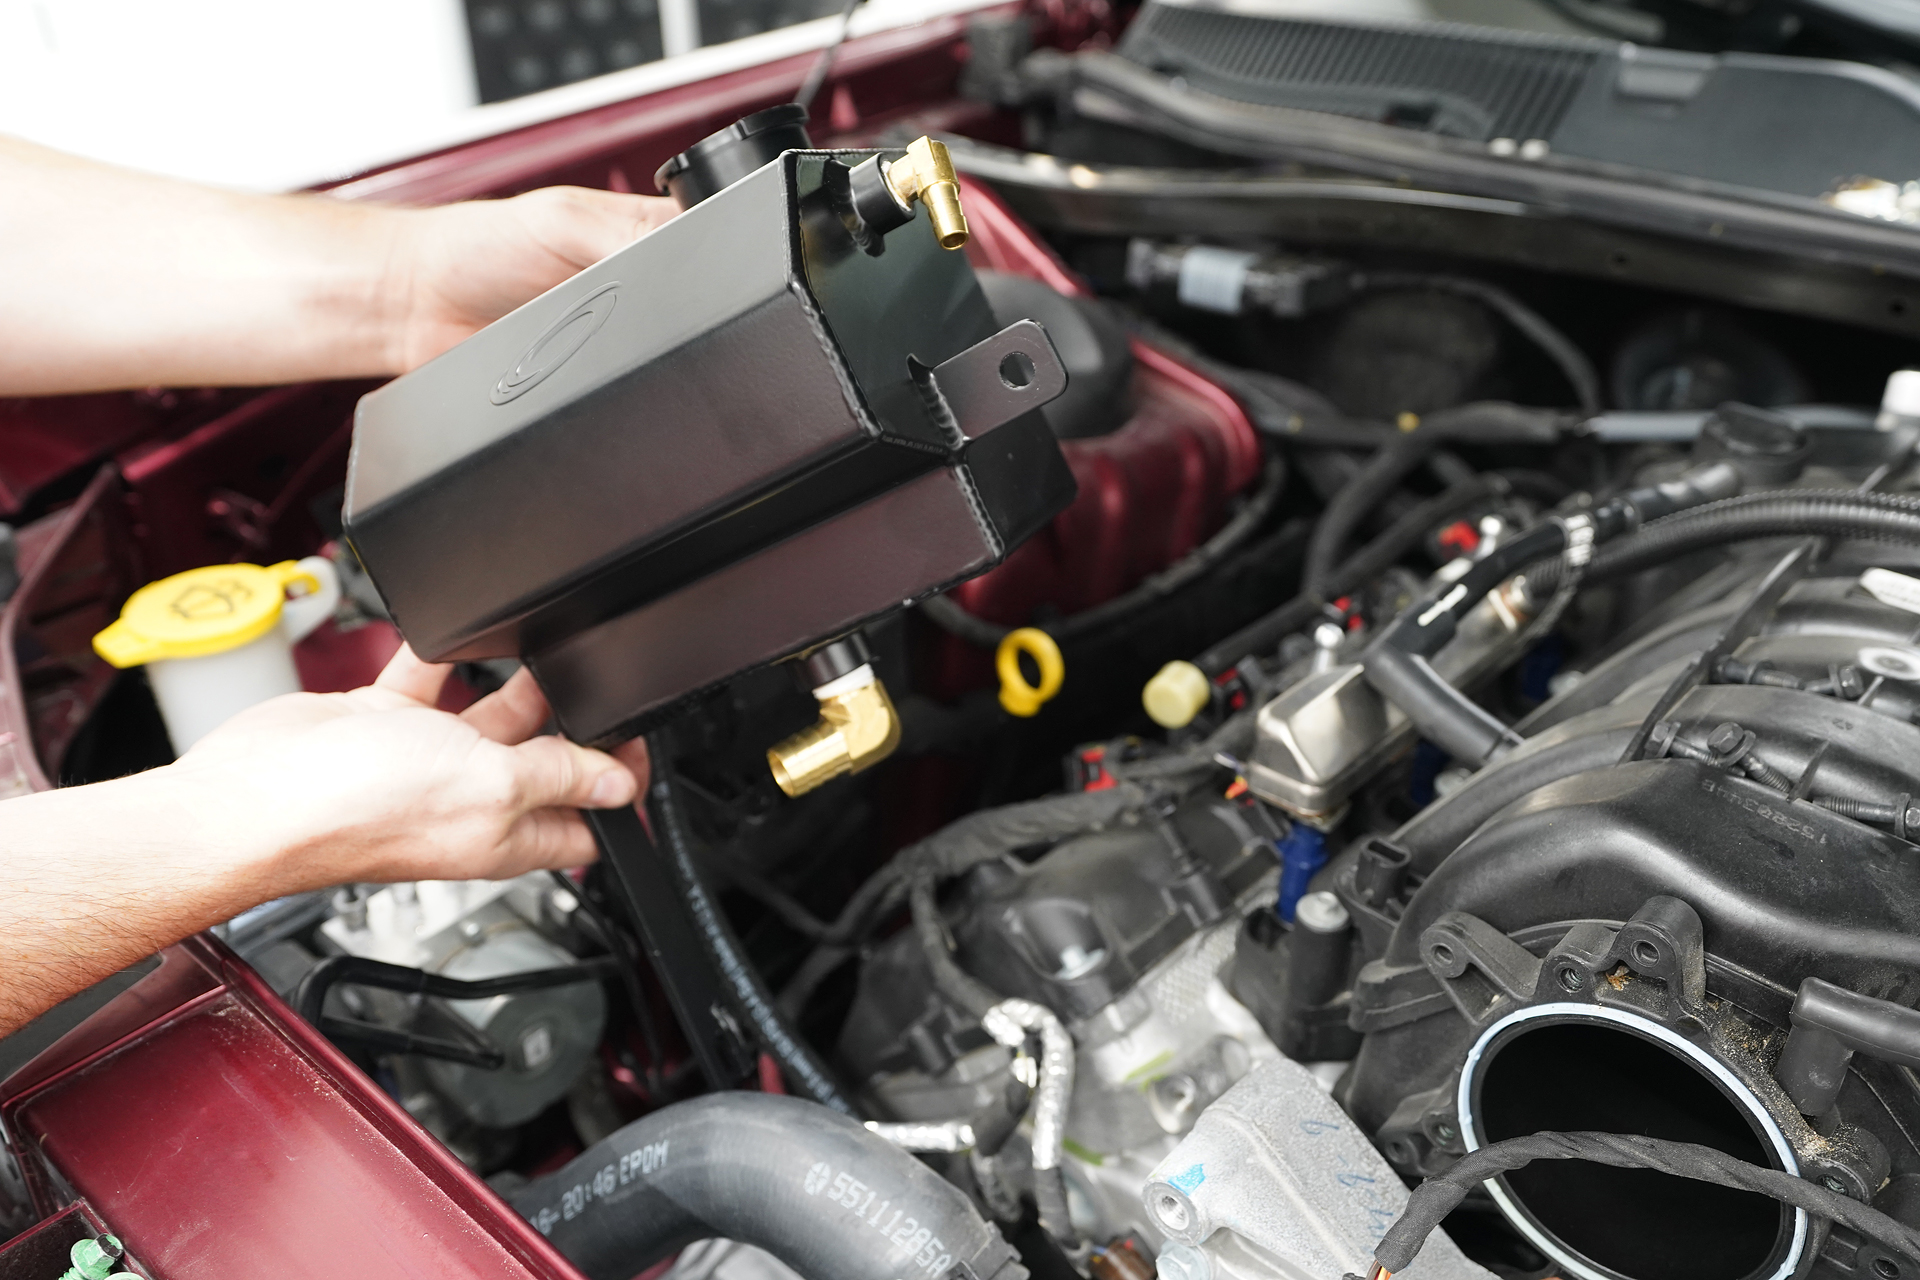
You need to install the new coolant reservoir on the opposite side of the Hemi from the stock location due to the supercharger. To mount the reservoir, slide the slotted bracket between the head of the upper alternator bolt and alternator unit. Align the upper bracket with the hole in the front cover where the stud was removed. Using the factory hardware, secure the reservoir to the vehicle.
Reverse one of the factory coolant fitting elbows in its factory hose to point to the passenger side, and reroute the reservoir hose to the new location.
Step Seven: Spark Plugs
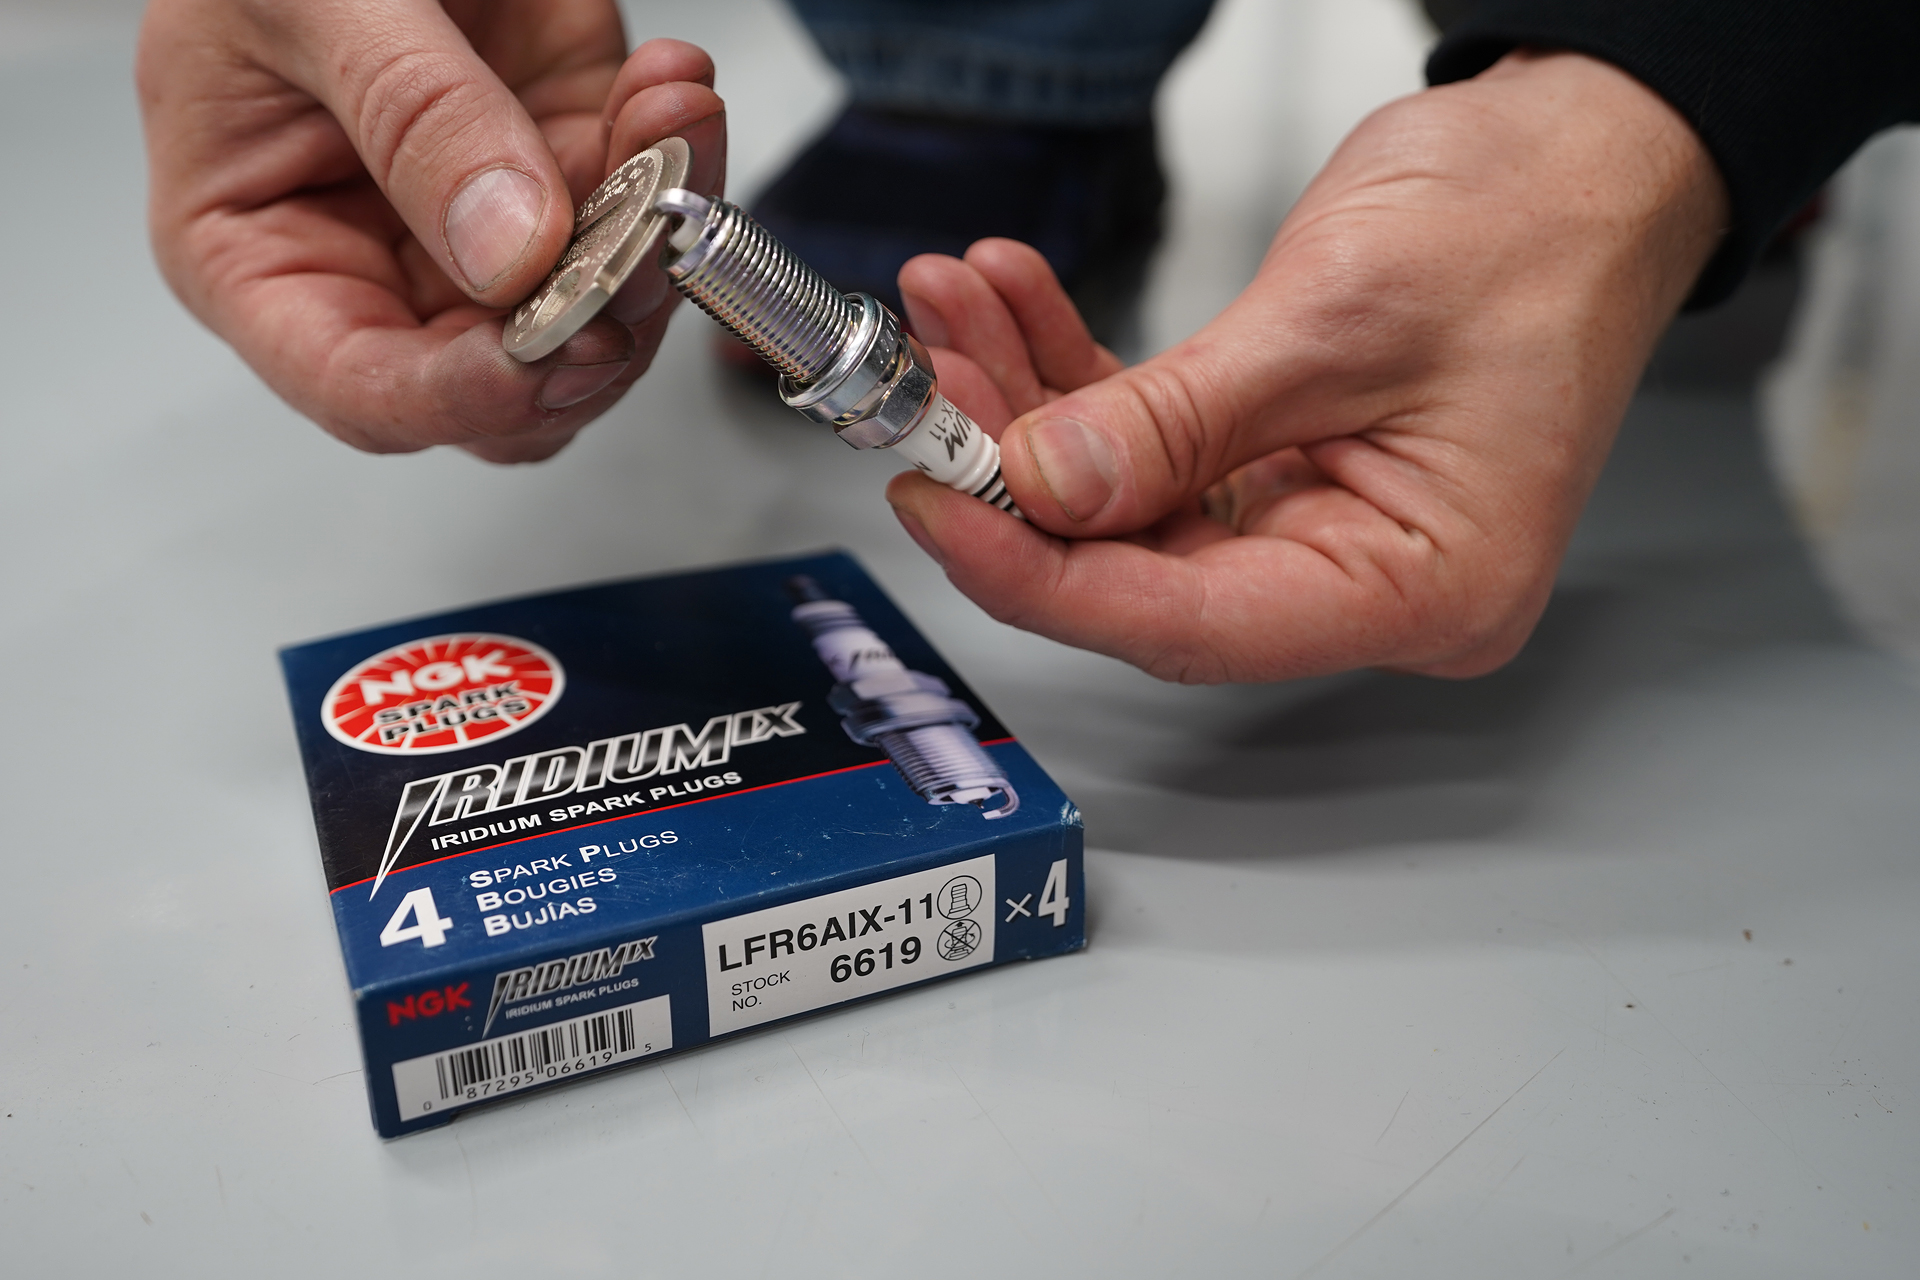
As requested in the installation guide, install a new set of spark plugs that are one heat range colder than stock. Gap each plug to .035 inch.
Step Eight: Finishing the Install
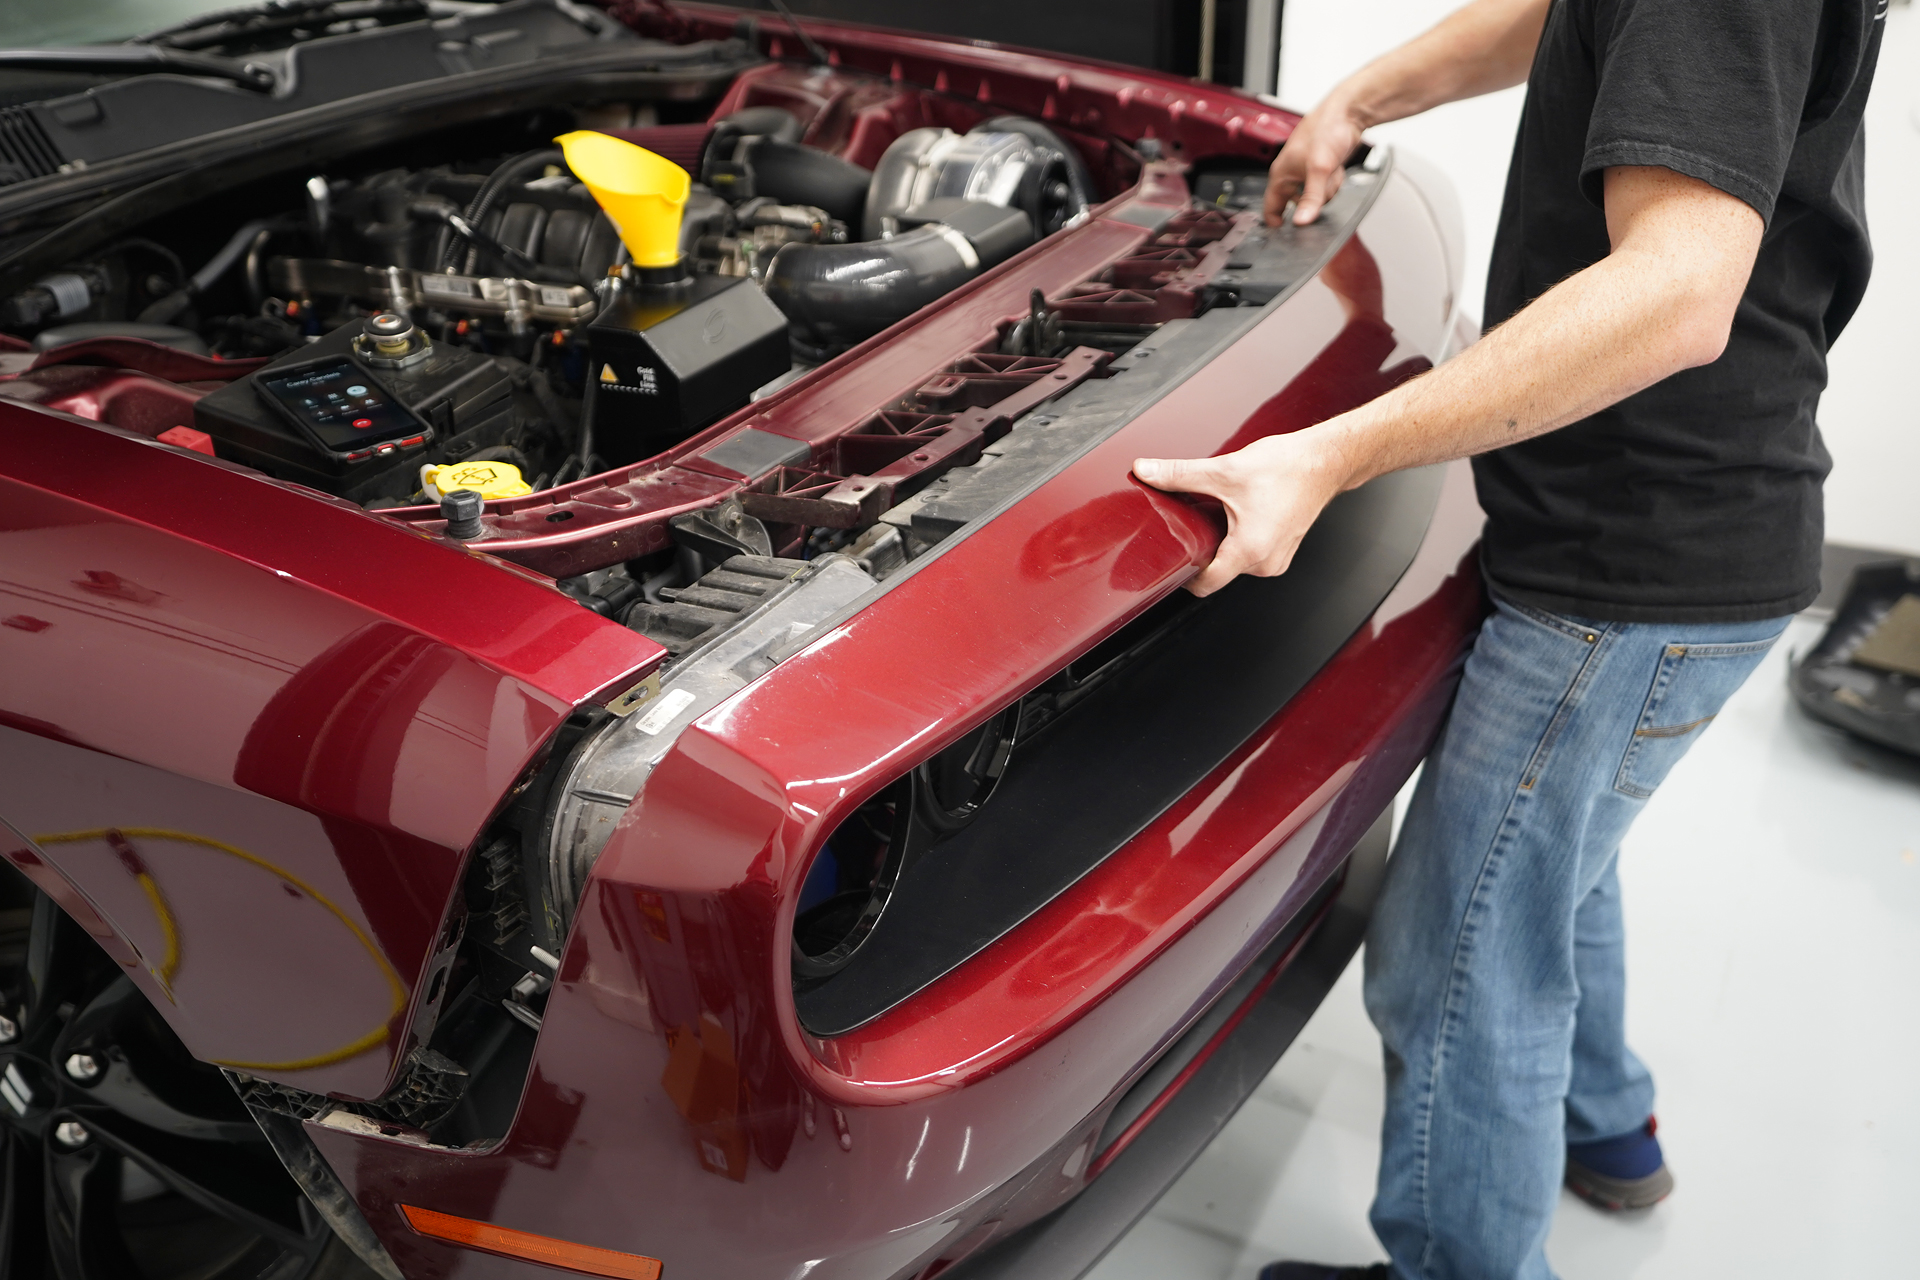
Re-install the front fascia onto the vehicle in the reverse order it was taken off. Connect the wiring harness on the passenger’s side of the vehicle that is attached to the fascia.
On the back side of the front fascia, the two plastic deflectors must be removed to gain clearance for the intercooler and tubing. Cut the heads off of the plastic rivets on each deflector and remove them from the fascia.
Replace the factory underside cladding using the factory hardware and place the radiator cavity covers in position and snap them into place.
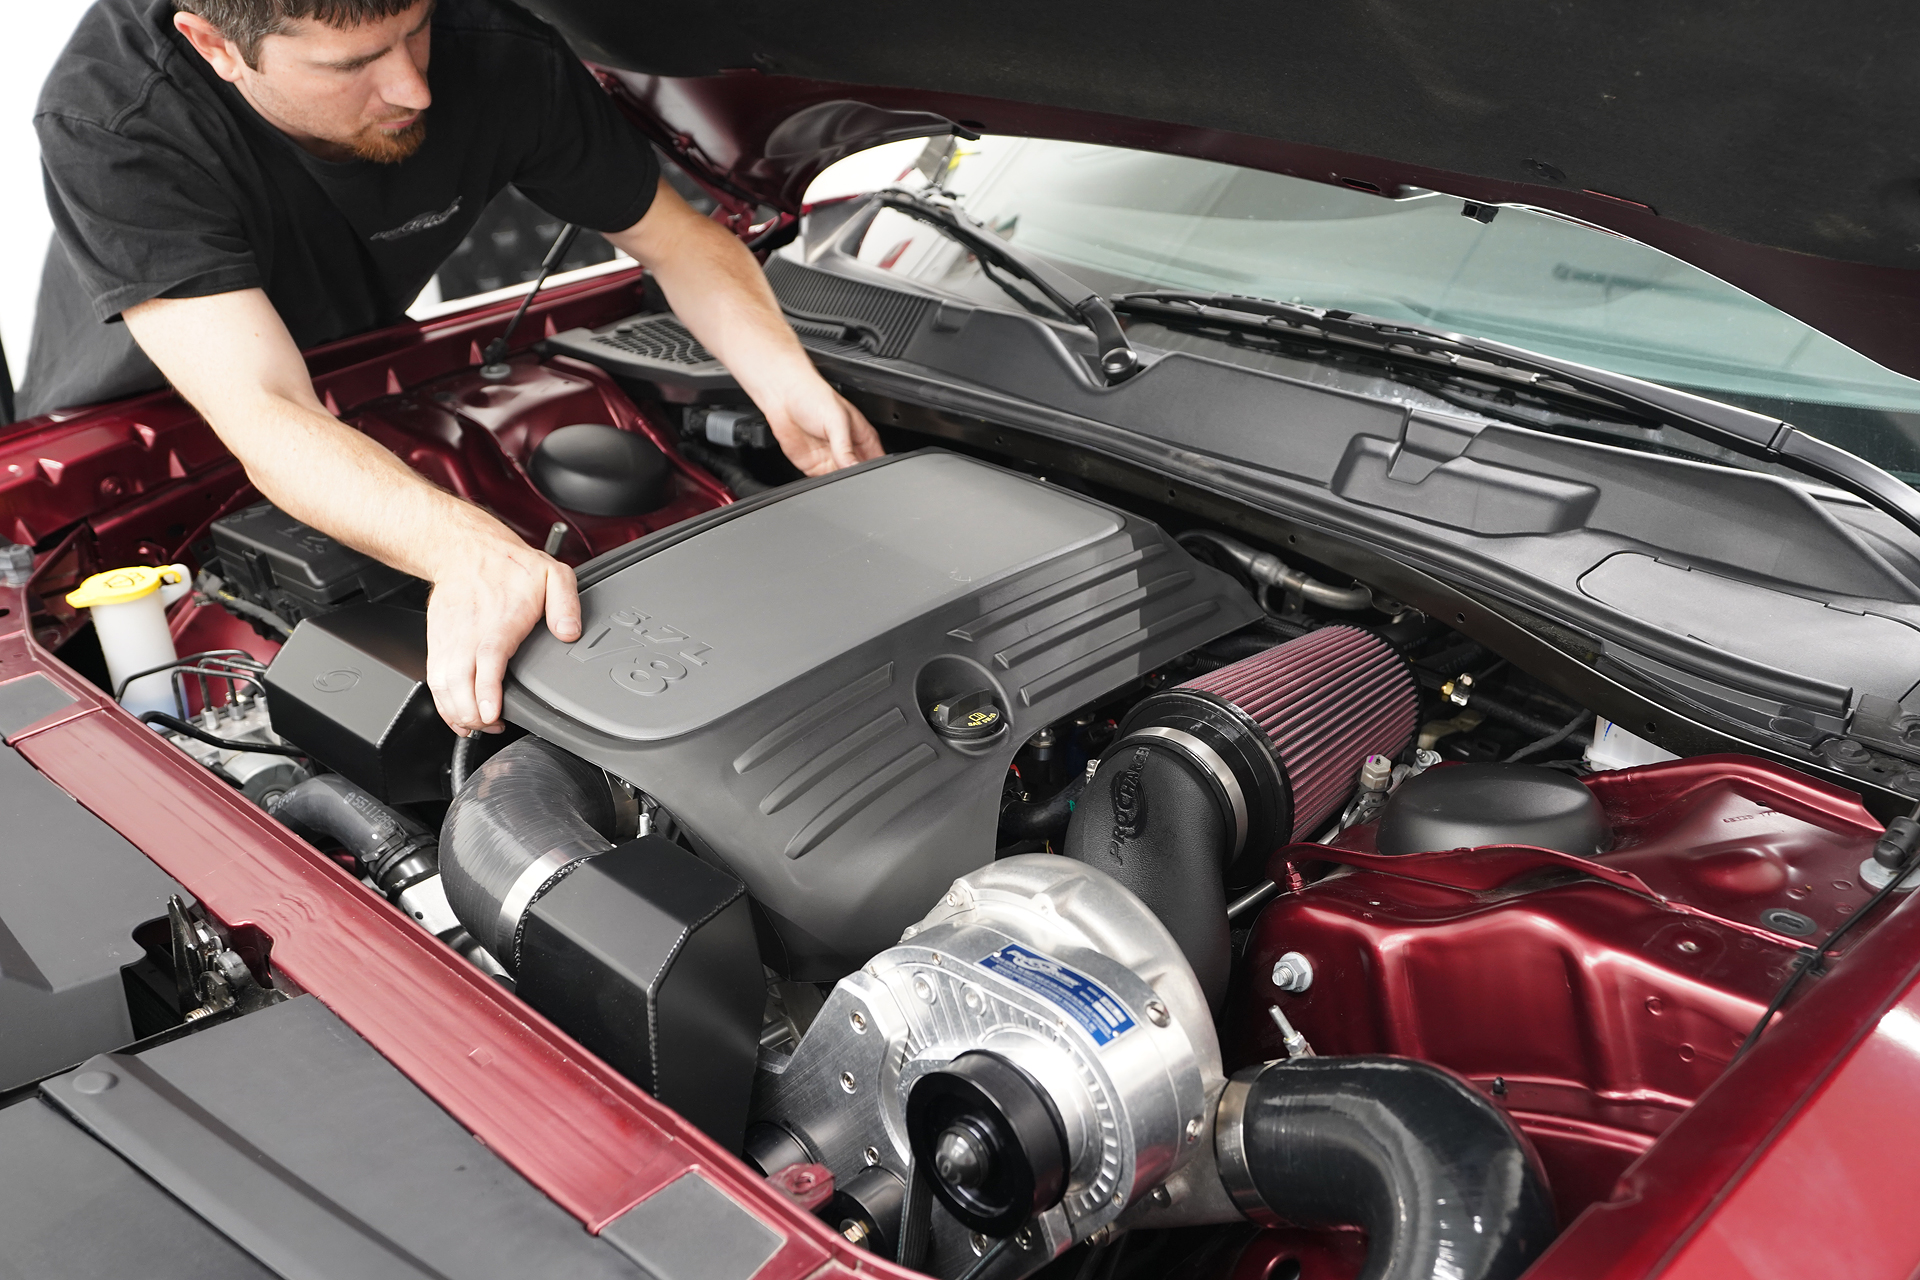
Set the engine cover over the engine. Trim the cover to clear the new coolant reservoir. Place the supplied air filter onto the plastic inlet tube. Install the plastic inlet tube onto the supercharger and mark the engine cover where it needs to be trimmed for the air filter and plastic tube.
Reconnect the battery and start the vehicle and let it go through one heat cycle and after the engine has cooled down, recheck fluid levels.
ProCharger recommends the first oil change be performed at 500 miles and at 6,000-mile intervals thereafter. Clean the air filters as often as every 10,000 miles or 6 months, and never race your engine and ProCharger supercharger when your engine is cold. Allow the water temperature to climb into operating range for several minutes before driving above 2,500 rpm, to ensure adequate oil lubrication.
Lastly, for the best performance and reliability, use premium grade fuel, 91 octane or higher.

For more information about the system, see ProCharger.