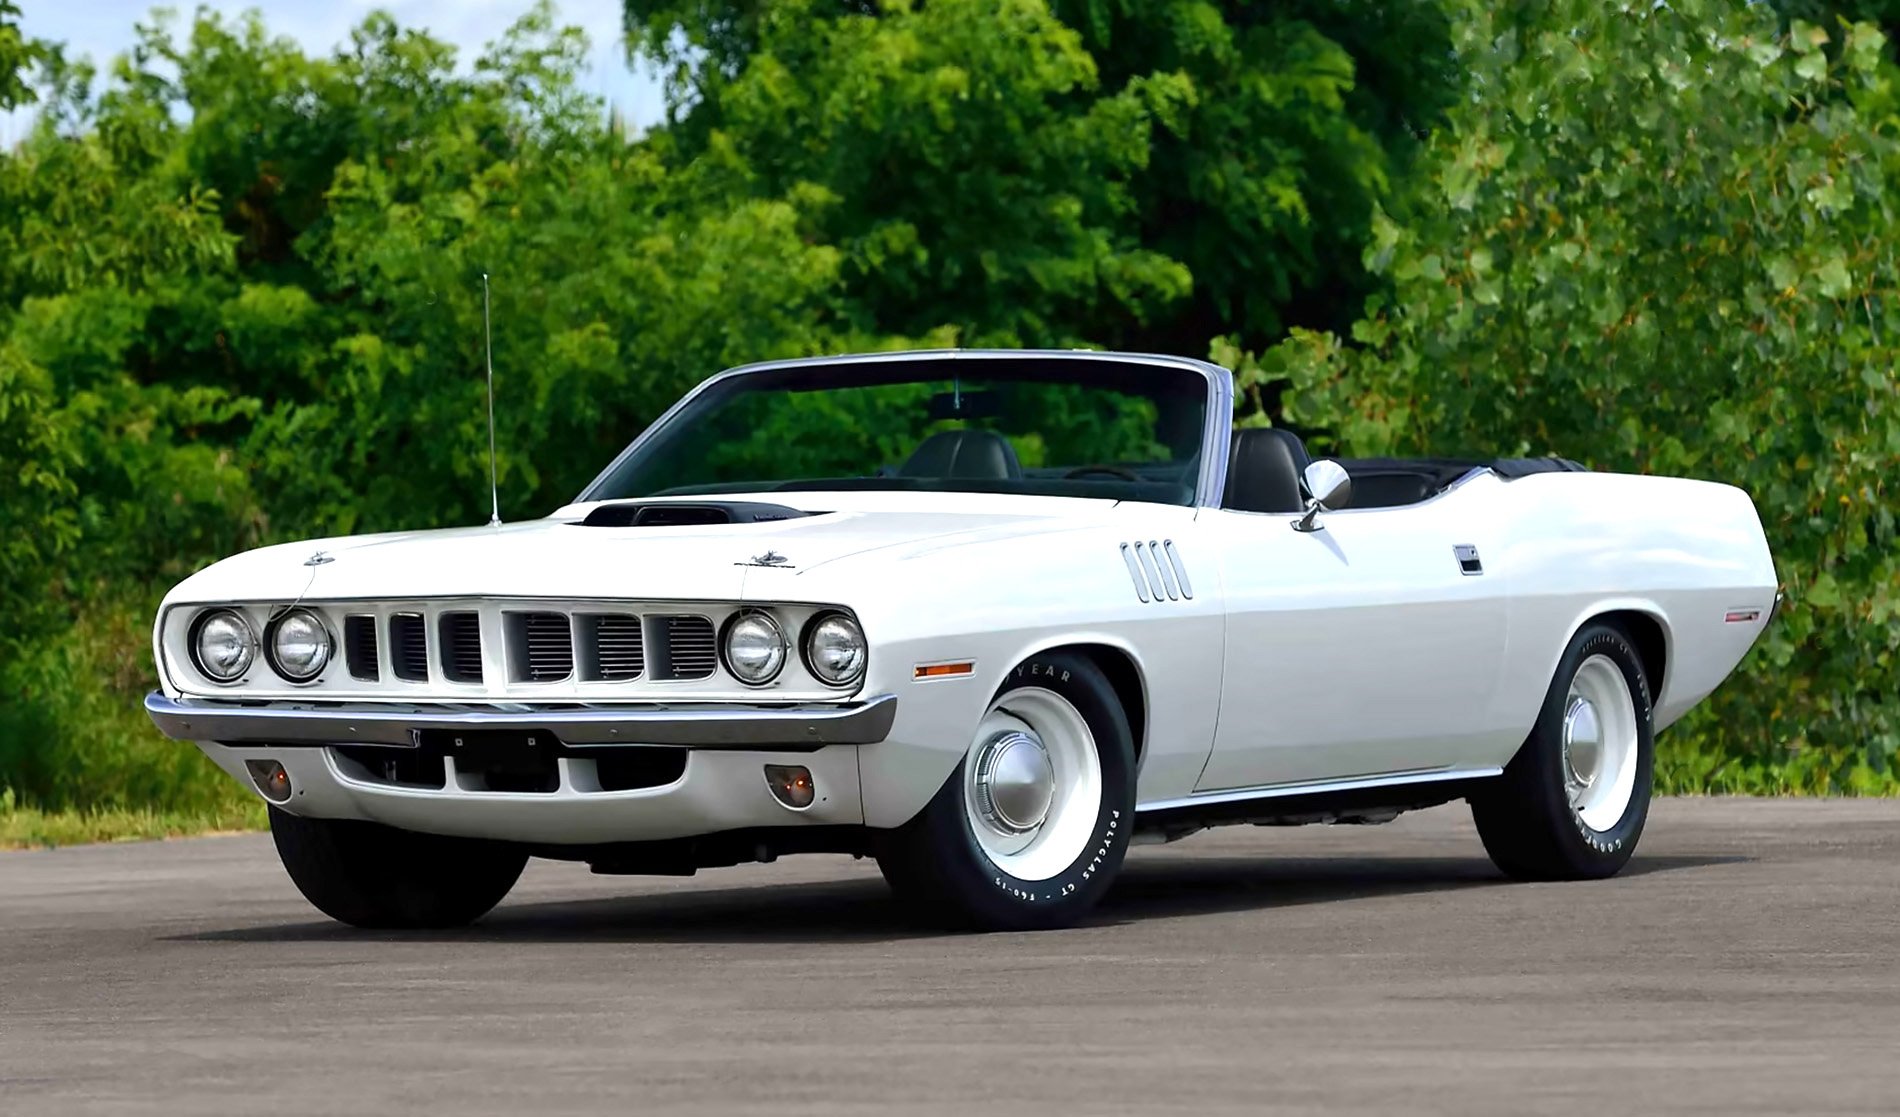
Installing Energy Suspension body and engine mounts in a Chevelle / El Camino
Words and Photos: Jeff Smith
It started as a plan to mount a set of big rear tires. But after careful measurement, we realized the body wasn’t square on the chassis.
That led to a plan to loosen all the body mounts and carefully shift the body slightly to the left, since it was tight to the outside on the driver side. But, that plan quickly morphed to adding new body mounts because with loose body bolts, we were already there.
Plan A quickly evolved into Plan C, but the result would not only be a body square on the chassis, but new body mounts that would accurately locate the body on the chassis as the A-body gods and GM intended.
We ordered a body mount set from Energy Suspension and decided to add a set of engine and trans mounts with the same order, since we were already going to be under the car. With a couple of days before the order arrived, this gave us time to attempt to hit as many of the body mounts as possible with spray rust release, like PB Blaster or WD-40. But, we hit only a couple of the cage nuts because on Chevelles and El Caminos, nearly all are hidden inside body reinforcements.
The biggest issue with swapping body mounts is getting the bolts out. The 7/16-inch nuts that retain the body bolts are designed to float inside a cage so the body can be adjusted over the chassis. But after 50 years, the bolts rust and too much torque can either break the bolt or the cage, allowing the bolt and nut assembly to spin. If this happens, the only recourse is to cut the sheet metal cover — such as trunk floor — to allow access to the cage nut assembly. Then the rusted/broken cage assembly must also be cut out and a new assembly welded in place. You can find the cage nut assemblies at SS396.com. Unfortunately, this is the price for working on 50-year-old cars.
We decided to use a battery-powered impact to initially shock these bolts, just to loosen them, followed by a ratchet to gently re-move the bolts. Our effort turned out to be relatively easy as our Chevelle was an original West Coast car with minimal rust. It appeared these body mounts had been replaced before, although the bolts appeared factory.
We are also going to do this same project on our ’64 El Camino. It will be more of a struggle because of a horribly rusted cage nut assembly in the “smuggler’s cove” on the passenger side, underneath the bolt-in bed panel. We’ll save that effort for a later sheet metal reconstruction story.
We did learn a useful tip from our body guy, if you have to cut into the Chevelle trunk floor to access a broken or rusted cage nut. To create an access hole, cut the floor only on three sides of the access rectangle and then bend the sheet metal up out of the way. This way, when you have finished, you can bend the metal plate back down and weld the other three sides.
With all the body bolts loose, the smart move is to remove all the bolts from one side of the car and then carefully raise the body with a floor jack and a length of 2×4 wood on the rocker panel. Jack the body up just enough to slide the new bushings between the body and the frame. We had to use a long pry bar on several bushings to raise the body even more to clear the old bushings. Be aware of items like brake lines, the steering column, a fan shroud, and other items that may be bent or distorted when raising the body. After replacing all the mounts and with the bolts in place, this is a great time to carefully measure the relationship of the rear tires to the frame and square it up if necessary.
We now have a Chevelle that is much more securely fastened to the body. Our Chevelle has a 6-point roll bar, and we’d gotten used to its creaking and scratching between the cover panels and the roll bar. But with the new mounts, that sound has disappeared, so we know the body is more secure. So, the results are certainly worth the effort — especially on a Chevelle that’s a half-century old!
Sources: Energy Suspension, energysuspension.com; Ground Up SS396, SS396.com


