Words and Photos By Jeff Smith
You are upgrading from a Powerglide to TH350, or perhaps you’re planning an electronically-controlled 4L80E behind that monster big block in your C10 pickup. Transmission swaps have become almost as important as engine swaps — except that little attention is paid to that exchange. While the conversion might seem simple enough, swapping back and forth can cause unanticipated headaches. We’ve been there, and the learning experience has contributed to this list of basic trans installation techniques that the professionals know — and you should too.
Building cars can be fun — as long as everything goes according to plan. Stress occurs when you have to pull the trans out for the third time because you missed a step or overlooked an obvious problem. So, spend a couple of minutes with these recommendations. If one or two stand out that you didn’t know, then our work here is done.
1. Be Flexible
One of the first parts to inspect is the flexplate. Check to make sure it’s in good shape and not cracked. If you plan on running your car at the drag strip, don’t cheap out. NHRA safety rules require an SFI flexplate if the car runs 10.5s or quicker in the quarter-mile. Did you know the certification is only good for three years? Never use those terrible star or lock washers on the crankshaft bolts. These are usually inexpensively made and when they break, this can lead to a loss of clamp load, which is bad. Instead, place a small amount of green Loctite on clean threads and always torque them to the required spec.
2. Flange Awareness
This may sound simplistic, but the flexplate can be installed backwards. The raised flanges that attach to the torque converter always project toward the torque converter. It’s very easy to install the flexplate backwards, and you will only notice it after the trans is completely bolted in place, which is a bad time to discover your mistake.
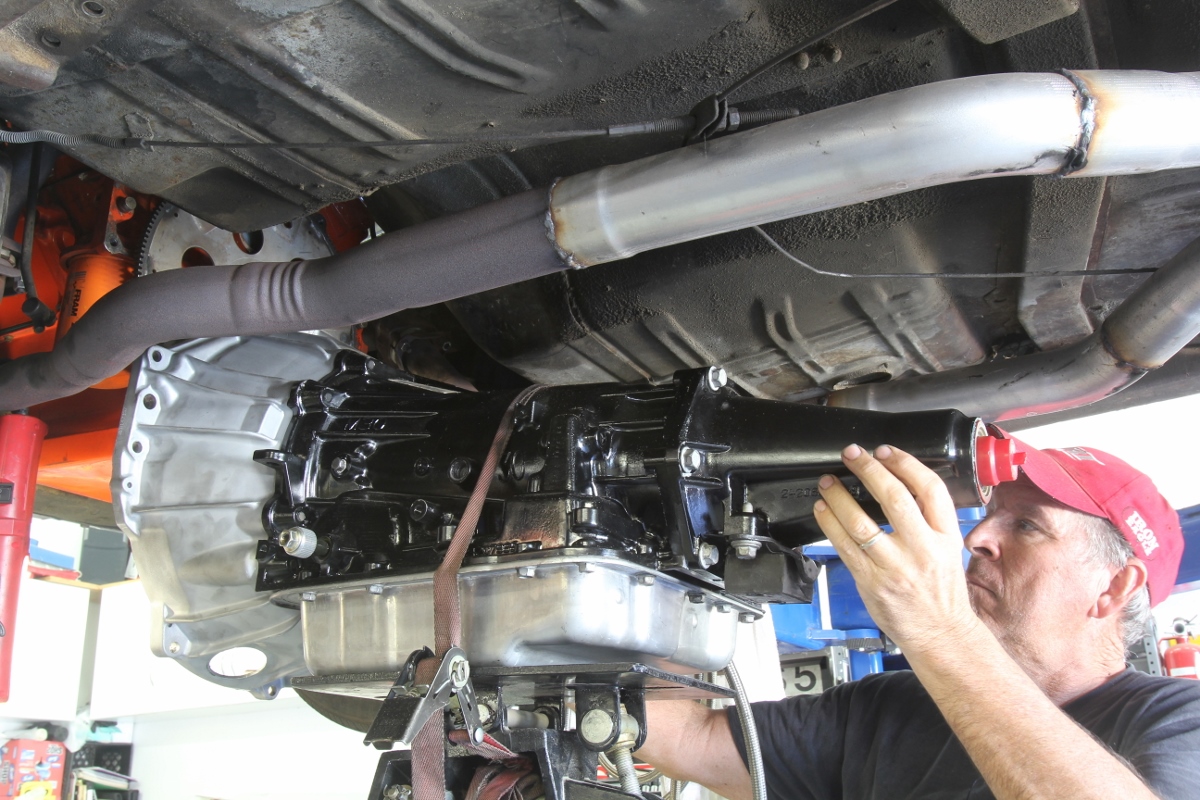
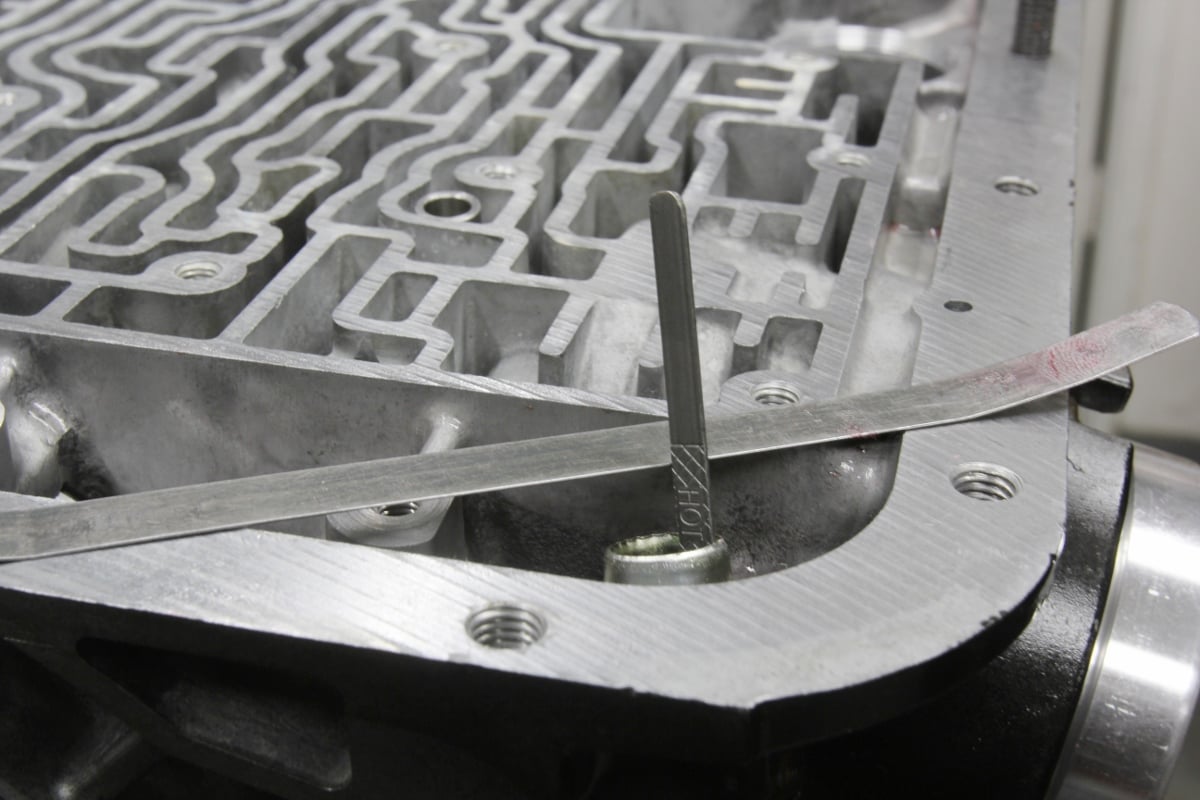
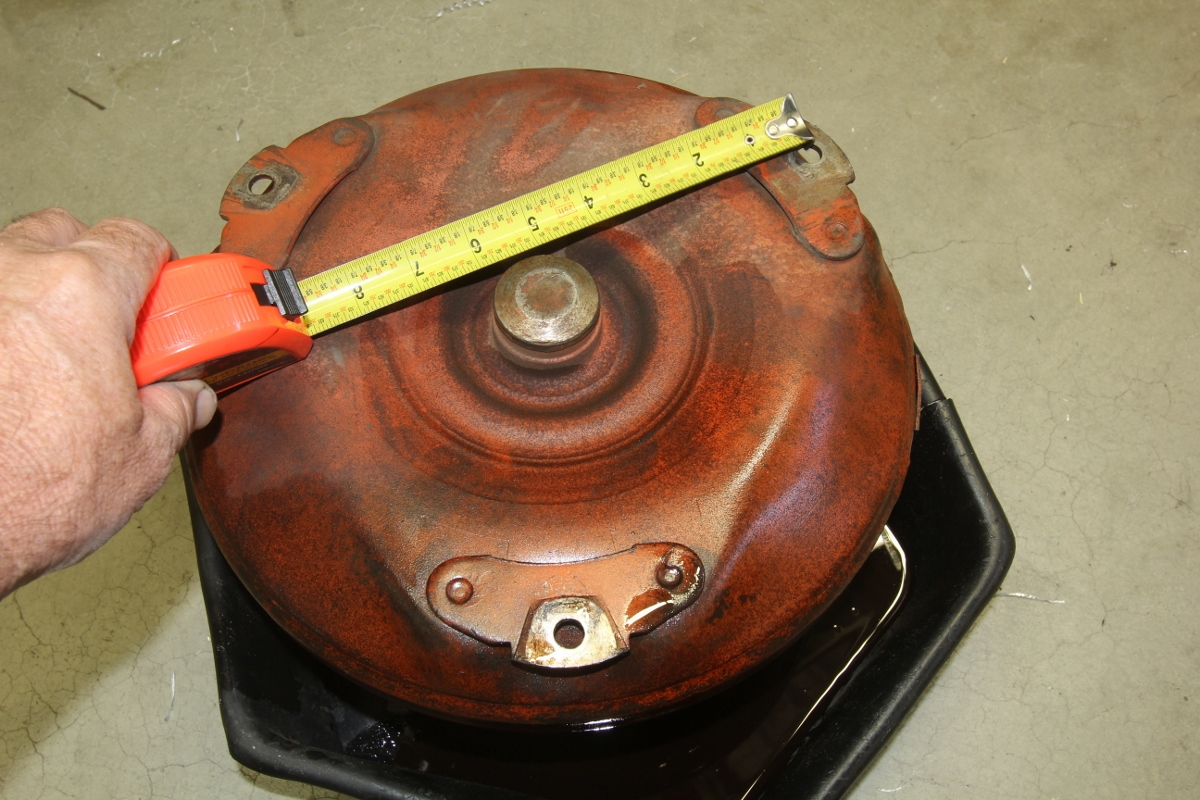
3. Please, Be Seated

Always check to ensure the converter is fully seated into the front pump. This is perhaps the most common transmission installer mistake. There should be a minimum of 1/8 inch to 3/16 inch between the converter and the flexplate once the trans is bolted to the engine. TCI has created a chart that lists the recommended depth between the converter mount bolt lugs and the trans bellhousing flange, using a straightedge. Check this before the trans is installed onto the trans jack, to ensure the converter is fully seated.
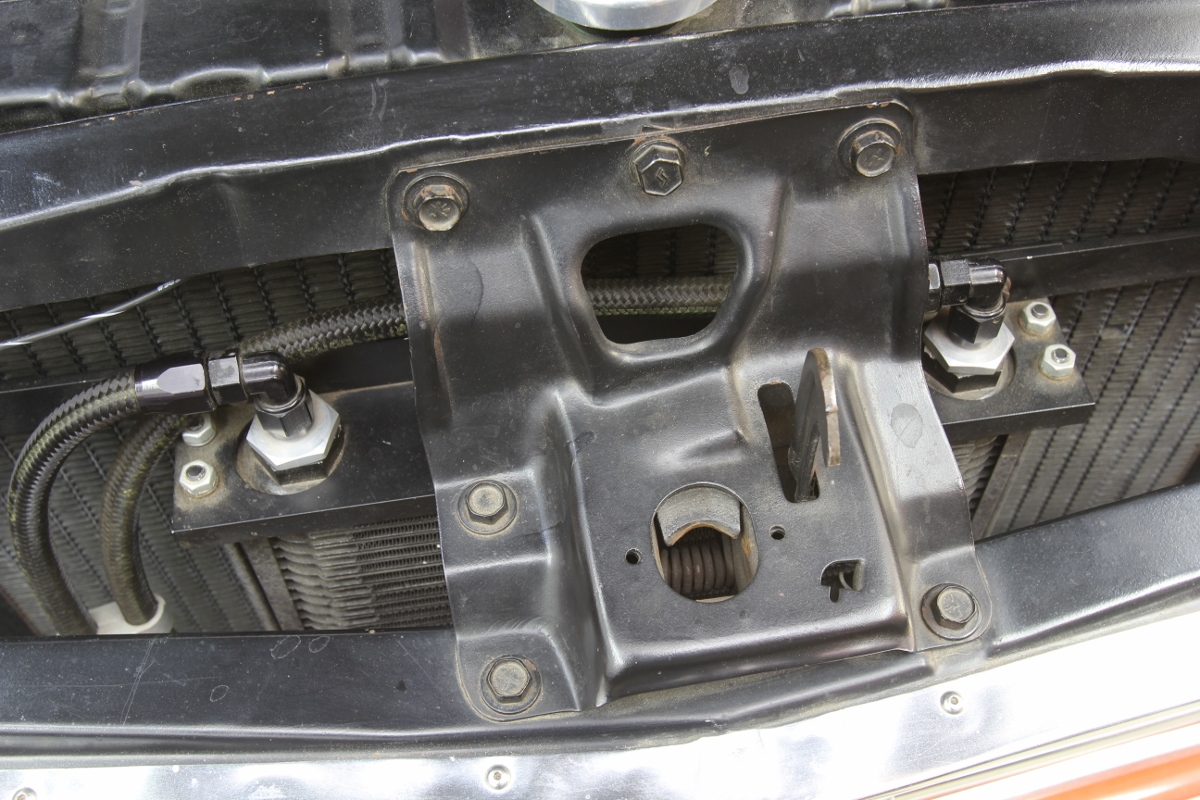
4. Clean is Mean
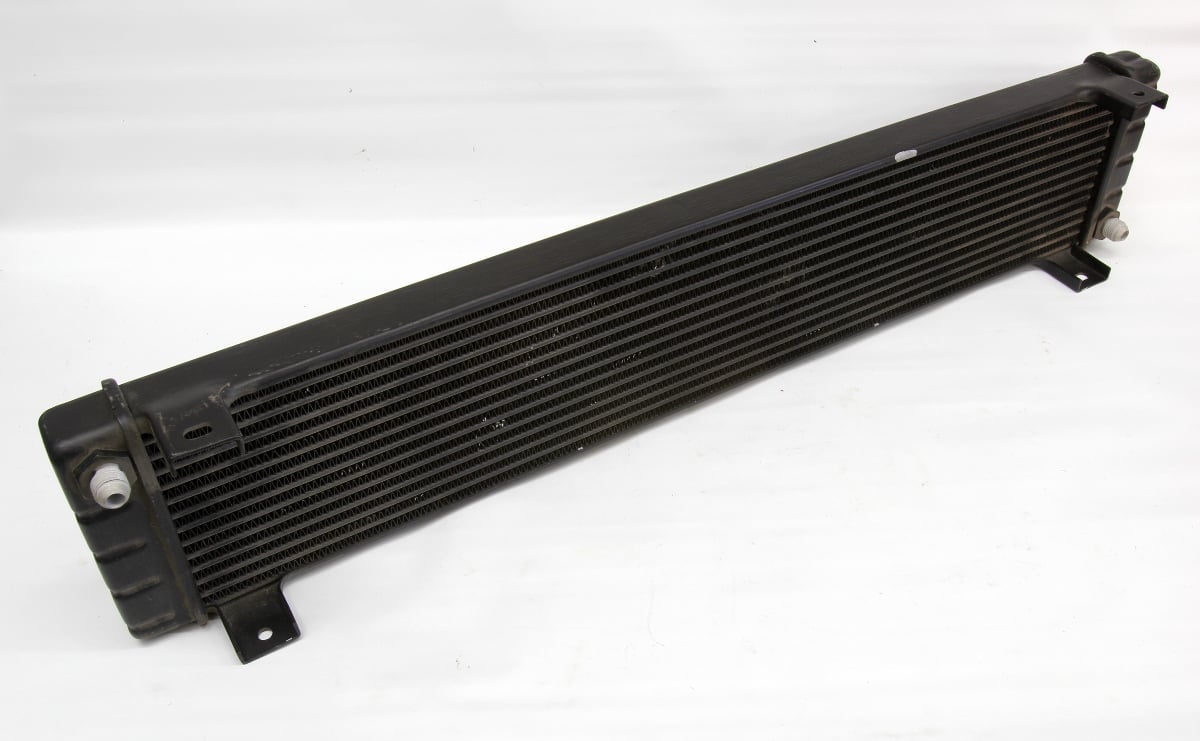
Always clean the trans cooler before installing a new or rebuilt transmission. Dirt and/or metal shavings in the cooler can destroy a new trans. If the previous trans failed and pushed debris through the cooler, seriously consider buying a new external cooler because removing those metal filings will be near impossible.
5. Get Dipped
Check to ensure the dipstick has the correct markings for the transmission. The full mark should be parallel with the transmission oil pan rail. A new dipstick and tube should be verified. This is especially important to check with any flexible aftermarket dipstick. In the photo, note the dip stick is not quite accurate; the ADD mark is very near where the FULL mark should be. Overfilling an automatic transmission is just as bad as under-filling. Overfilling an automatic transmission causes foaming — not good for a device relying on hydraulic pressure.
6. Don’t Rush to Flush

Never attempt to pull the transmission bellhousing up to the engine block by tightening the bolts for that last 1/8 inch. If the trans face will not sit flush to the engine, figure out why it is binding. This is often caused because the torque converter is not fully seated in the transmission, which will not allow the bellhousing to fit flush to the engine. Tightening the bellhousing bolts that last short distance usually results in a cracked bellhousing. When all the clearances are correct, the bellhousing will literally fall into place.
7. Under Pressure
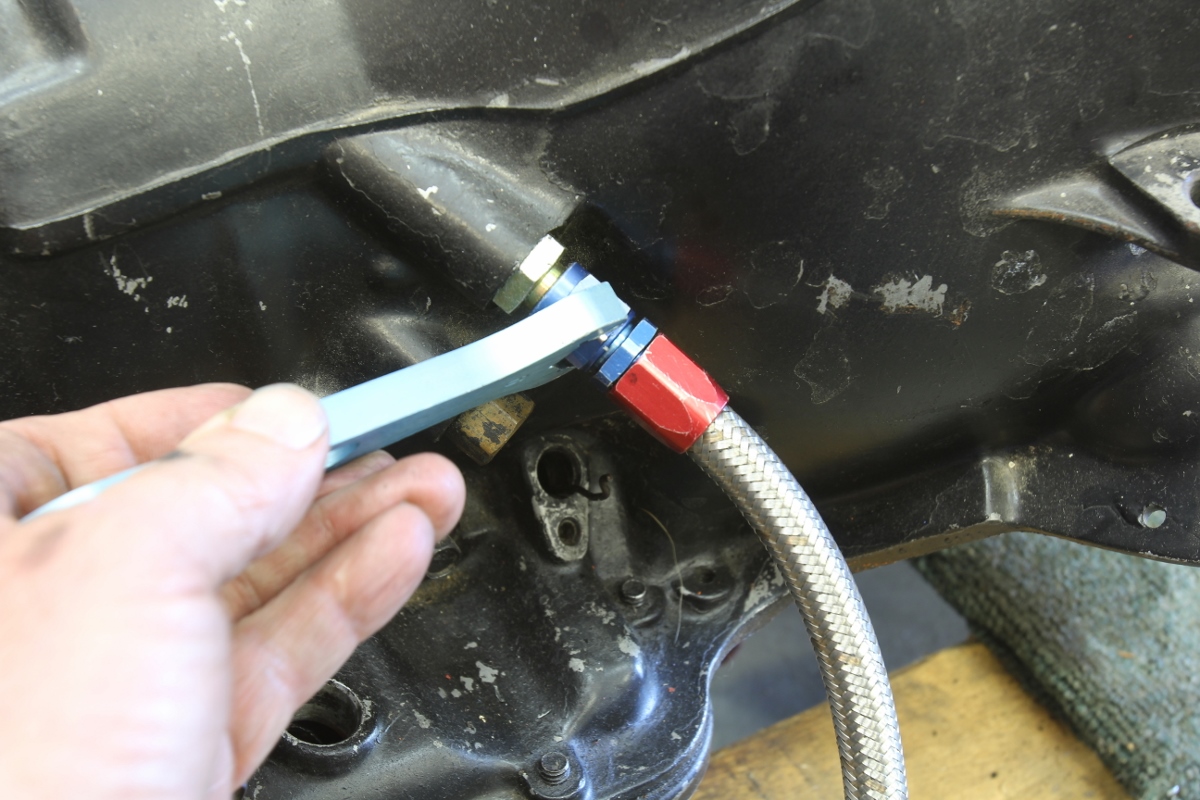
Never use rubber fuel hose and a hose clamp for automatic transmission cooler lines. It’s best to build either hard lines or use high-pressure stainless AN hose and fittings to ensure a leak-free and durable connection. A performance automatic can produce cooler line pressures of 50 to 150 psi, and late model electronic transmissions can occasionally produce even higher pressures. Plus, rubber fuel line is not rated to handle high trans oil temperatures, which can often exceed 225 degrees.
8. A Fitting End
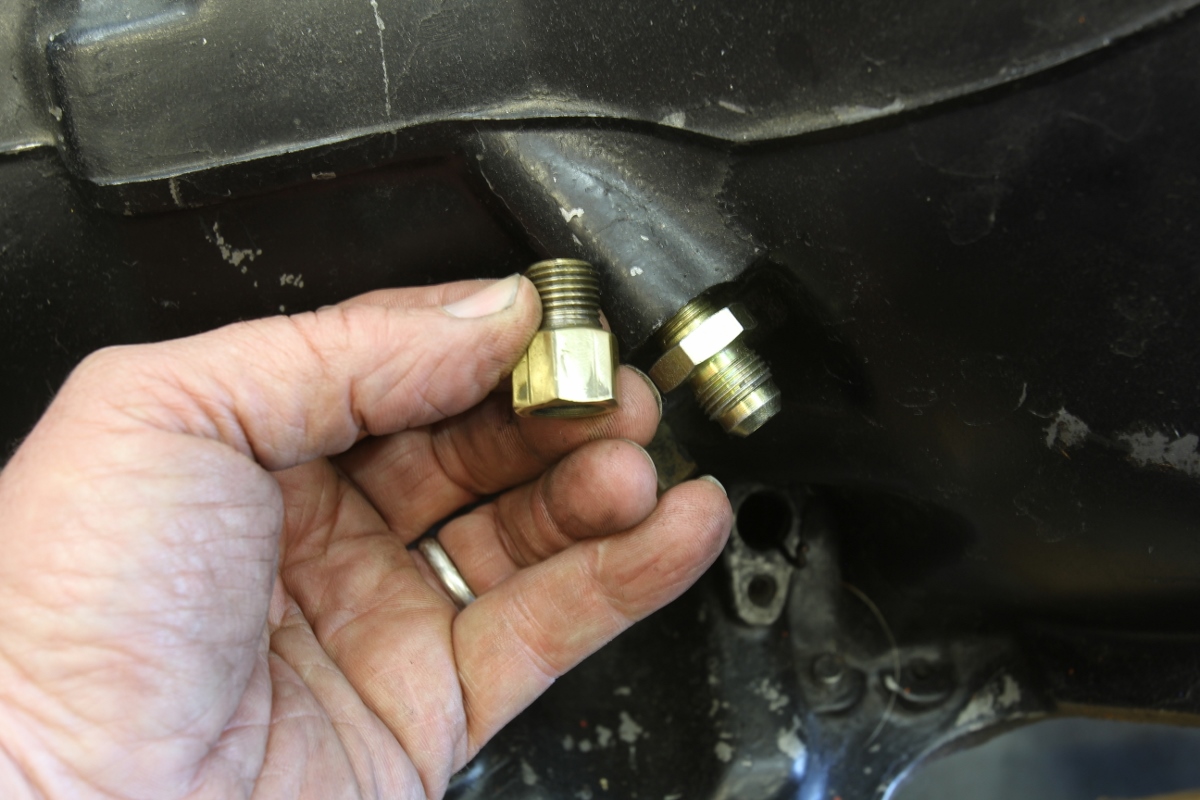
TCI publishes the proper fitting sizes for all the popular performance automatics. Do not over-tighten the fitting into the case and use thread dope instead of tape on the threads. Most GM automatics listed in the accompanying chart use a straight thread instead of the more common tapered pipe thread. Straight and tapered pipe thread use the same thread pitch, so a normal pipe thread fitting will fit. Be careful when using NPT fittings because over-tightening the tapered fitting can crack the case. That’s something you don’t want to experience.
9. Cooler Route
When routing automatic cooler lines, TCI and most other transmission companies recommend a combination of both the radiator and an aftermarket cooler. When using this combination, route the cooler feed line from the transmission to the engine radiator cooler first, then from the engine radiator to the aftermarket cooler, and then back to the transmission. This requires you to know the cooler line routing positions in the transmission. TCI has a chart for that, as well, which we’ve reproduced. The engine radiator will knock down the initial high temperature, and then the cooler mounted in front of the radiator can further reduce the temperature. Keeping trans fluid temperature below 200 degrees will ensure a long transmission life.
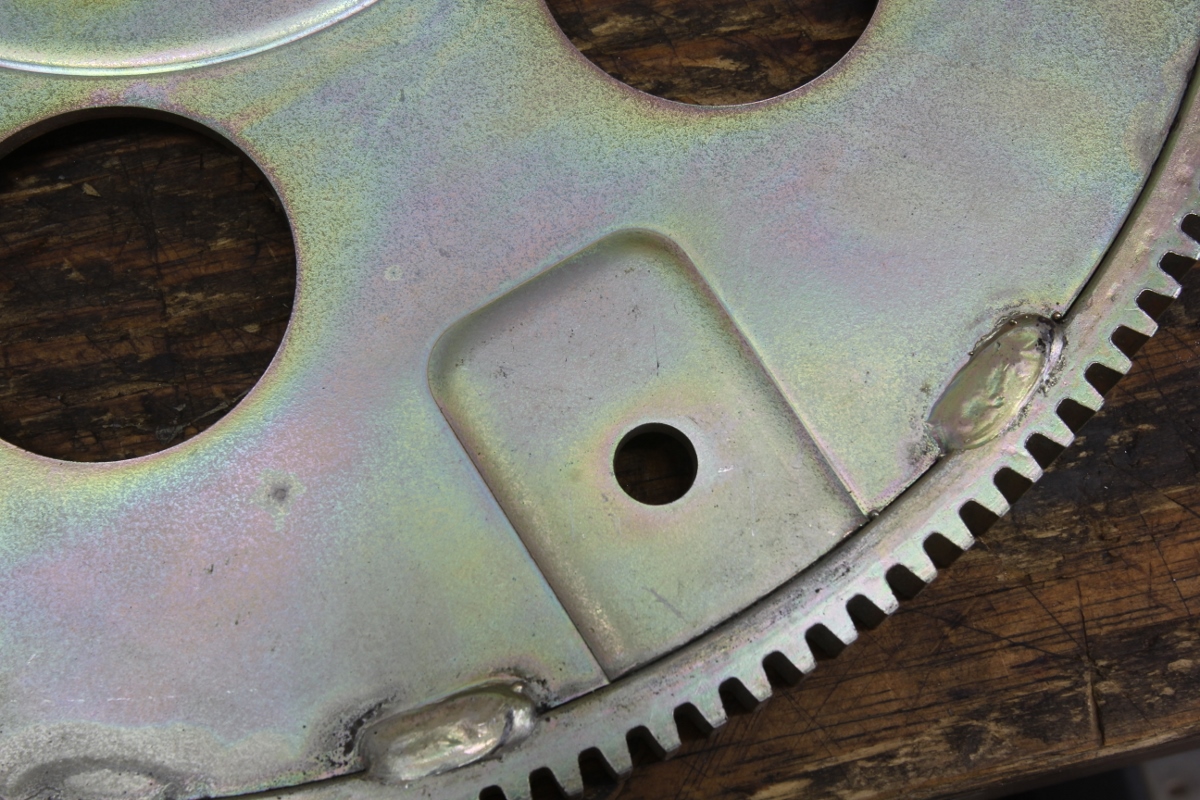
10. It’s Not Good to be Eccentric
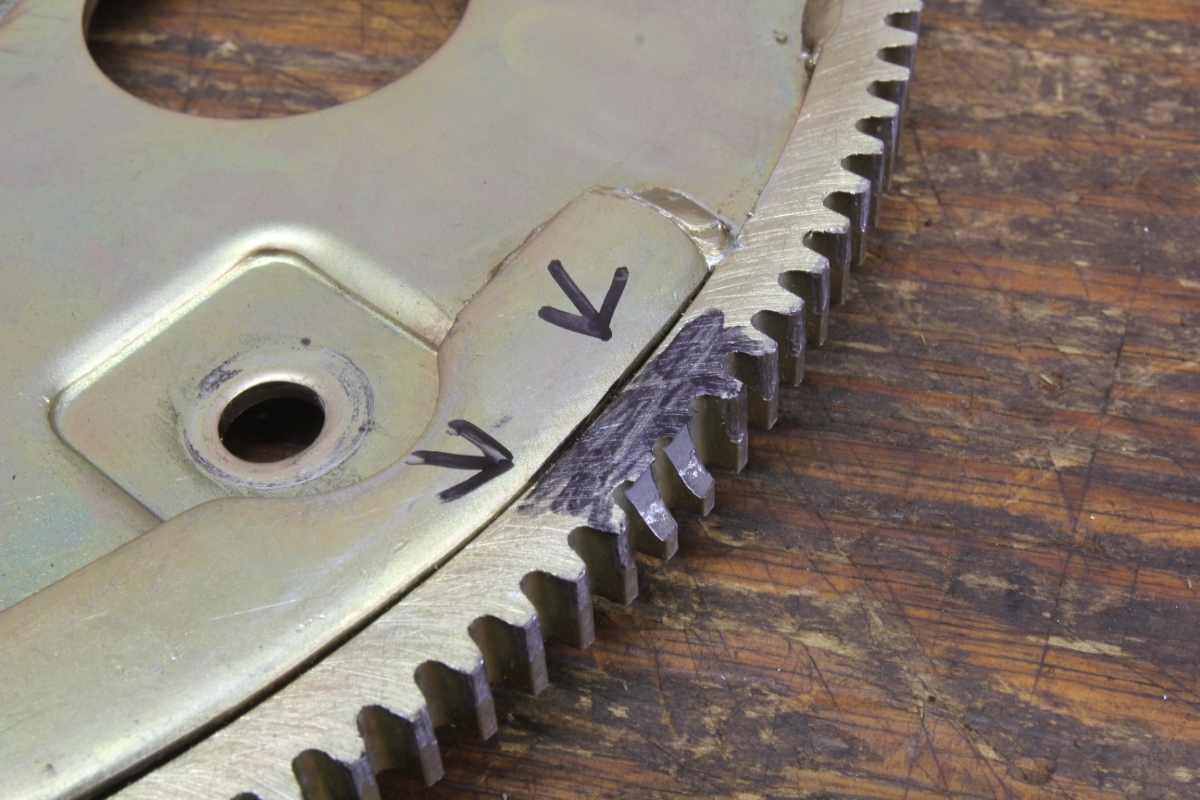
This flexplate came out of a friend’s big-block El Camino after the starter knocked a couple of teeth off the ring gear. We measured it for runout and found it was considerably eccentric. So, it pays to ignore those cheap, off-shore pieces in favor of a quality flexplate that will last for a long time.
11. “I Don’t Need a SFI Flexplate”

Here’s why you do. Our good friend Kurt Urban was at the drag races last year when a car making a pass exploded its stock flexplate and shot a piece of ring gear shrapnel across the track, where it ripped through a metal seat back and embedded itself into the wooden part of the grandstand! Luckily, no one was hurt, but imagine if that was your car and somebody was hurt because of your negligence. Another friend, Marc Lewis, sent us the second photo of an abused SFI flexplate that had cracked and failed. Makes you wonder, doesn’t it?
12. Negative, Ghost Rider, the Pattern is Full
Converter attachment patterns change between different transmissions. There are too many to list them all here, but for the GM cars, there are four popular patterns: a TH350 small, the TH400 larger style, an LS pattern that’s slightly smaller than the TH400, and, finally, a 4L80E bolt pattern for the larger 12-inch converters.
Trans Cooler Line Locations and Fittings
Transmission Case Thread Size Flow Direction
Fitting Position
GM
PowerGlide 1/8” Pipe Upper Return – In
1/8” Pipe LowerCooler – Feed Out
TH200C / ¼” Pipe Upper Cooler Feed Out
2004R ¼” Pipe Lower Return – In
TH350 ¼” Pipe Upper Return – In
¼” Pipe LowerCooler Feed – Out
TH400 ¼” Pipe Upper Return – In
¼” Pipe LowerCooler Feed – Out
700R4 / ¼” Pipe Upper Return – In
4L60E ¼” Pipe Lower Cooler – Out
4L80E ¼” Pipe Upper Return – In
(’91 – ’96) ¼” Pipe Lower Cooler Feed – Out
4L80E ¼” Pipe Front Cooler Feed – Out
(’97-Later) ¼” Pipe Rear (Special) Return – In
FORD
C 3 / C4 ¼” Pipe Front Cooler Feed – Out
C5, C6 ¼” Pipe Rear Return – In
AOD ¼” Pipe Upper Cooler Feed – Out
¼” Pipe LowerReturn – In
AODE / ¼” Pipe Upper Return – In
4R70W ¼” Pipe Lower Cooler Feed – Out
E40E/4R100 ¼” Pipe Front Cooler Feed – Out
¼” Pipe RearReturn – In
CHRYSLER
All Torqueflites 1/8” Pipe Front Cooler – Feed – Out
1/8” Pipe RearReturn – In
CHART 02
Depth Spec
This spec is measured using a straight edge across the trans bellhousing face to the mounting pads on the torque converter. These distances can vary +/- 0.050 inch.
Trans Spec
GM
PowerGlide 1 1/8”
TH350 1 1/8”
TH400 1 3/16”
4L60E 1 1/8”
4L80E 1 1/8”
FORD
C4 1 1/8”
C6 1 1/8”
AOD/AODE 1 1/8”
CHRYSLER
TorqueFlite 727 1 ¼”*
- This spec is from the bellhousing to the ring gear — not the mounting pads